Anisotropic Brushed Metal
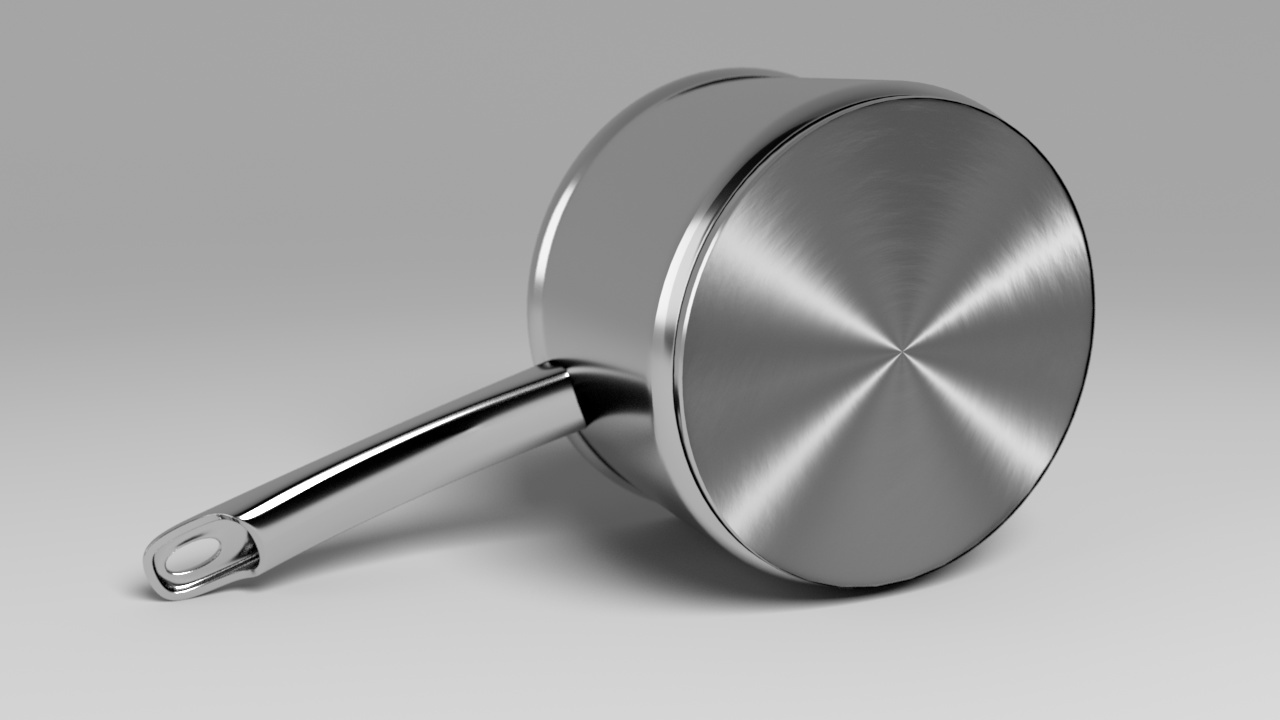
Anisotropic brushed metal effect visible in the base of the pot
This short tutorial will show you how to create a realistic steel shader with anisotropic reflections to create a brushed metal effect on the base of a pot. Anisotropic reflections are based on the orientation of small grooves (bumps, fibers or scratches) that exist on a reflective surface. We will achieve this effect using a combination of a radial ramp connected to the anisotropy and a noise texture connected to the bump map attribute.
An example scene file can be downloaded here.
- Select the bottom of the pot and assign a standard_surface shader to it. Rename it to 'Base'.
Assign standand_surface shader to base of pot
Specular Shading
Now we are going to create the steel shader with the brushed metal effect.
- Reduce the base_weight to around 0.4.
- Reduce the specular_weight and increase the specular_roughness to around 0.5. This will give us a softer anisotropic effect. You may need to adjust the specular _ rotation to match your lighting. In this case, it is 0.4.
Ramp RGB
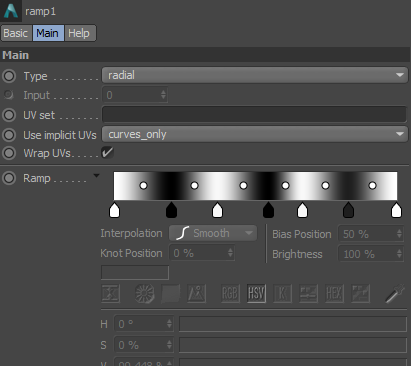
- Connect a ramp_rgb to the s pecular_anisotropy parameter.
- Change the ramp_rgb type to radial .* Insert four black and four white colors into the ramp. Change their *interpolation to smooth.
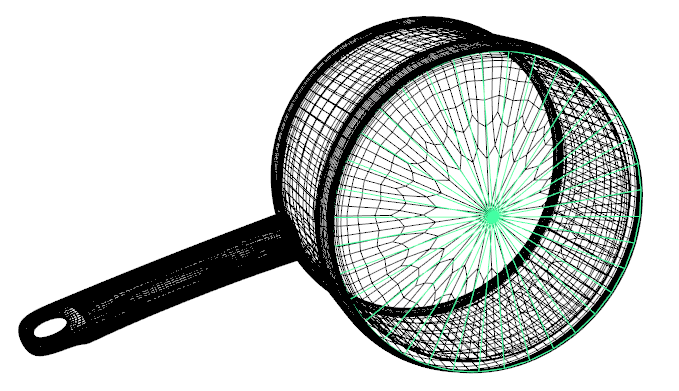
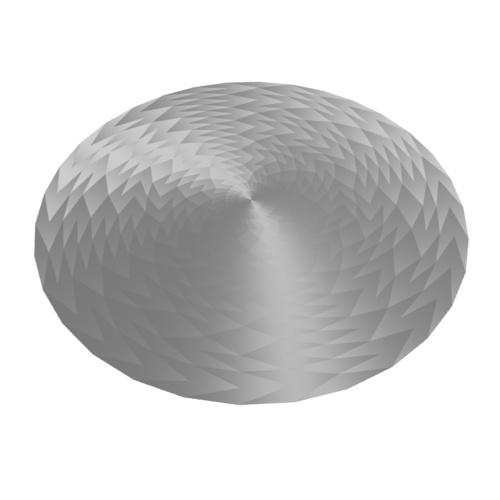
You may notice faceting appears in specular highlights when using anisotropy. It is possible to remove the faceted appearance by enabling smooth_tangents for the Arnold attributes of the mesh . Take into account this requires a s ubdivision_iteration of at least one in the polymesh to work.
 |
 |
 |
| No subdivision_iterations | subdivision_iterations: 1 | subdivision_iterations: 1 (smooth_tangents enabled) |
The Anisotropic direction is based on the UVs of the mesh you are using.
The Anisotropic brushed metal effect should now be visible at the base of the pot. However, it is lacking the bumped ridges associated with this effect.
RampRGB -> specular_anisotropy of standard_surface
Bump Map
Now we need to create a scratch effect and connect it to the bump attribute to achieve a subtle brushed metal effect. We can do this using the following shaders:
RampFloat -> Noise -> bump2d
- Create a bump2d and connect it to the normal_camera of the pots base shader. Set the bump_height to around 0.5.
- Create a noise shader and connect it to the bump_map of the bump2d. Change octaves to 8 and amplitude to around 0.4.
- Create a rampFloat and connect it to the scale of the noise shader. Change the type to circular. This will give us the concentric ring effect that we want.
Photoshop
You can create a scratch map in Photoshop and connect it to the bump attribute to achieve a subtle brushed metal effect.
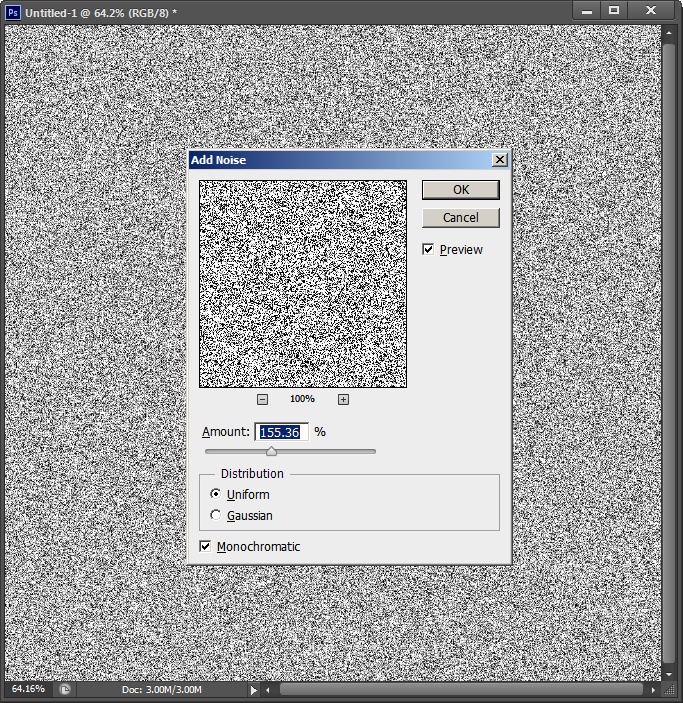
- Go to Filter-> Noise-> Add Noise to add some noise to the image.
- Go to Filter-> Distort-> Twirl to add a circular effect to the noise. You may need to do this two or three times to get the desired effect. Crop the image and save it.
 |
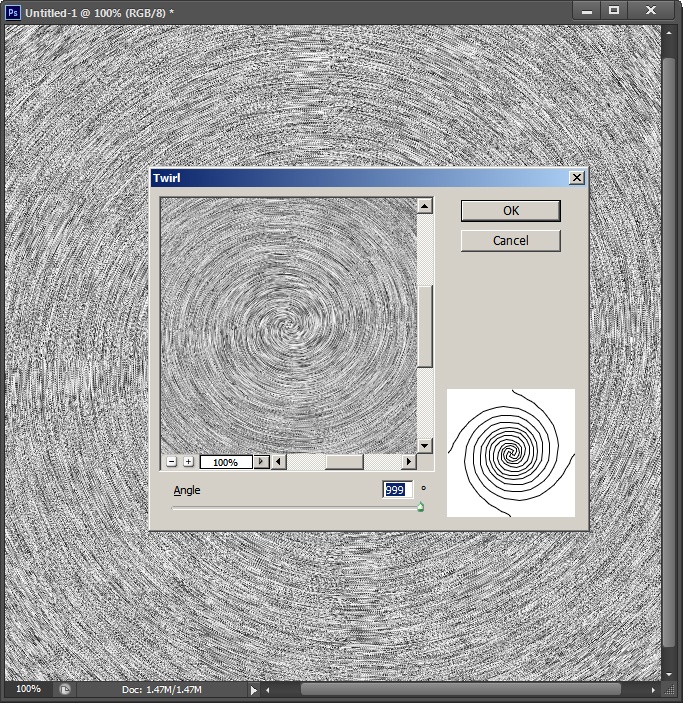 |
| Noise filter in Photoshop | Twirl filter in Photoshop |
- Create a file texture and open the saved noise image. Connect it to the bump attribute of the Base shader.
That concludes this short tutorial on how to create an anisotropic brushed metal shader.
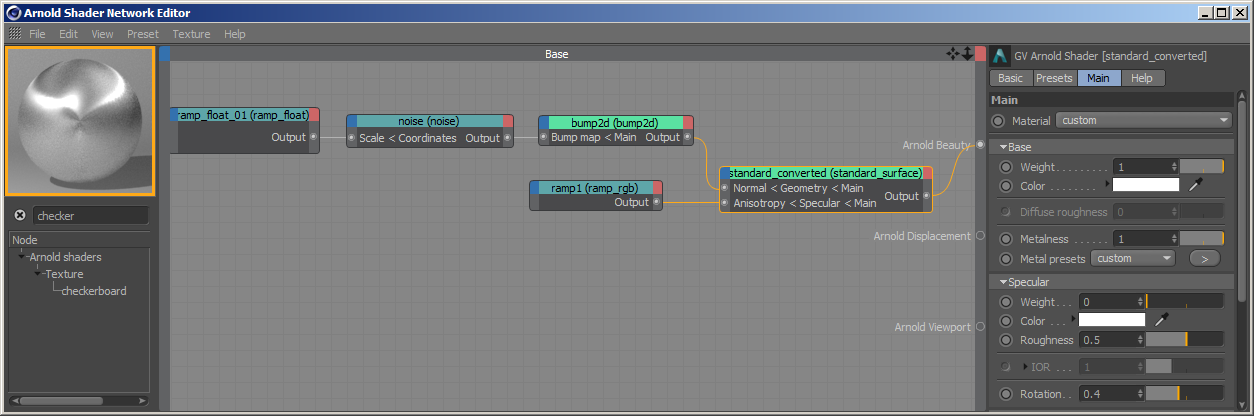
Final shading network