Motion Graphic Effect Using Color Shaders

In this short tutorial, we will use some of Arnold's color shaders to create an interesting effect that could be used as part of a motion graphics animation. This animation is being driven primarily by a utility shader (Object ID mode) which is connected to a color_jitter shader that has some keyframe animation.
- Start off by creating a polygon plane.
- Assign a standard_surface shader to it.
Color Jitter and Utility Shaders
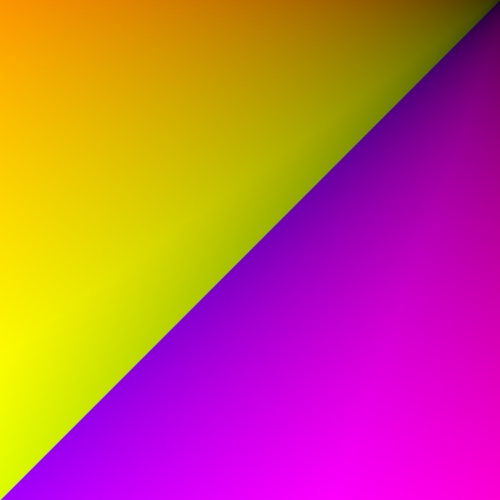
Connect a color_jitter shader to the emission_color of the standard_surface shader and increase the emission_weight to 1.
Connect a utility shader to the input of the color_jitter shader. Change the shade_mode to flat in the utility shader. This is because we only want pure color from the Utility shader to create a pattern. Change the overlay_mode to polywire *.*** This will overlay a wireframe on top of the color.
In this case, the color_mode has been set to uv_coords . This will give us a diagonal wipe effect to our pattern, once it is animated. You can, of course, choose a different color_mode like U or V coords or something entirely different. The idea is to experiment and have fun finding different techniques!
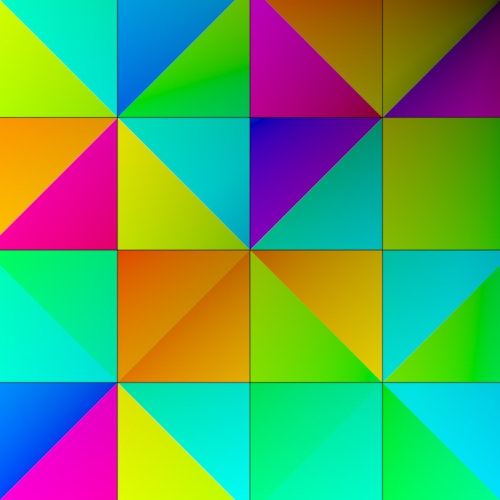
Increase the hue_max (Face) of the color_jitter shader to see the effect that it has on the utility shader. If the plane does not have enough subdivisions, you can always increase the number of subdivision_iterations for the plane.
 |
 |
 |
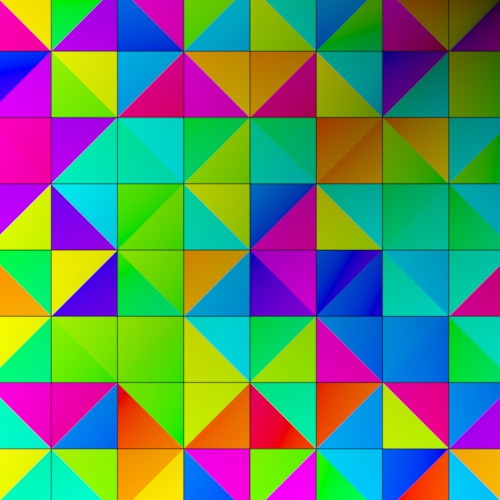 |
| 0 | 1 | 2 | 3 |
More triangles are visible when increasing the number of subdivision_iterations
Color Correct
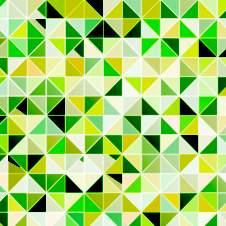
We can use a color_correct shader to change the color of the triangles.
- Connect a color_correct shader in-between the color_jitter and the standard_surface shaders. Adjust the hue_shift and change the multiply color. You can adjust the attributes of the color_correct shader until you get something that looks pleasing. In this case, the gamma and contrast were also adjusted.
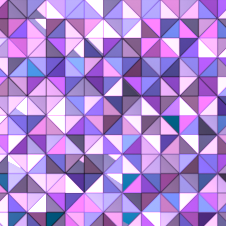
We can also change the colors by using some of the other color shaders in Arnold. Below are some examples using the composite and shuffle shaders.
 |
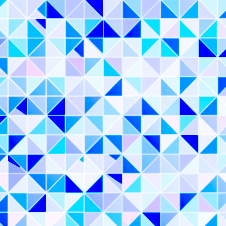 |
| Composite | Shuffle |
Finally, try keyframing the gain and hue (face) attributes of the color_jitter shader. You should see the effect is animated across the surface of the plane because the c olor_mode of the utility shader has been set to uv_coords.