Refractive Caustics using an Emissive Shader
With the correct setup, caustic effects are possible using Arnold. This short tutorial goes through how to set up a scene that contains a 'liquid' mesh with caustics (advanced) enabled in the standard_surface shader assigned to it. The scene uses a plane that has a high emission_scale value which produces the refractive caustic effect.
'Hard' caustics from small but bright light sources (e.g., a spot light through a cognac glass) are not currently possible.
Arnold uses simple, uni-directional path tracing. Rays start at the camera, not at the lights. Arnold does not use bi-directional path tracing (nor any other bi-directional technique, such as photon mapping, which fires rays from the lights). When using standard lights, like point lights and spot lights, which are idealized lights with zero area, i.e. point lights, it is simply impossible for Arnold's GI/reflection/refraction rays to hit the lights. Therefore, there are no caustics.
However, it is possible to turn point lights and spot lights into finite-size lights by increasing their 'radius' parameter, the bigger the less noisy, which makes them spherical lights, which give beautiful soft shadows and soft highlights. You must also enable the light's transmission so that the caustic appears. It should then be possible for GI/reflection/refraction rays to 'see' those lights.
Instead of using Arnold's standard lights, you can create a polygon mesh, give it a flat emissive shader, and let the GI engine 'find' that light. You will then get caustics. However, this is very inefficient, because small emissive objects are hard to hit. You would need many rays, or a very large emissive object, for this noise to be acceptable. That is why the user guide states that we can do 'soft' caustics, as coming from big emissive objects.
The scene file used in this tutorial can be found here.
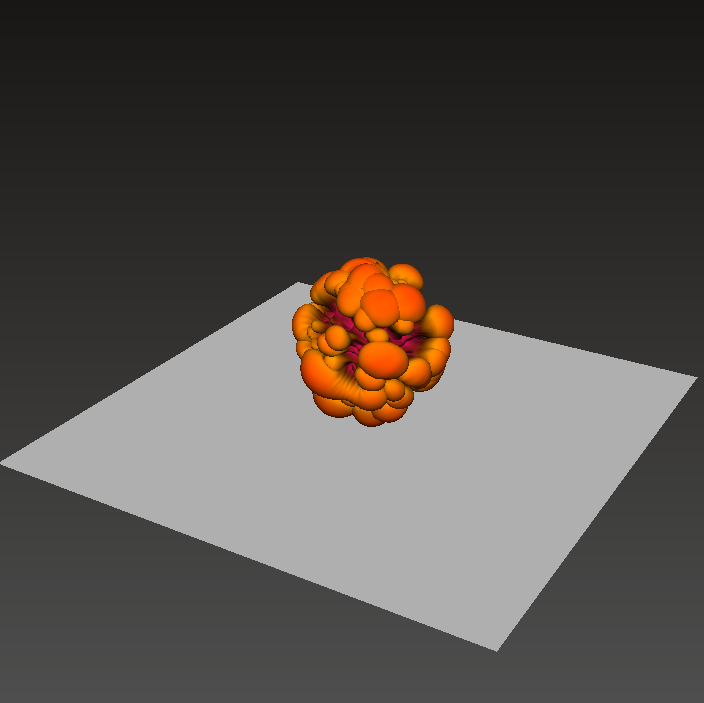
- Start off by opening the scene file. The scene contains a basic object to start off with. Create a polygon floor plane and position it underneath the mesh.
Emissive Plane
- Create another plane and position it above the mesh as indicated below.
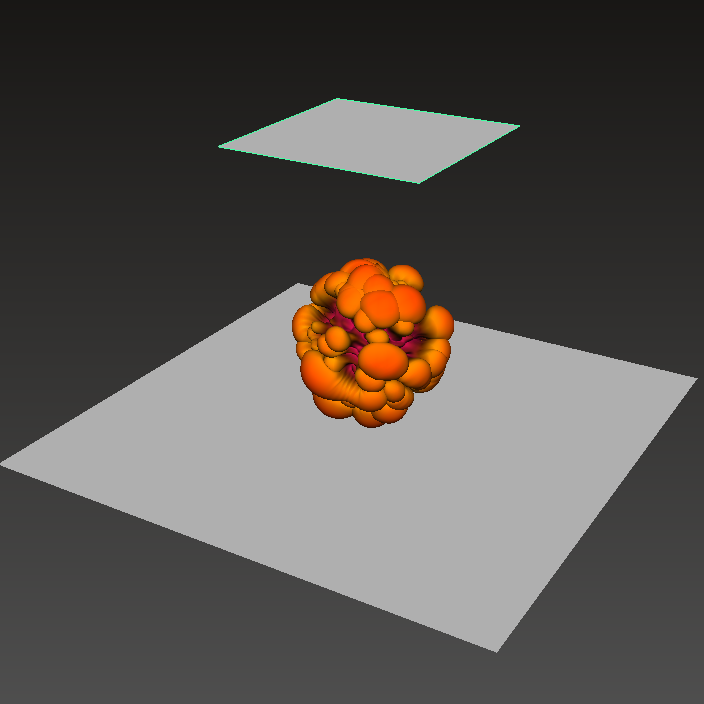
- Assign a standard_surface shader to the polygon plane above the polygon mesh. This will represent our light source. Decrease the base_weight value of the standard_surface shader to 0 and increase the emission to around 10.
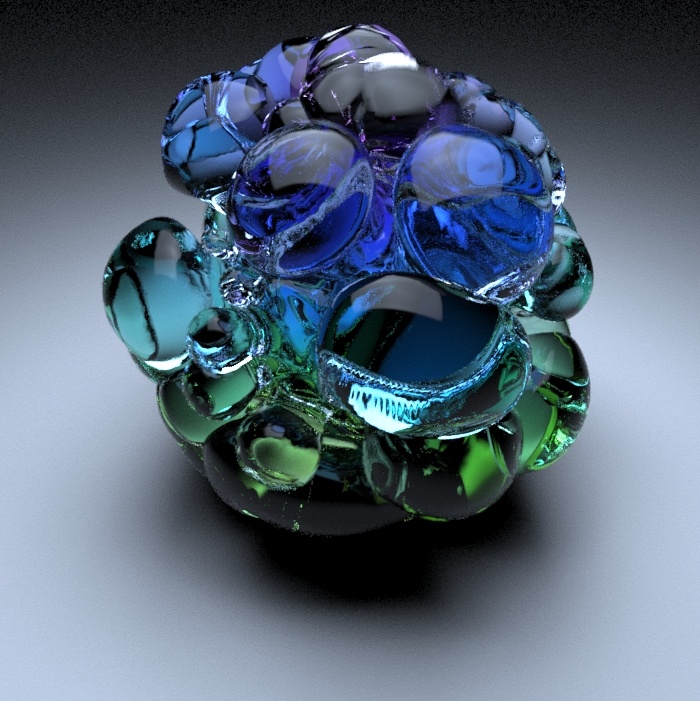
Mesh Shading
Assign a standard_surface shader to the polygon mesh that we want to generate the refractive caustics. We are going to make this a glass shader.
Lower the base_weight value to 0. Increase the specular_weight to 1 and lower the specular_roughness to 0. Increase the transmission_weight to 1 and change the IOR to that of glass (1.5).
Next, we will add a colored tint to the shader. Add some color to the transmission_color of the glass standard_surface shader.
Refractive Caustics
To view refractive caustics through our glass, we must enable them in the standard_surface shader that is assigned to our glass mesh. Caustics can be found under Advanced. Enable it.
You can see the difference when enabling Caustics in the images below.
 |
 |
| Caustics: Disabled | Caustics: Enabled |
Noise
To reduce noise in the Caustics, you must increase the number of diffuse samples. The animations below show the difference between rendering caustics with three and six diffuse samples. Be careful when using this attribute as the render times will increase dramatically when you increase this value.
 |
 |
| diffuse samples: 3 | diffuse samples: 6 (much longer to render) |
That's it. You are ready to render. Have a go at rendering some other objects. Things to consider when using this method are:
- Fine-tuning the right amount of emission for the geometry that has the Emissive shader assigned to it, otherwise, you may encounter a lot of white noise.
- Increase the diffuse samples to reduce the noise further.
Many thanks to Peter Shipkov at SOuP Development for providing the Maya scene used in this tutorial.