Water Bottle
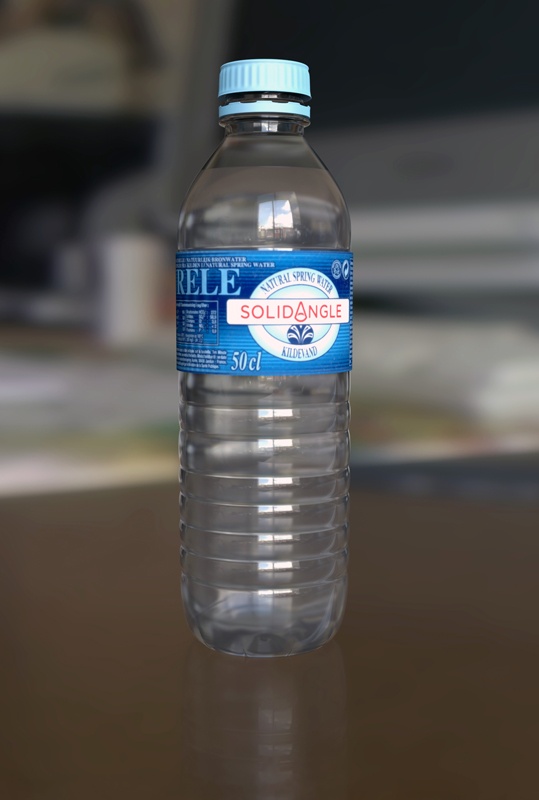
This page shows a set of more advanced tips for rendering liquids in a plastic bottle. It explores the various shading aspects required to achieve realistic results. It also looks at ways to use the rayswitch shader to minimize the calculation of certain rays. This way render times are reduced without sacrificing render quality.
There are various aspects of shading that need to be considered when tackling liquid and container surfaces. If physical accuracy is a priority, then the default standard_surface shader settings should be sufficient.
If the speed of rendering is the primary consideration, then you may want to look into disabling some attributes (enable_internal_reflections, caustics). To reduce render times even further you should consider using a rayswitch shader that disables expensive rendering attributes such as transmission_roughness from secondary rays.
Before reading this page, it is recommended that you first look at the tutorial 'Rendering Glass Surfaces with Arnold' to be more familiar with the modeling requirements for rendering glass and liquid surfaces.
Scene Setup
The transmission_ray_depth has been increased to 7 to allow enough rays to pass through both the plastic bottle and the liquid surface. The scene is lit with an area_light with its light_shape set to cylinder. There is also a sky in the scene.
Shading the Bottle
The examples below show the effect of changing various attributes of the Standard Surface shader used for the plastic bottle shader.
Enable Internal Reflections
Unchecking internal reflections will disable indirect specular and mirror perfect reflection computations in secondary bounces.
Bear in mind that even though disabling enable_internal_reflections can dramatically reduce render times, it will also affect the appearance of the plastic. Therefore, you should ask whether accurate quality or speed is more important before using this feature.
 |
 |
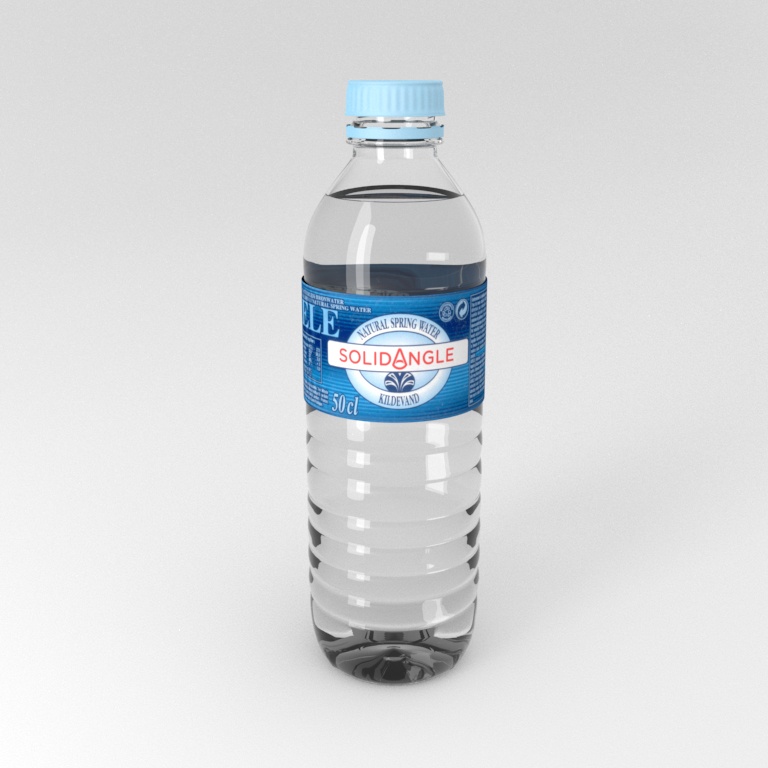
| enable_internal_reflections: On (17 mins 45 secs). | enable_internal_reflections: Off (7 mins). |
Liquid Meniscus
The top of the liquid has been modeled accurately with a meniscus. A meniscus is a curve in the upper surface of a liquid close to the surface of the container or another object, caused by surface tension.
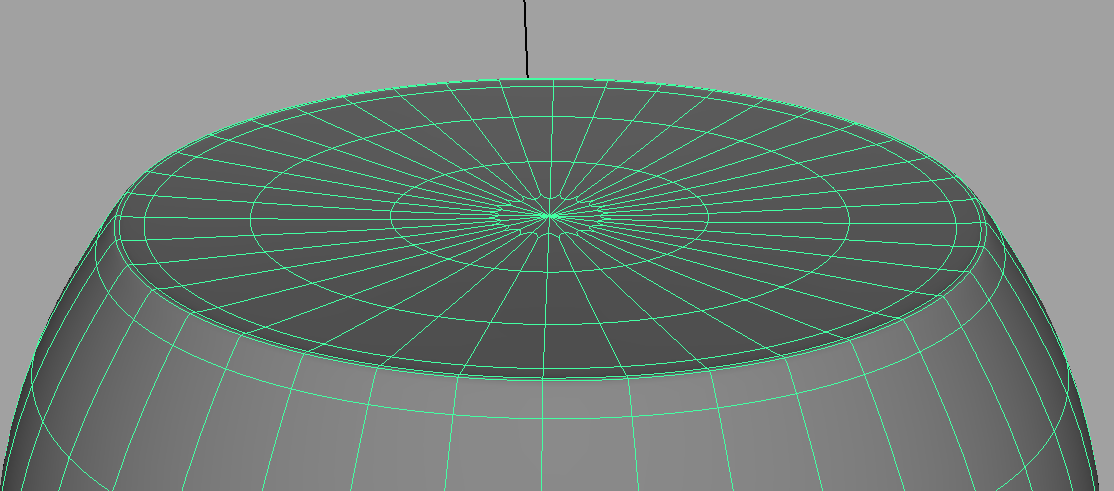
Model the liquid meniscus. Ensure that you have enough edge loops to pull the top of the surface down.
Note that the plastic shader will affect the light rays going through the plastic and will have an affect on the liquid inside. Therefore you should ensure that the transmission_ray_depth settings are high enough for rays to travel through both the plastic and liquid surfaces. The specular_ior has been changed to that of water: 1.33. The base_weight has been lowered to 0.9.
The examples below show the effect of changing various standard_surface attributes for the water shader.
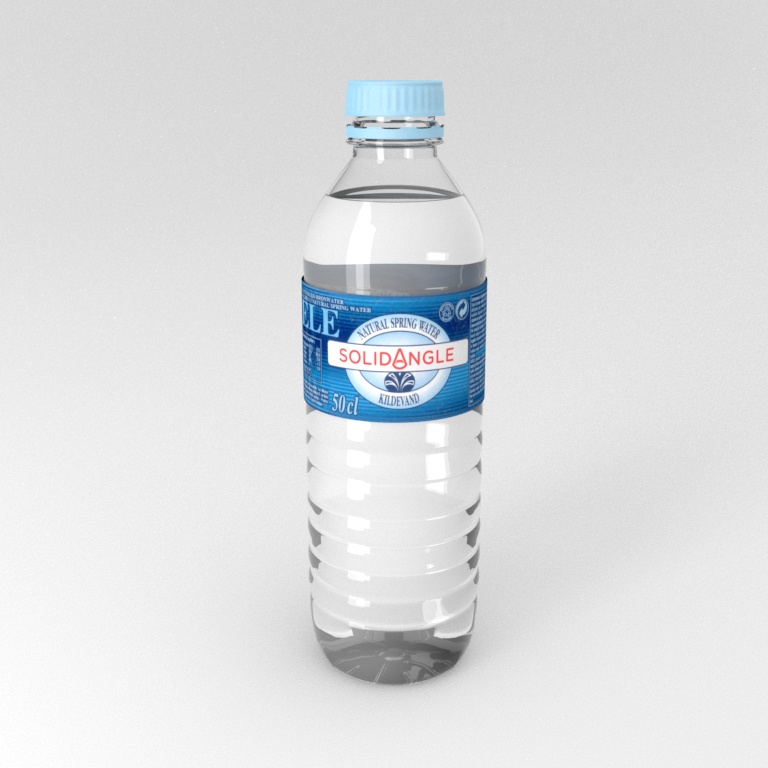
Base Weight
By default, the water looks a little dark. Adding a small amount of diffuse helps to 'lighten' the appearance of the water (note that this is not a physically accurate approach).
 |
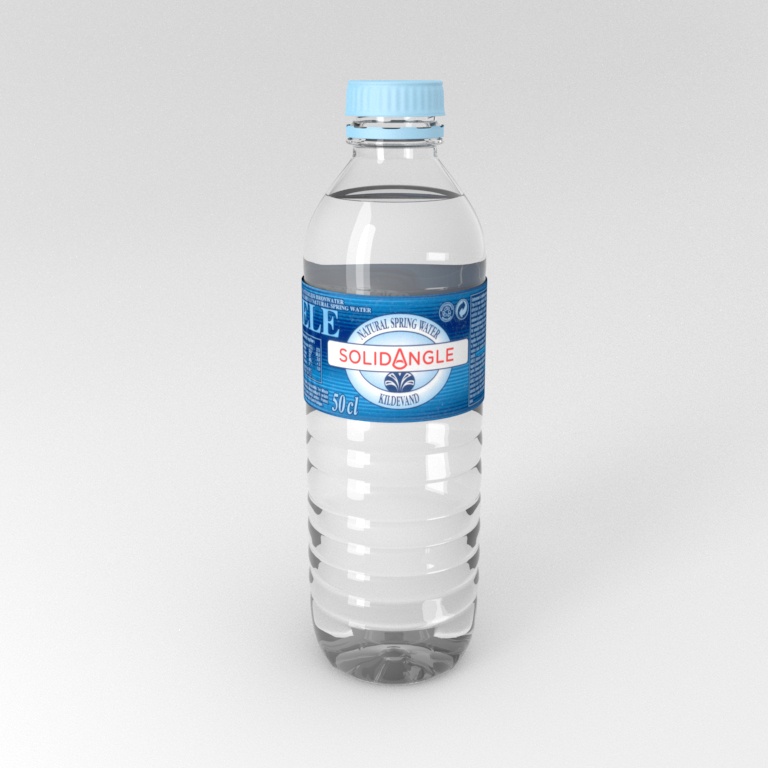 |
| Base Weight: 0 | Base Weight: 0.2 |
Specular
The specular_weight has been left at 0 as we do not want the water to show specular reflections inside the bottle.
 |
 |
| Specular 0 (water looks correct). | Specular 1 (water looks incorrect). |
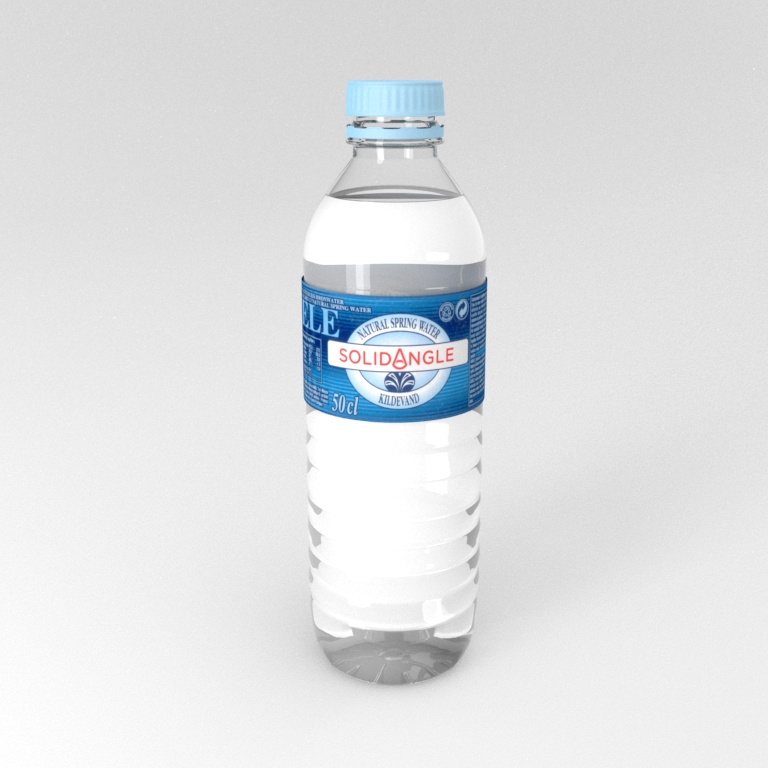
Enable Internal Reflections
The images below show the difference between rendering the water surface with and without Enable Internal Reflections. The differences are subtle but can be seen mainly around the base of the bottle.
 |
 |
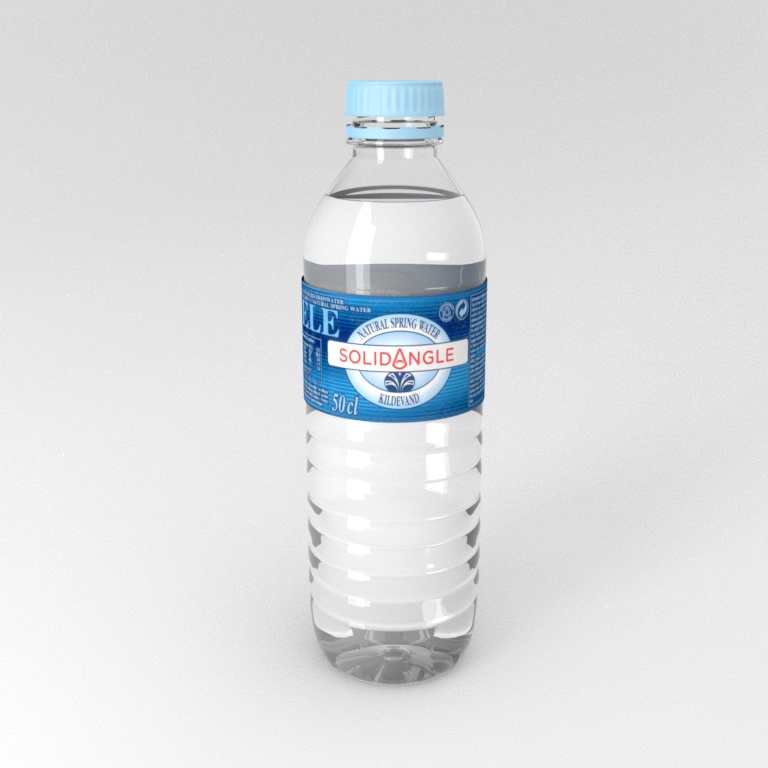
| Enable Internal Reflections: On | Enable Internal Reflections: Off |
Caustics
The caustics menu can be found in the standard_surface shader. This switch in the standard_surface shader specifies whether the diffuse GI rays can 'see' specular reflection and transmission rays (by default only the direct and indirect diffuse lighting of the Standard Surface shader will be computed in the diffuse rays).
The images below show the difference between rendering the bottle and liquid with and without caustics.
 |
 |
| Caustics Disabled | Caustics Enabled |
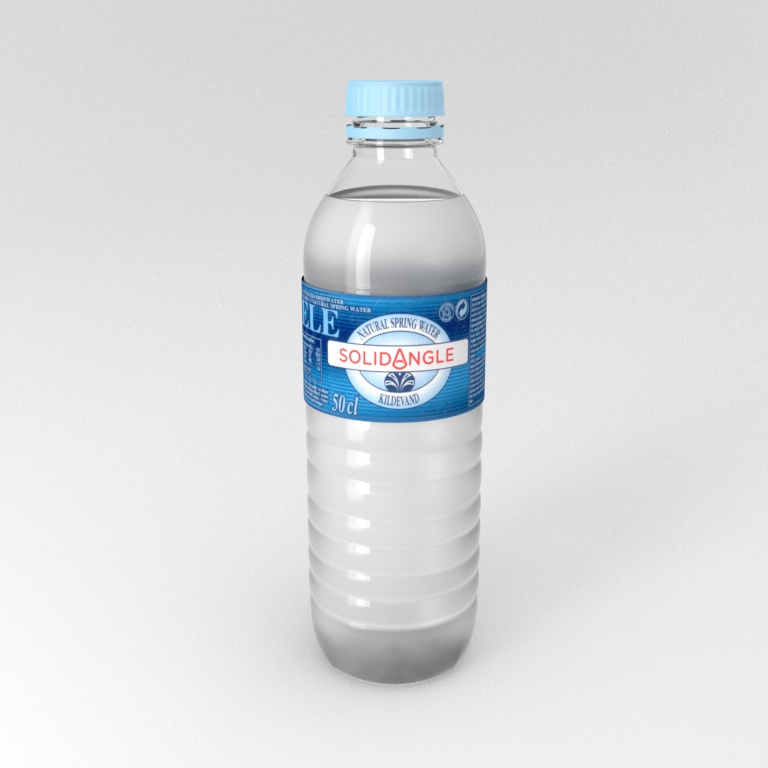
Cloudy Water
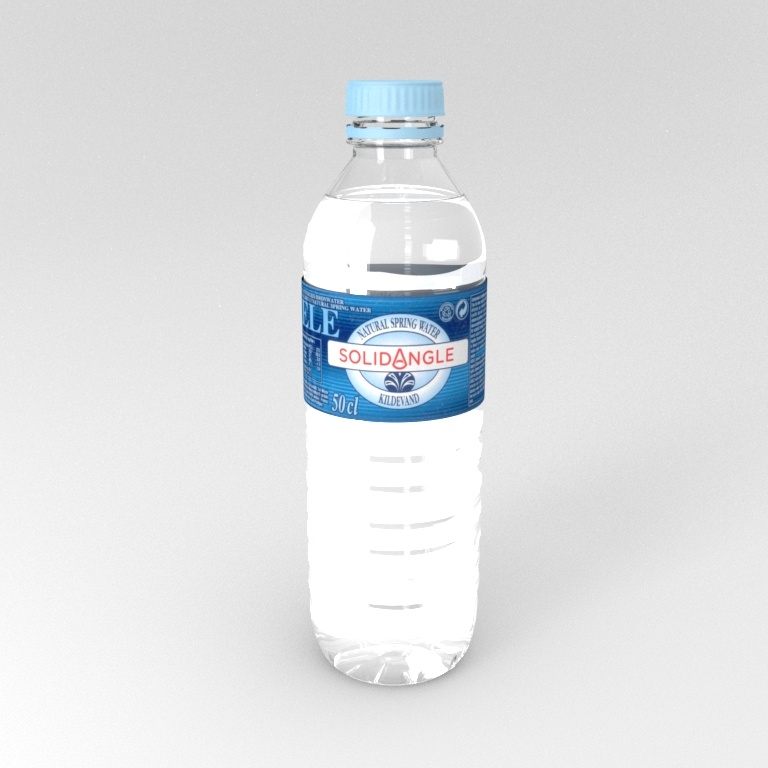
To make the water appear cloudy, the transmission_roughness has been increased to 0.4. Increasing this value will add to the render times. A rayswitch shader has been used to keep render times to a minimum.
Rayswitch
The Rayswitch shader can help to reduce the number of rays calculated in the scene, thereby improving render times without sacrificing quality.
The primary rays need to refract because of the cloudy roughness required to make the liquid look cloudy. Whereas the secondary glossy, shadow and diffuse rays are using a second shader (Water_Secondary_Rays) that does not have specular/ transmission roughness (this decreases render time).
As you can see in the images below, there is little difference in render quality and yet the render times have been reduced dramatically.
 |
 |
| No Rayswitch shader: 31 mins 15 secs | Rayswitch shader: 16 mins 14 secs |