Wear and Tear with the Curvature Shader
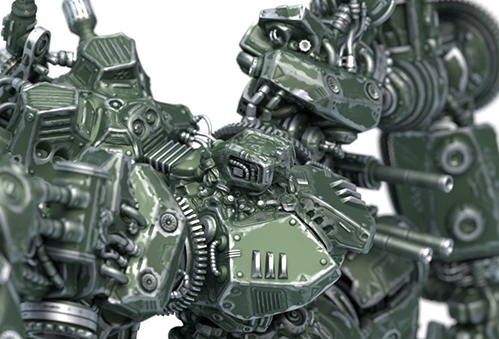
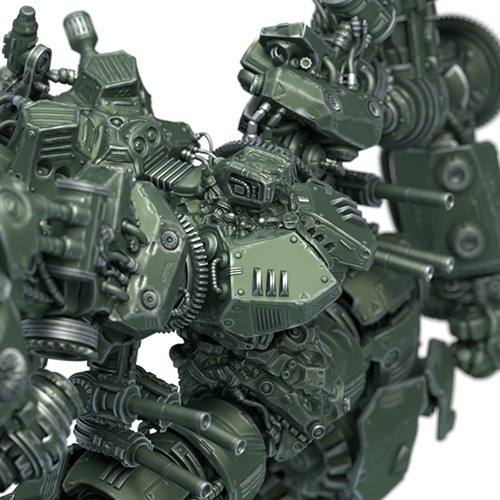
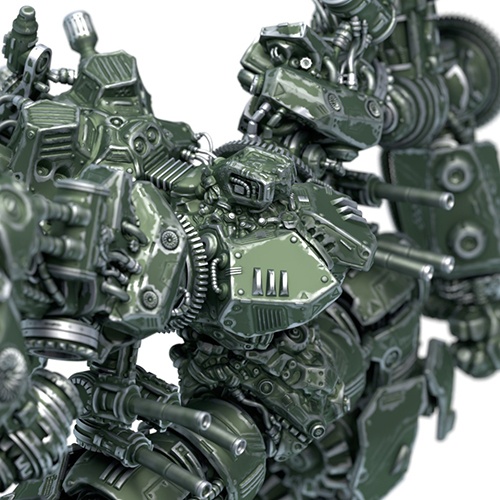
The curvature shader is an easy way to add detail and realism to your shaders. In this short tutorial, we will use the curvature shader to create a wear and tear shading effect. It will be used to represent where the edges of a hard surface are scraped on the model of a mech. Notice in the image above how the edges of the paint appear worn off, exposing the metal underneath.
Note: You can use either a layer shader or a mix_shader in this tutorial.
The shader used in this scene can be downloaded here.
Layer Standard Surface Shaders
A Layer shader is used to layer two different standard_surface shaders. We will use one standard_surface shader for the top metal paint layer (green) and another standard_surface shader to represent the exposed metallic surface underneath.
- Create a Layer shader and connect it to the Arnold Beauty port.
- Create a standard_surface shader and rename it Green Paint. Connect it to Layer 1 of the Layer shader.
- Create another standard_surface shader and rename it Metal. Connect it to Layer 2 of the Layer shader.
Curvature Shader
- Connect a noise shader to the radius of a curvature shader (bias and multiply will work too). Experiment with different noise settings to get the look that you want. Don't forget that you can connect a color_correct shader to the noise shader to further refine the appearance of the 'worn' look.
- Connect the curvature shader to the Layer 2 alpha of the Layer shader. This will control the blending between the two standard_surface shaders.
 |
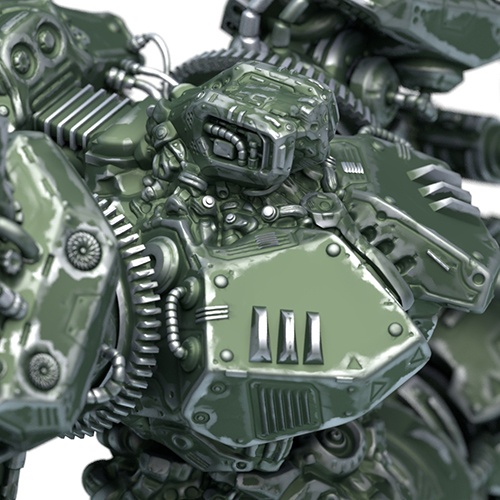 |
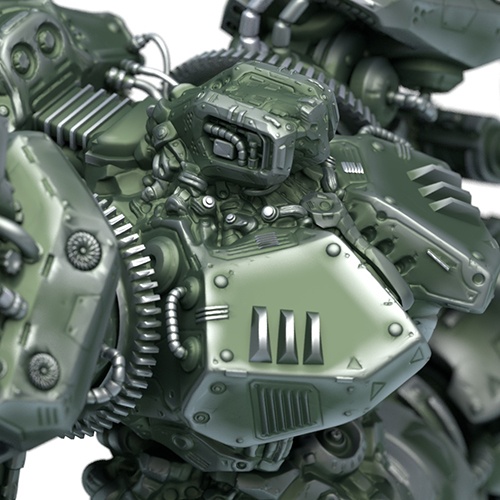
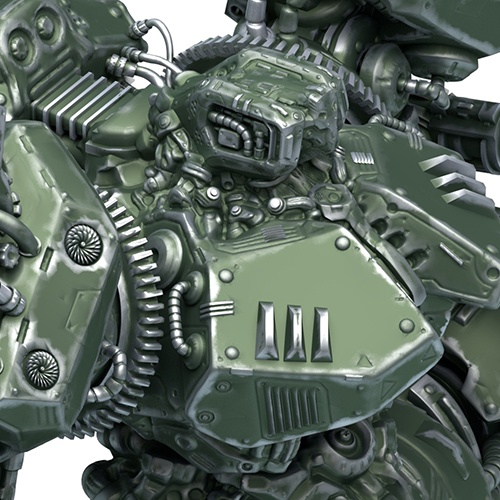
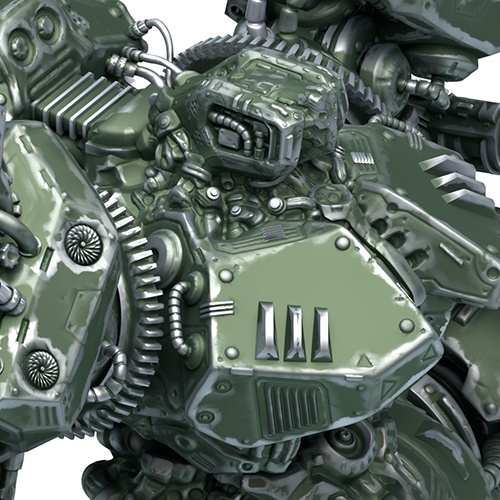
| Without noise shader | With noise shader |
Bias
- In the example images below, the bias parameter of the curvature shader has been increased and exaggerated to better demonstrate the effect.
 |
 |
 |
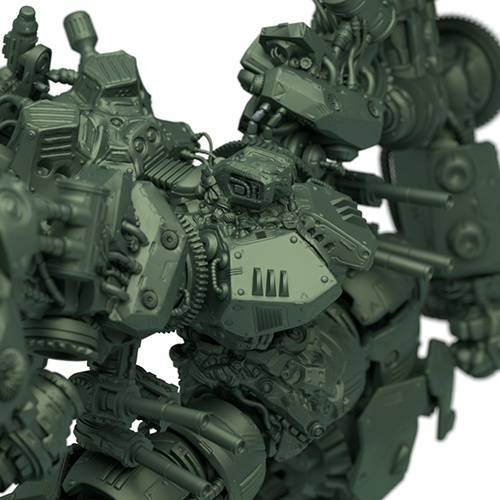
| bias: 0 | bias: 0.5 (default) | bias: 1 |
Samples
- Increasing the number of curvature samples reduces noise and gives a better quality result.
 |
 |
| curvature_samples: 3 | curvature_samples: 6 |
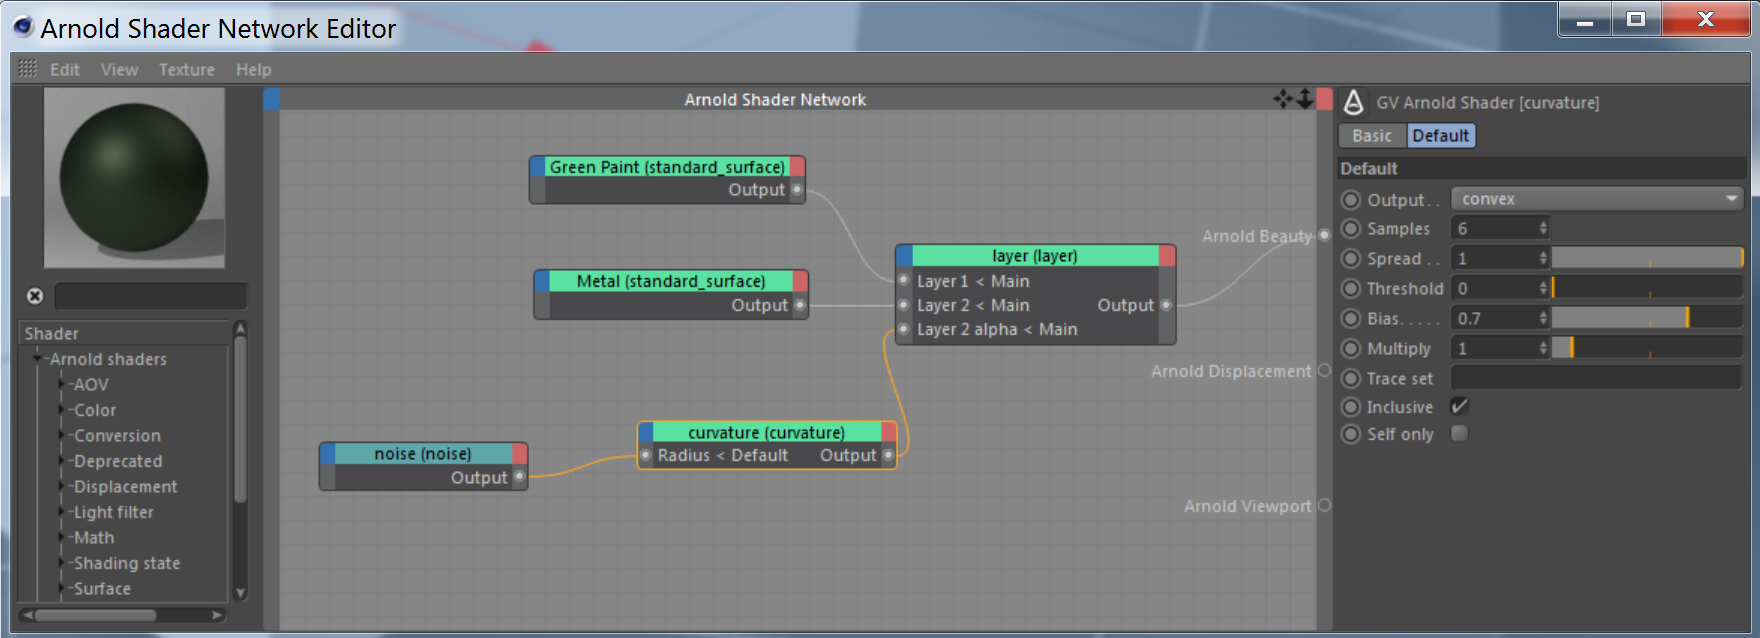
Final shader network