
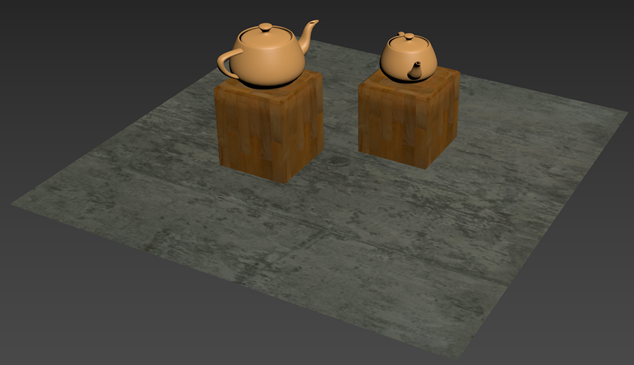
To introduce materials, you will work with a scene that shows two teapots atop podiums.
Open the scene
Open the scene file named materials.max.
This file can be found in the 3ds Max 2020 Tutorials Scene Files\scenes\materials_and_mapping folder.
The scene shows a pair of podiums and two teapots. The teapots are both lacking materials. By the end of this lesson you will assign them both materials.
Creating the teapot's material
- On the main toolbar, open the
Material Editor
 .
.
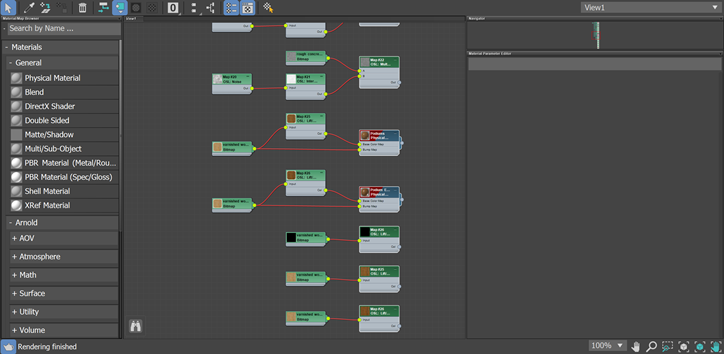
This is the Material Editor, where you can create new materials and assign them to the objects in your scene.
- Under , select Physical Material. Physical Materials are programmed to function like real-world materials. In most situations, using a Physical Material is the best option.
- Select the Physical Material Node that just appeared to open up the material's options. Rename the material "Teapot 1".
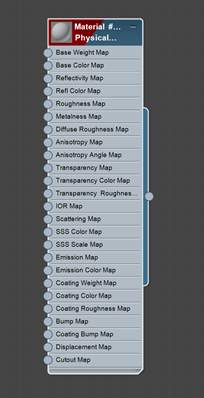
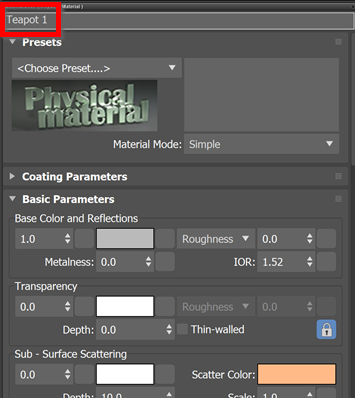
- Under Base Color and Reflections, click the color box to change its color. Change the color to whatever you would like the teapot to be.
- To the right of the color icon, change the roughness to 1.0. A low number will make the teapot appear glossier, and a high number will give it a matte appearance.
- In the Viewport, select the smaller teapot. In the
Material Editor window, select
Assign Material to Selection.

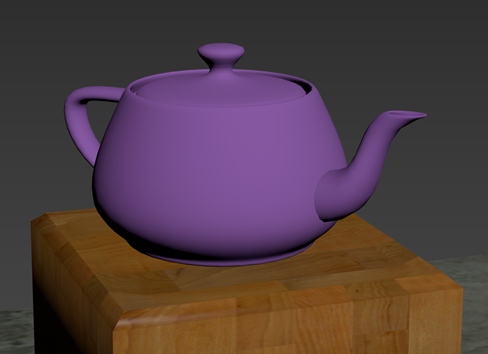
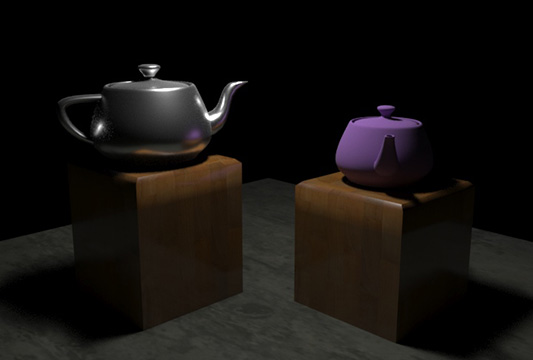
The Teapot now has color, with a non-reflective exterior. Feel free to adjust the other settings on the Physical Material options to experiment with the other things you can do, like make the teapot transparent, or metallic.
Using presets for the second teapot
- Create another Physical Material, just like you did for the first teapot. This time name it Teapot 2.
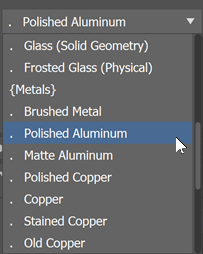
- Under the Preset section, open the Choose Preset drop-down menu and select Polished Aluminum.

- Select the larger teapot in the Viewport and select
Assign Material to Selection
.

3DS Max contains lots of different presets for materials. For example, the materials for the podiums and the floor are both presets. Feel free to experiment with the presets. You could even have a rough concrete teapot (though I wouldn't recommend drinking from it).
Rendering the scene will display the materials with additional accuracy. To render the scene, position the perspective camera so both teapots are visible and select
Render Production.

Beyond the lesson
- Create a new Physical Material
- Assign a material to an object
- Manually adjust the material settings
- Use material presets
For additional practice, try different presets and adjust the various material settings to see what they do. You can also try assigning materials to specific faces of objects to give an object multiple materials.