
Environment:
This article applies to the operating systems listed. If your operating system is not shown, it may be because it is not supported or because support information is not yet available. For details on operating systems no longer supported by the vendor, see Product Support Lifecycle.
This article is a step-by step guide for students who want to verify their educational eligibility.
Before starting these steps, you need to have a verified Autodesk Account. If you do not have one, see How to create an Autodesk Account for students.
You can now download and install Autodesk software for educational use. From your desktop computer, select a product and click Install.
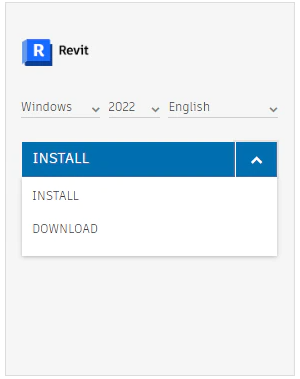
For more information about downloading, see Download your product from the education site.
Before starting these steps, you need to have a verified Autodesk Account. If you do not have one, see How to create an Autodesk Account for students.
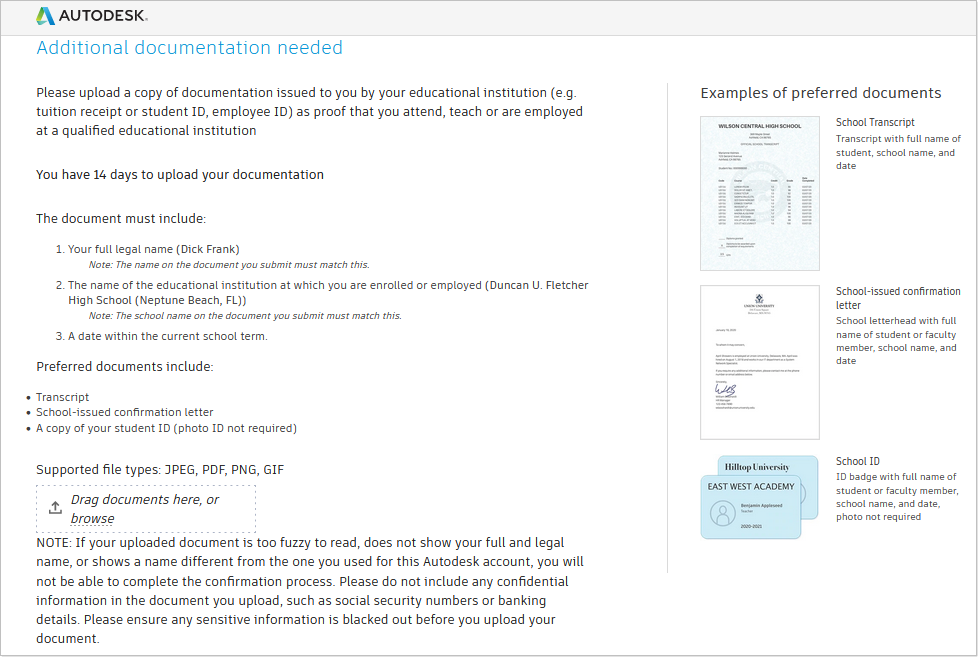
Prepare your student documents
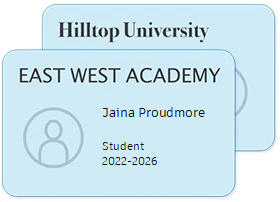
Have your student identification card with you. If your school does not provide an ID, obtain a record from your school that shows your current enrollment. Examples of documents:- School ID
ID badge with full name of student, school name, and date. Photo not required
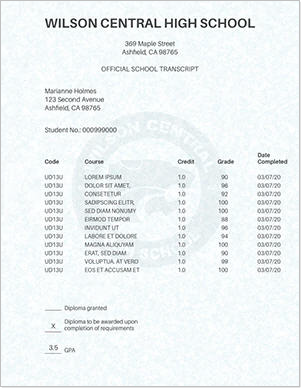
- School Transcript
Transcript with full name of student, school name, and date
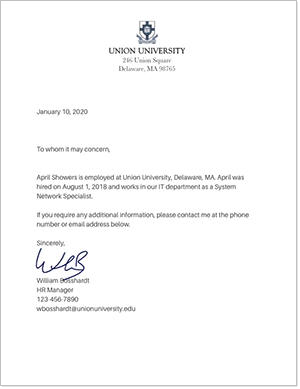
- School-issued confirmation letter
School letterhead with full name of student, school name, and date
To verify your student eligibility
- Sign in to your Autodesk Account and check your profile: https://profile.autodesk.com/personalinfo. Verify that your name matches your student identification.
- Visit https://www.autodesk.com/education/edu-software and click Get Started.
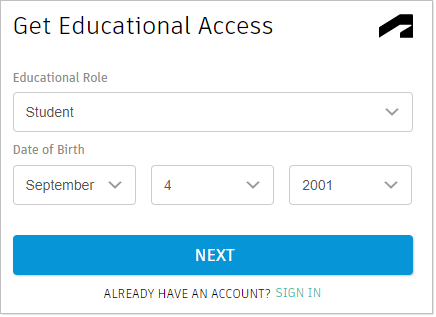
- Under educational role, select Student and enter your date of birth.
Important: Select your educational role carefully. You cannot change your role later.
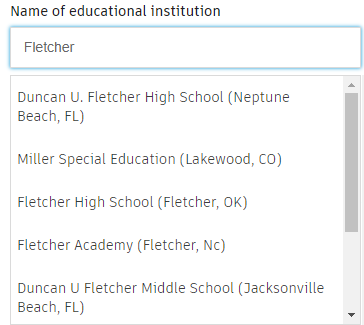
- Click Next. Enter your Country and Institution type (High School or University). Next, in the Name of Educational Institution box, start typing your school’s name.
Type in more detail and click your school’s name when it displays in the list.
If your school is not listed, try a different Institution Type. If your school is not listed under any type, you can Request to have your educational institution added. Try again after your school has been added by SheerID.
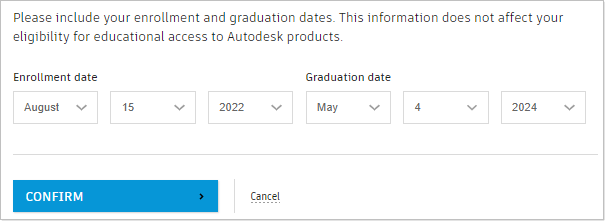
- Select your enrollment date and expected graduation date. This date does not need to be exact but should represent what term you started and about when you plan to graduate.
- Verify your information. Be especially careful to check that your name and school name match your student documents. Click Confirm.
If you see an error message that Something’s not quite right, check that your account is verified and that you clicked a school from the list.
- If the Additional Documentation Needed page displays, upload your student documents.
Upload your student documents and click Submit.
If you used an email provided by your educational institution to create your account, you might not see this step. It may now take a couple of days for your eligibility to be confirmed.
- Watch for a confirmation email and visit https://www.autodesk.com/education/edu-software again.
You can now download and install Autodesk software for educational use. From your desktop computer, select a product and click Install.
For more information about downloading, see Download your product from the education site.
See Also:
- How to create an Autodesk Account for students
- Getting started as a student or educator for both students and educators
- Autodesk for students
- Autodesk education support (FAQ)