Use the Version Compare toolbar within Activity Insights to review the differences between two drawings.
Compare the Current Drawing with Previous Versions
To access the Version History list, you need to be on subscription and have an account with a supported cloud storage provider: Autodesk Docs, Dropbox, Box, Google Drive, or OneDrive.
- Use any one of the following access methods to open the Version Compare toolbar in the current drawing:
- Click
 .
Find
.
Find
- Enter ACTIVITYINSIGHTSOPEN in the Command window.
- Click
- In the Activity Insights palette, apply any filters to choose the version against which you will compare the current drawing.

- Select your desired comparison version, and click Compare.
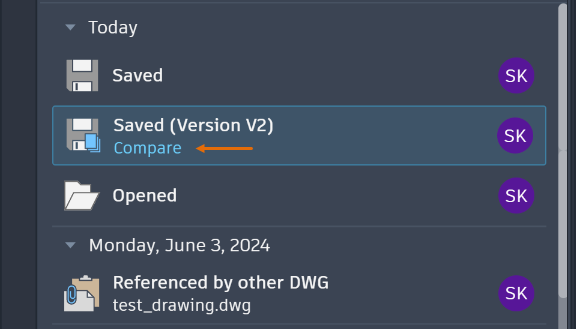
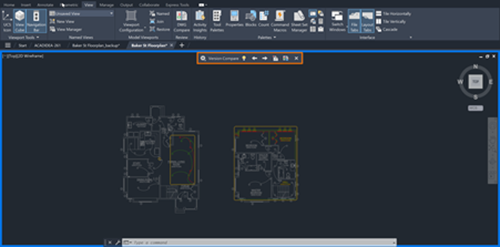
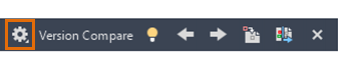
The Version Compare toolbar opens at the top of your drawing.
The comparison results display in the current drawing following this color code:
- Red - Objects only in the previous version.
- Green - Objects only in the current drawing.
- Gray - Objects that are common to both the current drawing and the earlier version.
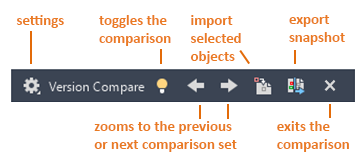
The Version Compare toolbar helps you perform a variety of functions:
Change the Display Settings for the Comparison
- Click Settings on the Version Compare toolbar.
- In the Settings panel, click the controls that you want to change.
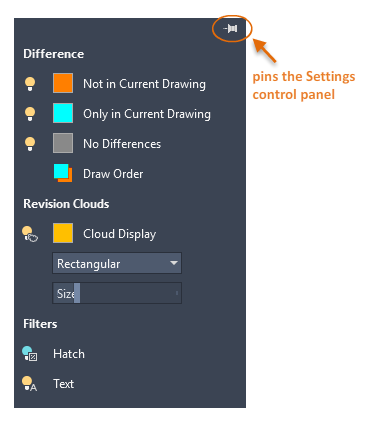
Change the Visibility of the Compared Objects
- Click the light bulb next to the Not in Current Drawing or Only in Current Drawing options to toggle the visibility of the differences between the compared or the current drawing files.

- Click the light bulb next to No Differences option to toggle the visibility of the objects that are the same in both of the drawing files.
Change the Draw Order of the Compared Objects
Click this option to reverse the draw order between overlapping objects in the current drawing and the compared drawing. By default, the objects in the current drawing are displayed on top of those in the compared drawing.
Change the Visibility, Color, and Shape of the Revision Clouds
Revision clouds are used on the comparison drawing to highlight the differences between the compared files.
- To toggle the visibility of the revision clouds, click the light bulb icon.
- To change the shape of the revision clouds, select Rectangular or Polygonal from the Revision Clouds drop-down list.
- To change the offset distance between the change sets and the revision clouds, use the Size slider.
- The size of the change sets is determined by the proximity of the changed objects compared to the size of the revision clouds.
Exclude Text or Hatches From the Comparison
Filters provide a way to hide the comparison results for the following objects:
- To hide text object comparisons in your comparison result, click the light bulb icon under Filter next to Text.
- To hide hatch object comparisons in your comparison result, click the light bulb icon under Filter next to Hatch.
Temporarily Turn Off the Comparison Results

Navigate Between Change Sets

Copy Objects From the Compared Drawing to the Current Drawing
- Click Import Objects to import selected objects from the compared drawing into the current drawing.
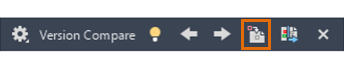
- Select the objects in the comparison drawing that you want to copy into the current drawing and press Enter. Only those objects that are not in the current drawing can be imported.
The objects you selected from the comparison drawing are copied into to your current drawing and no longer differ between the drawings.
Export a Snapshot Drawing to Save the Differences
- Click Export Snapshot to combine the two comparison drawings into a new
snapshot drawing file for further review.
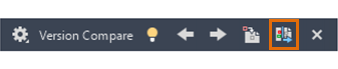
- In the Export a Comparison Snapshot dialog box, click Continue.
- Save the drawing file. By default, the file name is Compare_Drawing 1 vs Drawing 2.dwg .
This operation creates a new drawing file displaying the differences between the two files.
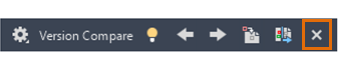
End the Comparison