
Create a Form Template Using the Template Builder
Project administrators can create form templates using the Template Builder. The Template Builder lets you customize form sections, questions, response types, and more. Once created, form templates can be used to create forms in the Forms tool.
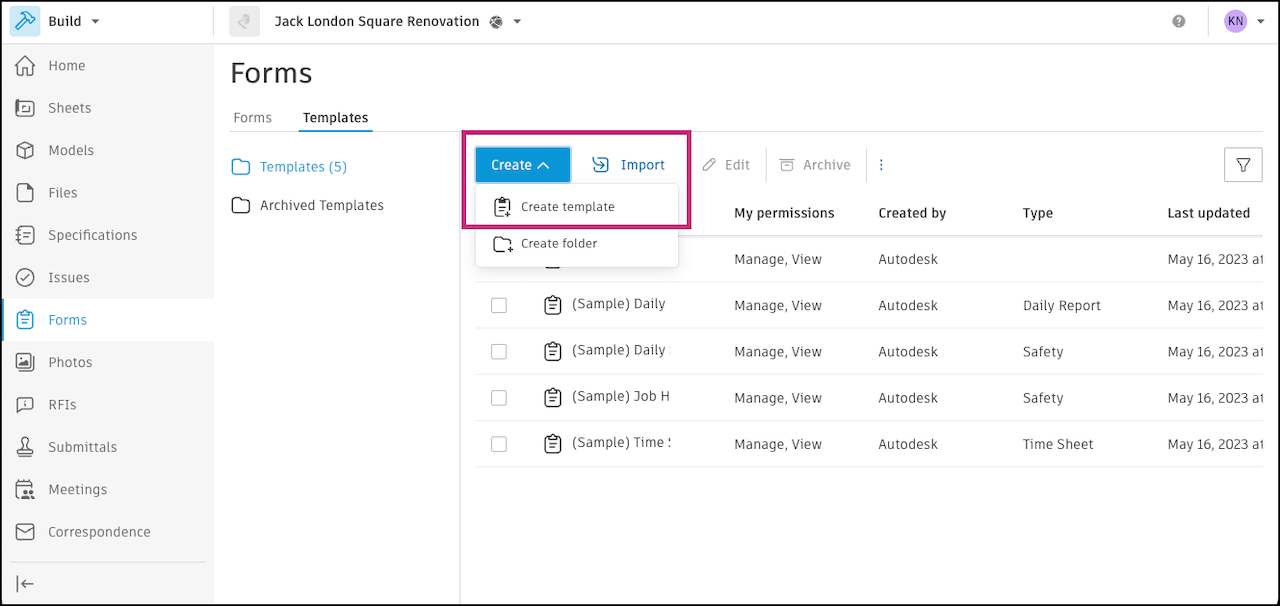
In the Forms tool, click the Templates tab.
Click Create, and select Create template.
Select Build a new form and click Next.
Select a preconfigured template to customize or begin with a blank template. Click Next.
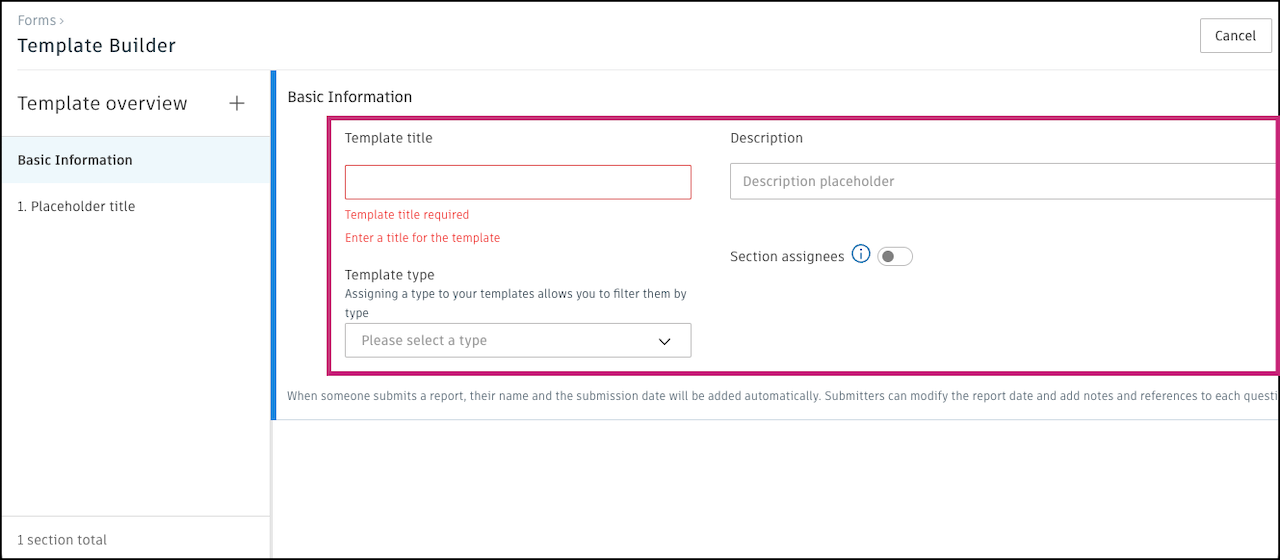
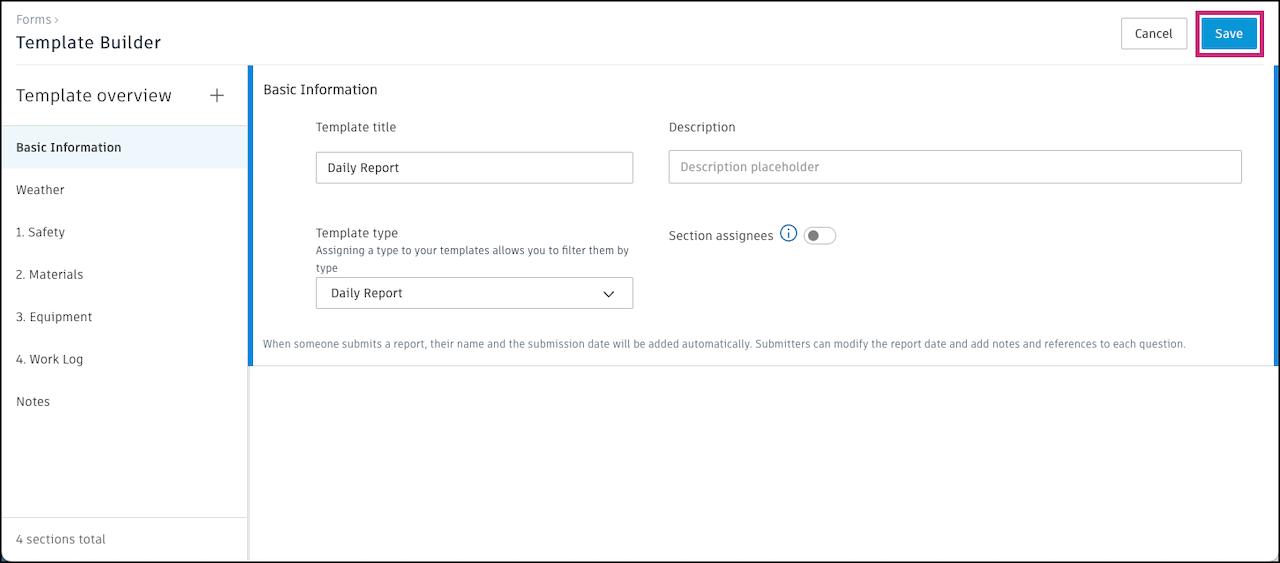
Give your template a name.
You can also select a template type and add a description. You can later filter forms by template type, which is useful when your project has many forms.
Tip:You can add a URL to the Description field. This is useful if you want to link to an external resource or a file in the project's Files tool that will help form fillers complete the form.
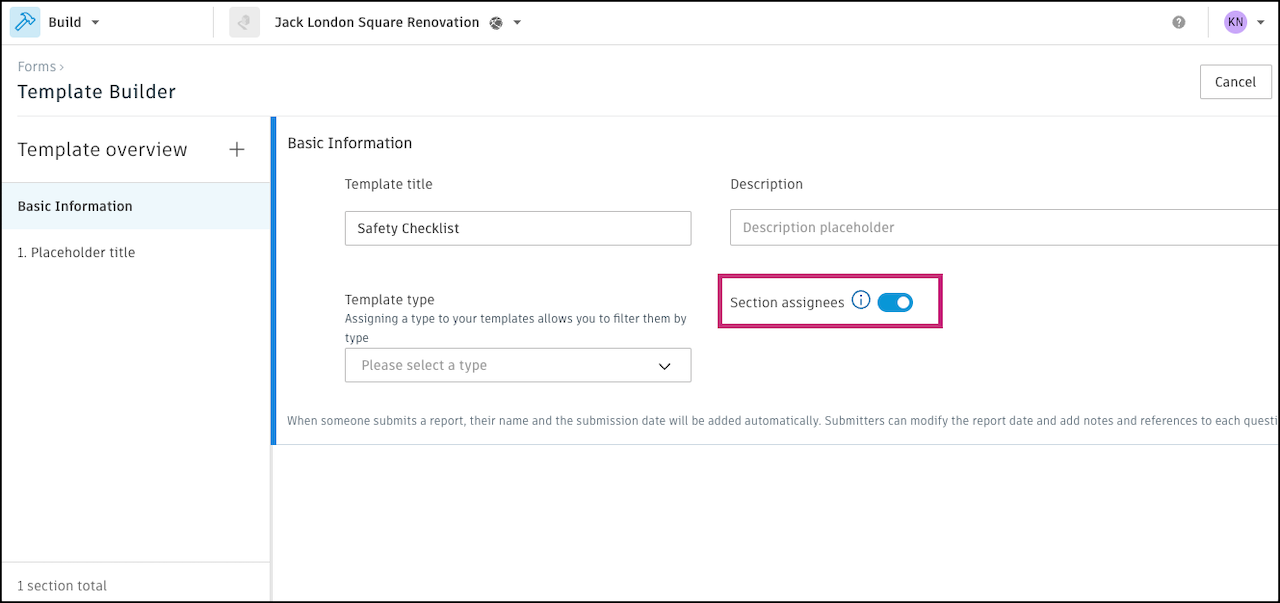
(Optional) Choose to toggle on Section assignees. This lets you assign each section to a company, role, or member. Learn more in Form Section Assignees.
Start customizing the sections, titles, questions, type of responses, and more.
Add Form Sections
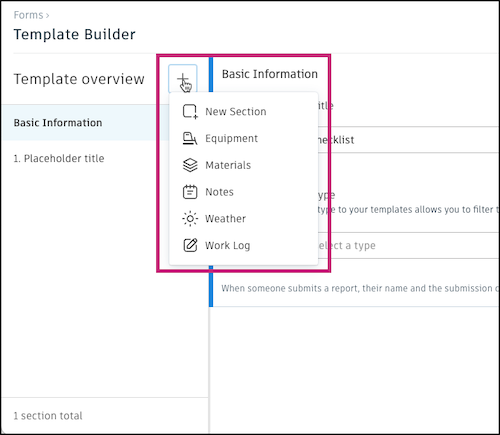
In the left panel next to Template overview, click the ![]() icon and select from the options to add that type of section.
icon and select from the options to add that type of section.
Learn more about the different types of sections and how to configure them in Form Sections.
Move Form Sections
In the left panel, hover over a section name.
Hold the
 icon to the left of the section name. Drag the section to the desired location.Note: Basic Information and Weather (if added) must be the first two sections. Notes must be the last section.
Delete Form Sections
In the left panel, hover over a section name.
Click the
 icon that appears to the right and click Delete.
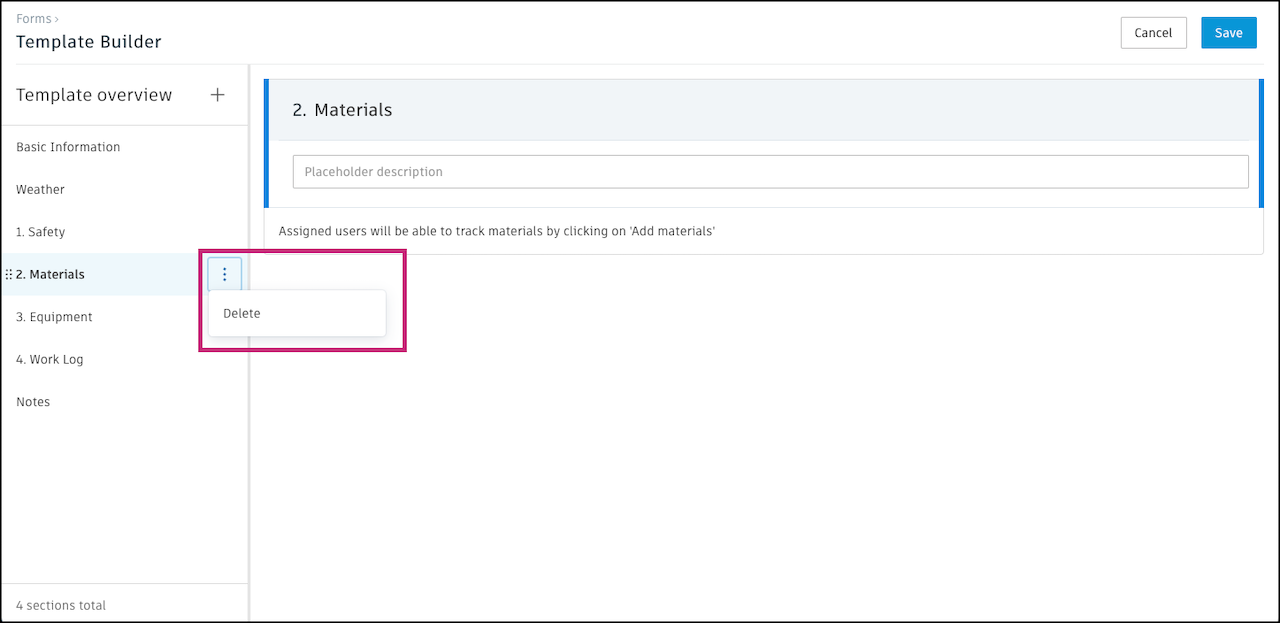
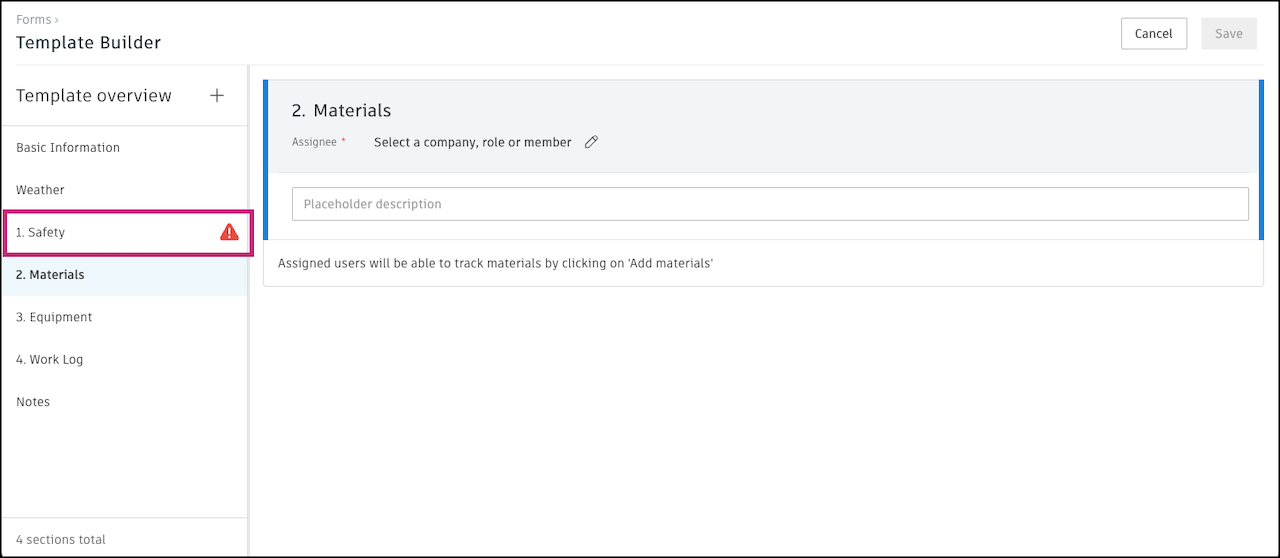
Save Form Template and Set Up Permissions
You must complete missing information before you can save the template. If you see any red warning signs in the Template overview, there is missing required information in that section. Navigate to that section and complete the missing information.
When your template is fully configured, click Save.
Next, choose how contributors will use and submit forms created from your template and click Next. Learn more about each collaboration model in Forms Collaboration Models.
Note: If you are using Section Assignees, you won't be asked to select a contribution model. By default, the form collaboration model is Collaborative.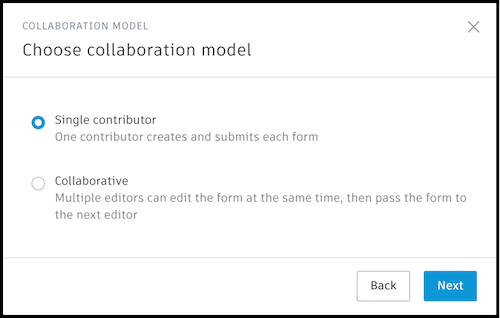
Select editors, reviewers, and viewers and toggle any of the available options. Click Create.
Select companies, roles, or members to be Editors using the drop-down menu. Learn more about what each permission level can do.
Note: If you are using Section Assignees, the editors will be the section assignees you selected previously. To adjust the editors, close the window and change the respective assignee fields. Then return to save the template.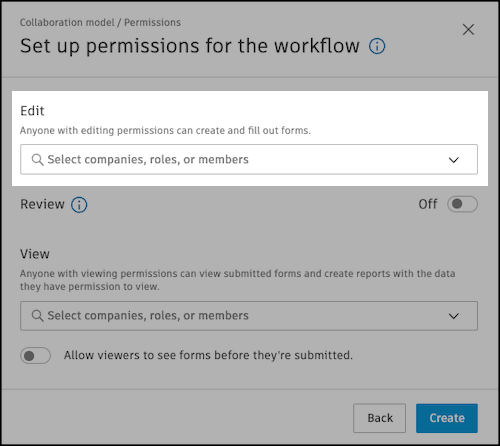
(Optional) Turn on the Review permission and select companies, roles, or members to be Reviewers using the drop-down menu. This will turn on the In review status and add a step. Reviewers must sign and approve the form before it can be closed. Learn more in Review Forms.
Note: When Review is turned on, there must be at least one reviewer selected.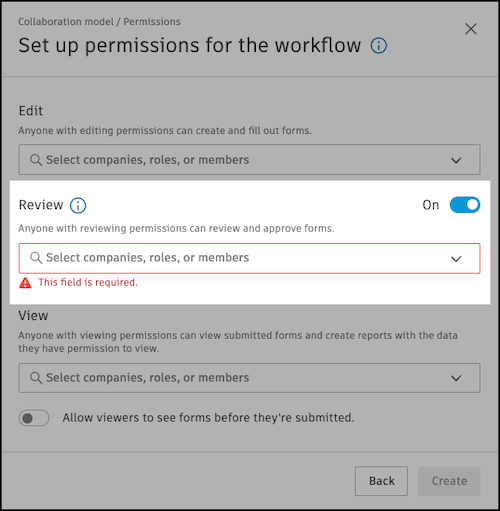
(Optional) Select viewers from the drop-down menu and turn on the ability for viewers to see forms before they're submitted.
Click Create.