
Account-Level Reports
Members who have executive overview access can create the following account-level reports in Insight:
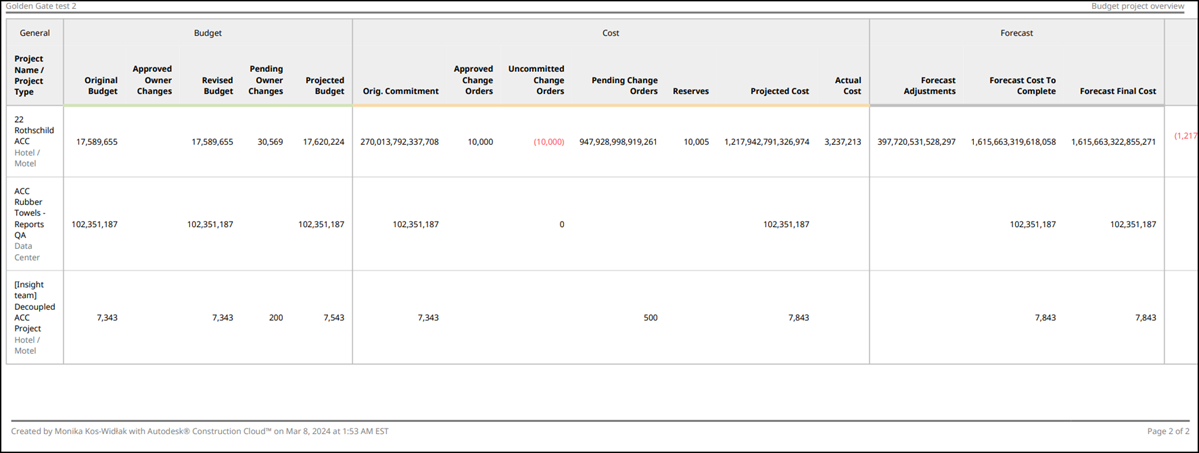
- Budget Project Overview Report: a high-level overview of the budget for projects in your account in a spreadsheet or PDF form.
Create Reports
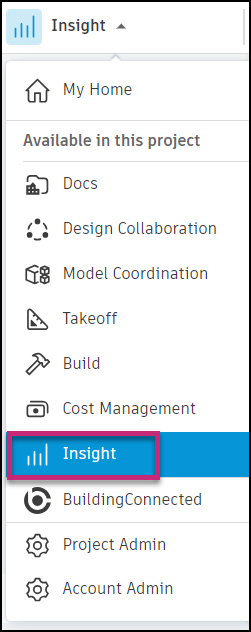
Select Insight from the product picker.
Click Executive Overview on the bottom left.

Click Reports.
Click Create report.
Create Budget Project Overview Report
Follow steps 1-4 above.
Select Budget project overview.
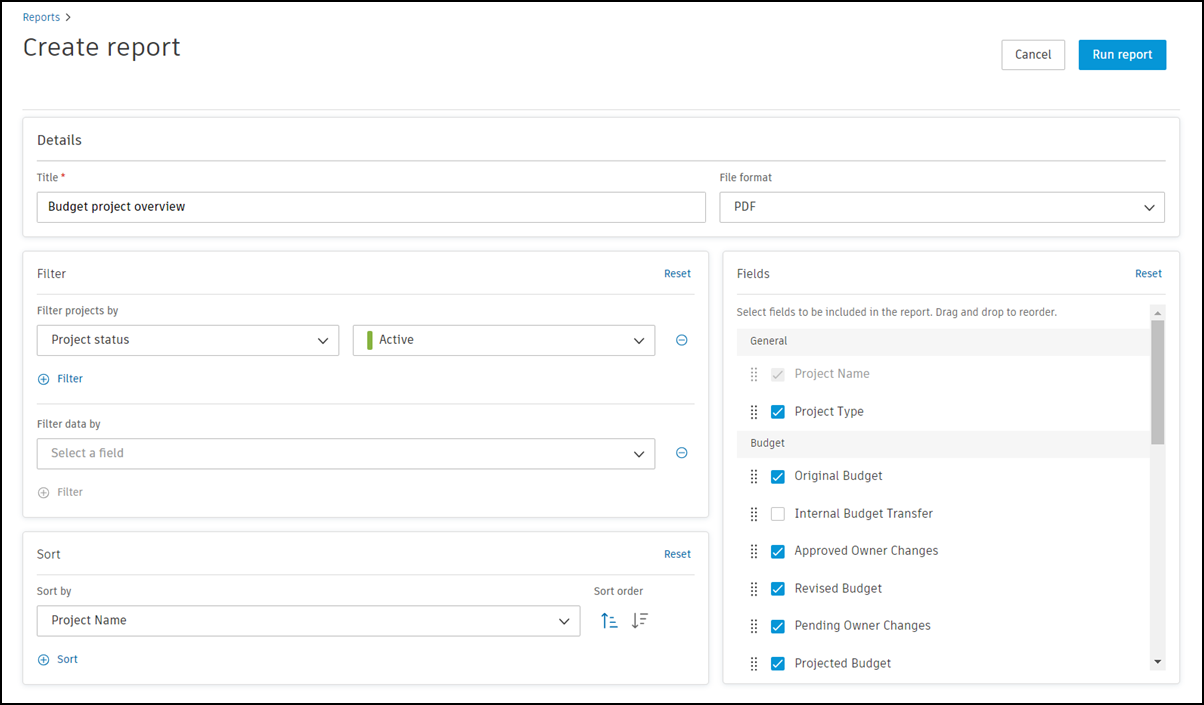
Select options for the report:
Title: Enter a title for your report.
File format: Select either PDF or Excel.
Filter: Use the filters to limit the data that appears in the report. You can filter projects by:
- Project status
- My projects: Active, Archived, Both active and archived
- Project name
- Project type
- Project address
- Platform
- Business unit (BIM 360 projects only)
- Project number
- Start date
- End date
Filter data by:
- Budget code
- Budget name
- Budget description
- Original budget
- Main contract name
Tip:Click
 to add more filters and further refine the data included in the report. Click Reset to clear all applied filters.
Sort: Organize your report by setting up sorting criteria:
- Project name
- Project type
- Original budget
- Internal budget transfer
- Approval owner changes
- Revised budget
- Pending owner changes
- Projected budget
- Original commitment
- Approved change orders
- Uncommitted change orders
- Commitment & Changes
- Pending Change Orders
- Reserves
- Projected cost
Fields: Select the fields to include in your report. You can also drag and drop to reorder the fields as needed.
Click Run report.
Tip: Optionally, use the radio button to save the report as a template.In the reports list, click the More menu
 next to the report to:
Download the report
Copy a link to the report
Share the report with other members
Save the report as a template
Void the report
See Create and Schedule Reports to learn how to create and schedule customized reports containing data relevant to your project needs.
Create Cross-project Issue Summary Report
Follow steps 1-4 above.
Select Cross-project issue summary.
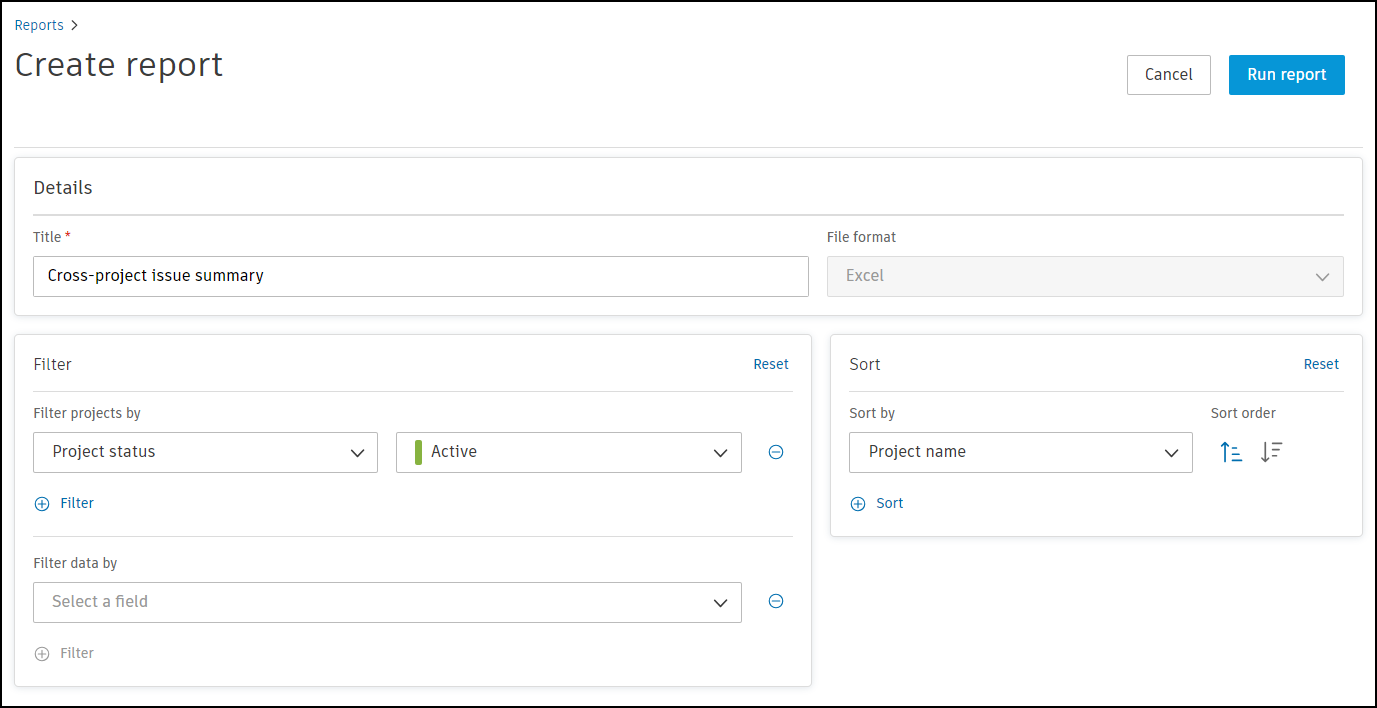
Select options for the report:
Title: Enter a title for your report.
File format: Excel.
Filter: Use filters to limit the data that appears in the report. You can filter projects by:
- Project status
- My projects: Active, Archived, Both active and archived
- Project name
- Project type
- Project address
- Project number
- Start date
- End date
Filter data by:
- Created on
- Status
- Assigned to
- Start date
- Due date
Tip:Click
to add more filters and further refine the data included in the report. Click Reset to clear all applied filters.Sort: Organize your report by setting up sorting criteria:
- Project name
- Project status
- Created on
- Start date
- Due date
Click Run report.
Tip: Optionally, use the radio button to save the report as a template.
In the reports list, click the More menu
next to the report to:- Download the report
- Copy a link to the report
- Share the report with other members
- Save the report as a template
- Void the report