
This step shows you how to use Interactive Feature Recognition to create features. In this example you will create Side features and then Hole features.
Creating the Side features
- Click the
Features
 step in the
Steps panel.
step in the
Steps panel.
The New Feature dialog is displayed.
- Under From Curve, select Side.
- Select Extract with feature recognition.
- Click
Next.
The Feature Extraction page is displayed.
- Select
Select side surfaces and click
Next.
The Surface page is displayed.
- In the graphics window, select the surface on which to create the flat Side feature.
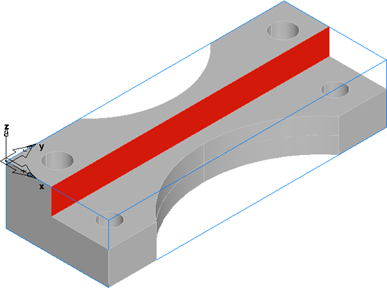
- On the
Surfaces page, click
Add from selected items
 to add the surface to the list.
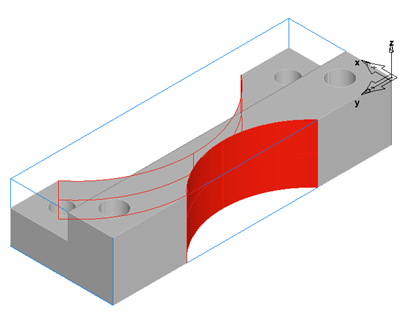
- Click the arrow on the
Finish button, and then click
Finish and Create More.
The feature is created and the New Feature dialog is displayed.
- Ensure
Side and
Extract with feature recognition are selected, and click
Next.
The Feature Extraction page is displayed.
- Select
Select side surfaces and click
Next.
The Surface page is displayed.
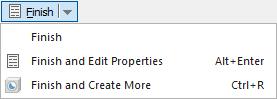
- In the graphics window, select the surfaces on which to create the curved Side features, on both the front and back of the part.
Front:
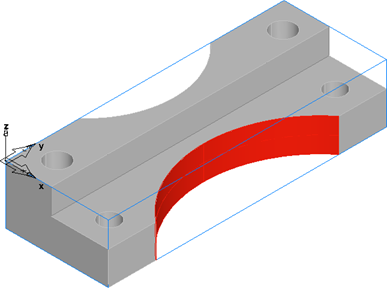
Back:
 Note: Hold the Shift key and click to select multiple surfaces.Note: Press the Ctrl+3 or Ctrl+7 to select the back and front isometric views.
 - On the
Surfaces page, click
Add from selected items
to add the surfaces to the list.
- Click the arrow on the Finish button, and then click Finish to create the features and close the dialog.
Creating the Hole features
- Click the
Features
step in the
Steps panel.
The New Feature dialog is displayed.
- Under From Dimensions, select Hole.
- Ensure Extract with feature recognition is selected.
- Click
Next.
The Hole Recognition Method page is displayed.
- Select
Recognize and construct multiple holes and click
Next.
A preview of the recognized Holes is displayed in the graphics window.
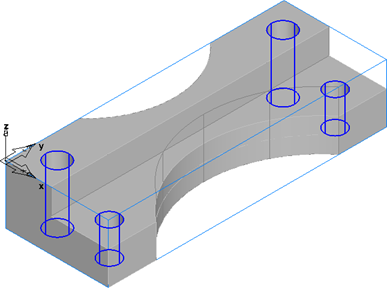
You can now select the Holes you want to create. Selected Holes are displayed in red.
- Click Select All to select all the recognized Holes.
- Click Finish to create the Hole features and close the dialog.