
Migrate custom templates
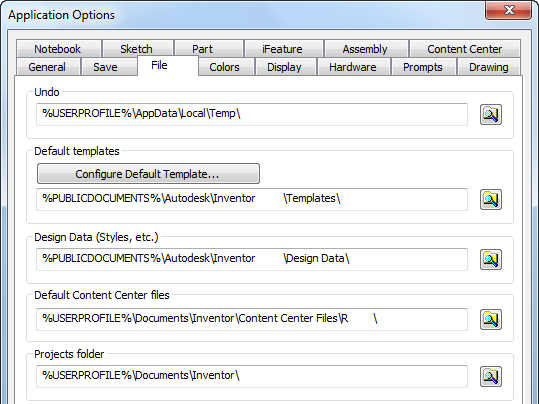
By default, the Inventor templates supplied with Autodesk Inventor are in C:\Program Files\Autodesk\Inventor <version>\Templates or C:\Users\Public\Documents\Autodesk\Inventor <version>\Templates. You can get the Template location from the Application Options, File tab. If you work in a networked environment, this folder resides in a shared location on the network, and not on your local hard drive. If you are unsure of this location, check with your IT or CAD Administrator.
Migrate your current Inventor customized templates to new release of Autodesk Inventor
Before beginning the migration, there are several points to consider:
- If you did not modify the templates shipped with the previous Inventor release, it is not necessary to migrate them. Use the templates that are supplied with the new release of Inventor.
- Once migrated, you cannot use the templates with older versions of Inventor.
- If you modified the existing Inventor templates, we suggest that you migrate these customized templates first. You can use Task Scheduler to migrate, or you can open a template and save to do the migration. We suggest that you open templates and then save them to do the migration. This method migrates any customized styles based on templates that you want to retain.
Migrate your custom templates
Step 1: Copy your legacy customized templates into the Inventor Template folder.
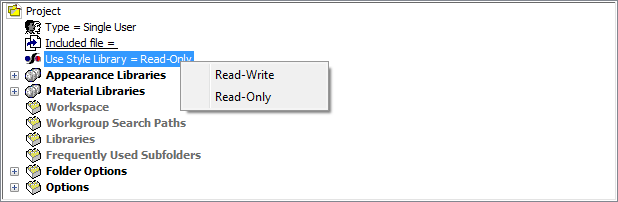
Step 2: Activate the new version of Inventor, and in the Project dialog box, select the default project. Then confirm the value for Use Style Library, and set Use Style Library= Yes or Use Style Library=Read-Write .
Tips for migrating custom template
In Inventor 2012 , the Use Style Library = No option is removed from the project file settings. Starting with Inventor 2012, if the style matches a style in the style library, we automatically purge all styles from Inventor documents. If you define a customized style based on a customized template and not a style library in the old version, set Use Style Library = Yes or Read-Write, as shown in the following images. This action saves a customized style of a customized template to the style library in the new Inventor version.

Step 3: Open the legacy customized template, and save it for migrating.
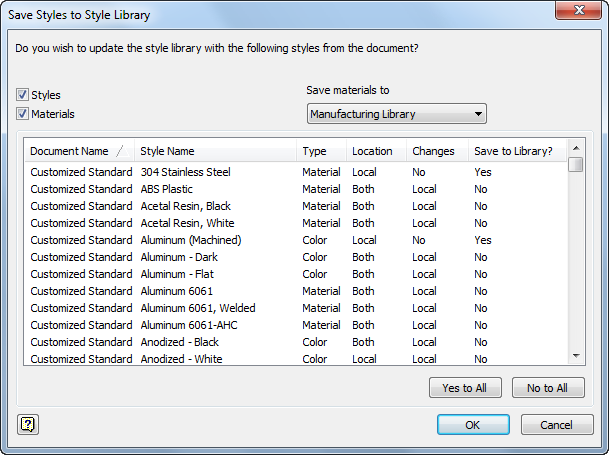
Step 4: Save the customized styles of the customized template to the style library. To display the Save Styles to Style Library dialog box, click the Manage tab  Styles and Standards Save. By default, in the Save to Library column, all local styles are Yes. Then confirm whether to save them to the style library. If Local displays in the Changes column, and Both displays in the Location column, this style is in both libraries, but the value differs. Decide which is needed:
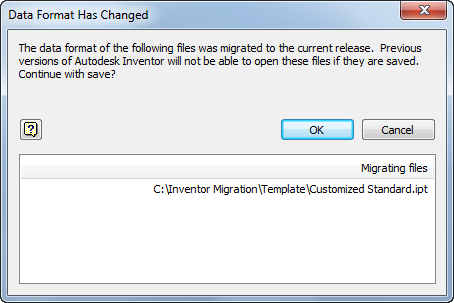
If you keep the different values, the following warning dialog displays when you create a file based on it.
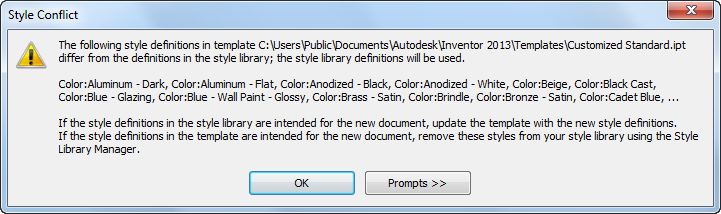
To avoid this warning, please refer to the Style Conflict message posted on the Inventor Product Support blog, Being Inventive.
Step 5: When you finish migrating the local style of the legacy customized template, save the template.
Repeat these steps for other legacy customized templates.