
Open an existing map book template and begin customizing it by specifying your printer or plotter.
Note: This information is used every time you publish your map book to a plotter. You cannot change these settings at print time.
To assign a printer or plotter to a map book template
- Open the 8.5x11 map book template.
- Click

 OpenDrawing.
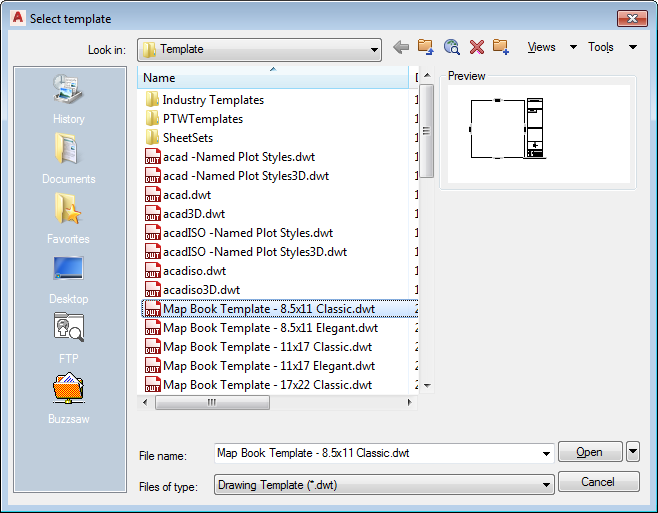
- Change Files Of Type to Drawing Template (*.DWT).
AutoCAD Map 3D toolset automatically changes to the Template folder.
- Scroll about halfway down the list of templates.
- Select Map Book Template - 8.5x11 Classic.dwt.
- Click Open.
Scroll halfway down the list of templates and select the first map book template.
- Click
- If necessary, zoom out to see the entire template. Click
. Find
- Right-click the layout tab labeled Ansi_A and select Page Setup Manager to specify plotter and paper information.
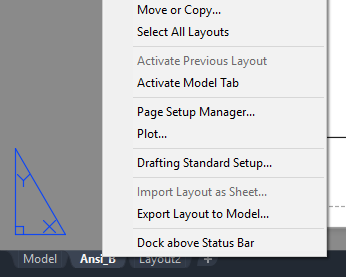
Right-click the layout tab for the map book and choose Page Setup Manager.
- In the Page Setups list, select *Ansi_A* and click Modify.
- Select one of the DWF plotter choices from the Name list.
- Change any other settings you like.
- Click OK and then Close.
To continue this tutorial, go to Exercise 2: Resize the Main Viewport.