
In this exercise, you change the display order of the raster image in the drawing file. You send the raster image to the back, so objects in the original map display in front of it.
Note: This exercise uses the
CITY.dwg map you used in
Exercise 1: Insert a raster image.
To change the display order
- If the CITY.dwg map is not still open, reopen it.
- In the drawing area, place your cursor over the image, hold down the Shift key, and click the image.
- With the image selected, right-click and select Draw Order
 Send To Back.
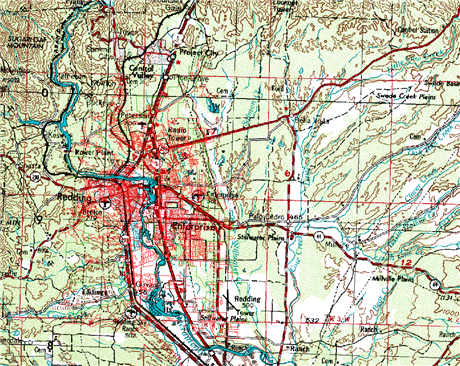
The polylines in the original map now display in front of the raster image.
- Click
 Save.
Save.
Where you are now
You inserted a raster image into a drawing, viewed its information, and placed it behind the polylines in your map to provide context.
To continue this tutorial, go to Lesson 5: Modify Raster Images.