
In the Data Table, add information about this parcel.
Note: This exercise uses the
build_map1.dwg map you created and modified in the previous exercises.
To add information about the new parcel
- Right-click the parcel in the map and click Check-in Feature.
The original data source is updated.
- Click in the new blank row in the Data Table.
If the Data Table is minimized or docked, click its Show/Hide icon to display it. Scroll to the bottom of the Data Table to see the new entry.
- Fill in the data fields for this parcel.
Look at the other entries to see what a logical entry would be for each column. Making changes to the parcel properties checks the parcel out automatically.
- Right-click the parcel in the map and click Check-in Feature.
The original data source is updated with your changes.
- Save your map.
Where you are now
You have added a new parcel and updated the parcel data to reflect your changes.
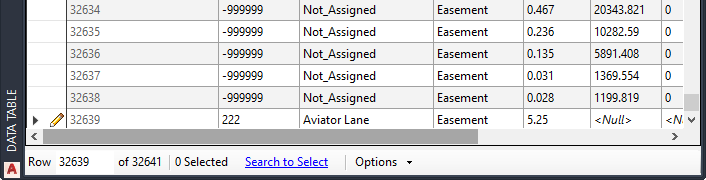
A new Data Table entry
To continue this tutorial, go to Lesson 5: Find and Edit Features.