
- Click Home tab
 Project panel Data Manager.

- In the Data Manager, in the drop-down list, click the appropriate data view.
- In the tree view, click the node to export.
- Click Export.

- In the Export Data dialog box, in the Select Export Settings list, click Displayed Data or a custom setting.
Note: Only Displayed Data is available for area or customized views.
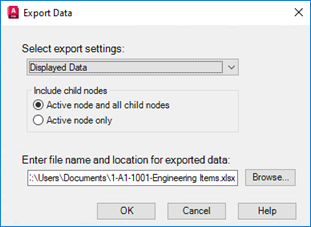
- Under Include Child Nodes, click the appropriate option to include the active node and all child nodes, or the active node only.
- Under Enter File Name and Location for Exported Data, do one of the following:
- To use the default file path and file name, click OK and go to step 9.
- To select a different file path or file name, click Browse.
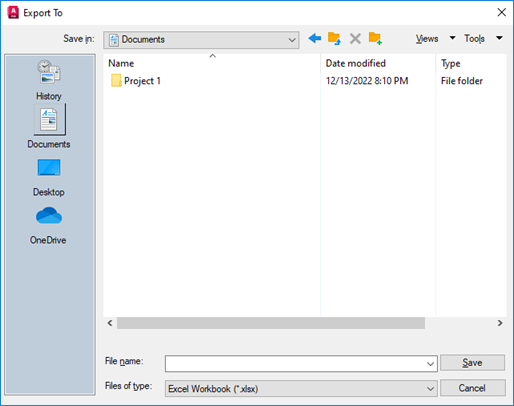
- In the Export To dialog box, do the following:
- Navigate to and select a folder to store the exported files.
- In the File Name box, enter a file name or use the default file name provided.
- In the Files of Type box, select the file format for the exported files: XLSX (the default) or CSV.
- Click Save.
- In the Export Data dialog box, click OK.