
You can annotate the area reinforcement region using custom symbols and tags. This provides information about the type of reinforcement and specific boundary details.
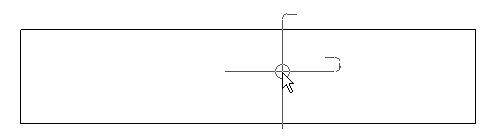
Place an Area Reinforcement Symbol
- Click Annotate tab
 Symbol panel
 (Area Reinforcement Symbol).
Note: You can load reinforcement symbols from the Library if none exist in the project.
(Area Reinforcement Symbol).
Note: You can load reinforcement symbols from the Library if none exist in the project. - (Optional) To automatically place the tag, click Annotate tabSymbol panel (Area Reinforcement Symbol)
 (Auto Place). The first click on the area reinforcement automatically places the tag at the center of it.
- To manually position the tag, toggle off Auto Place, then click once to select the area reinforcement, and click again to place the tag.
Place an Area Reinforcement Tag
- Select Annotate tabTag panel
 (Tag By Category).
Note: You can load reinforcement tags from the Library if none exist in the project.
(Tag By Category).
Note: You can load reinforcement tags from the Library if none exist in the project. - Select the area reinforcement on which to place the tag.
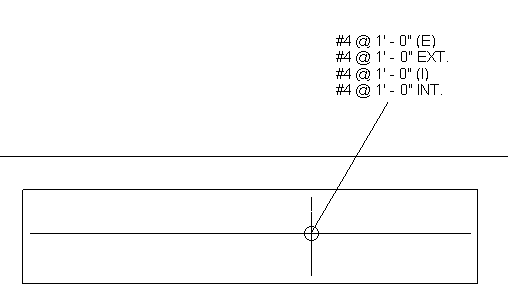
You can include major spacing properties by editing the tag label. Bottom/Interior Major Spacing and Top/Exterior Major Spacing are available Category Parameters.
- Press
ESC to exit the Tag tool.
Note: To resolve rounding errors that may manifest when tagging area reinforcement, you can modify the units of measurement for reinforcement volume and length. Click Manage tabSettings panel
 (Project Units). Under Reinforcement Volume or Reinforcement Length, adjust the units, rounding, and symbol representation as needed.