Test and turn on SSO
This section explains how to add test users to a linked domain to test the connection before turning on SSO. This step is optional, but strongly recommended to ensure that users will be able to sign in to Autodesk products and services.
Note: Admins should not add themselves to the test user list. If there is an issue with the connection, the admin will need to contact Autodesk Support to be removed from the test list and regain access. Learn how to test the connection as an admin before testing with users.
When choosing test users, you should ideally:
Choose users who you can work with to confirm that they can sign in successfully.
Add frequent users as well as several users who work on different tasks and projects.
Make sure that all products for test users have the latest updates.
Add test users and turn on your SSO connection (video: 4:36 min.)
Add test users
Note: Make sure to assign test users access to the Autodesk SSO application that you created with your identity provider before adding them to the test list.
Add test users who can test signing in with a browser and an Autodesk product. After receiving confirmation of a successful sign in from all users, you can turn on SSO. This will take effect immediately and turning it off requires help from Autodesk Support.
Go to Single sign-on (SSO) > Manage SSO. Under each SSO connection, you will see a list of your linked domains. (If you have not yet linked a verified domain, refer Add and Verify Domains to do so before continuing.) Choose a domain and select Test and turn on SSO.
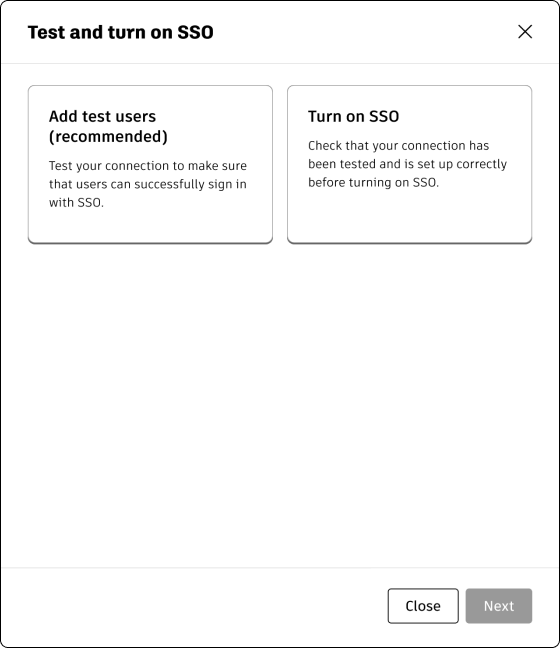
Select the Add test users (recommended) box and click Next.
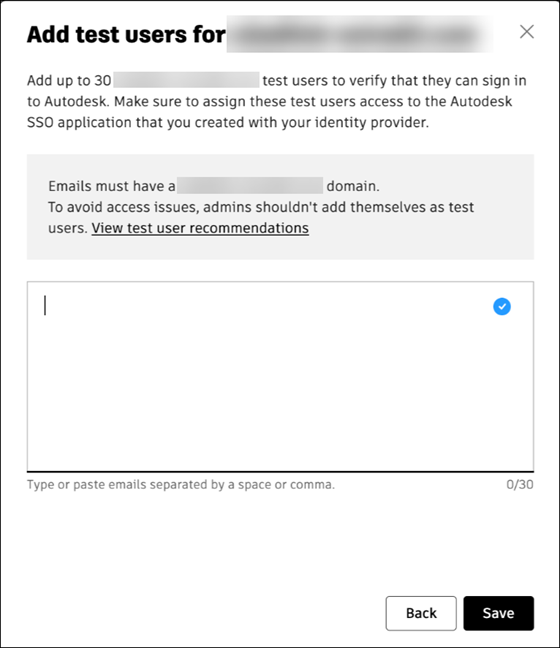
Enter the organization email addresses of up to 30 test users, then click Add.
- Direct your test users to any Autodesk sign-in page to test whether they can successfully sign in with their organization’s email address. Once you have confirmed that test users can successfully sign in, you can turn on SSO. (If your test users can’t sign in, see Troubleshooting).
Turn on SSO
Note: You should only turn on SSO after completely testing with users. If SSO is not set up correctly, users will lose access to their Autodesk products and services.
Return to Single sign-on (SSO) > Manage SSO. Choose a domain and select Test and turn on SSO.
Select the Turn on SSO card and click Next.
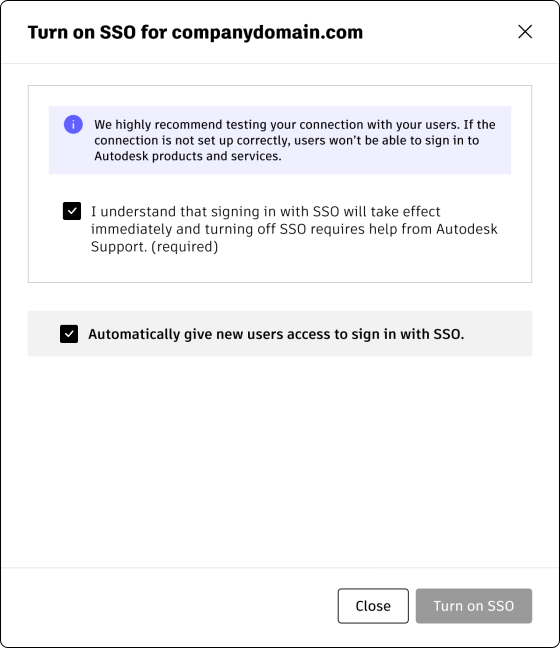
You will be asked to confirm that you understand signing in with SSO will take effect immediately and turning off SSO requires help from Autodesk Support. Check the box to confirm.
If you want new users to automatically receive single sign-on access, check Automatically give new users access to sign in with SSO. (You can change this setting at any time under Edit SSO access.)
Click Turn on SSO. Once SSO is turned on for a domain, the SSO status for that domain will appear as On, and the SSO test users you added during the previous step will be removed.
Your SSO connection is now turned on.
Previous: Set up your connection
Next: Manage the connection