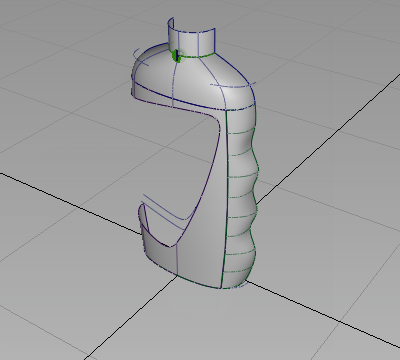
In the Vacuum tutorial, you intersected surfaces to create curves-on-surface that could then be used for trimming.
In this tutorial, you Project a curve onto the surface, which creates the curves-on-surface needed for trimming.
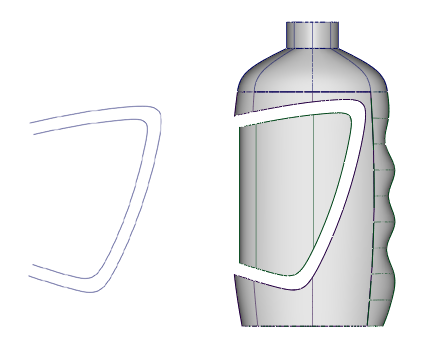
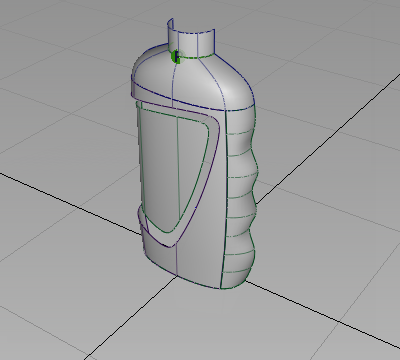
First, trim out the label shape from the main body surface.
Then, create a recessed surface for the label panel. Trim this surface slightly smaller so there is a space to build a smooth blend surface.
You cannot use Detach in this case to ‘cut’ the surface, as the desired shape does not follow the isoparms of the surface.
Open the tutorial file (optional)
If you successfully completed part 2, proceed to the next step: Trim the label area.
If you were not successful in part 2, open the file called showergel_Part2.wire, located in the wire folder of the CourseWare project. This file contains the completed model from part 2.
Trim the label area
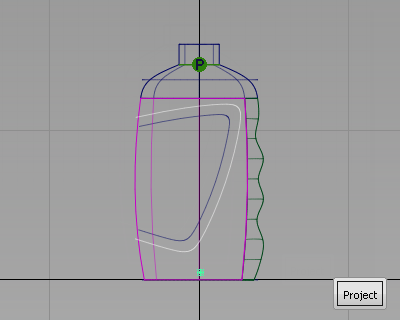
First project the label shape curve onto the bottle surface. The active window determines the projection direction, so use the Left window.
- Maximize the Left window.
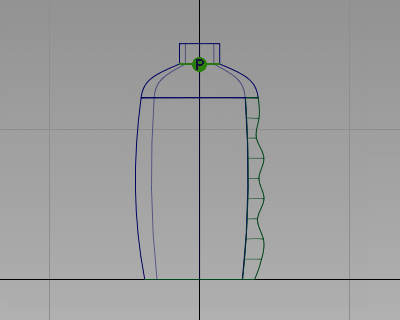
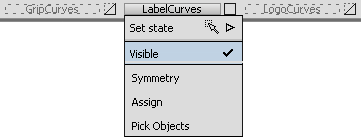
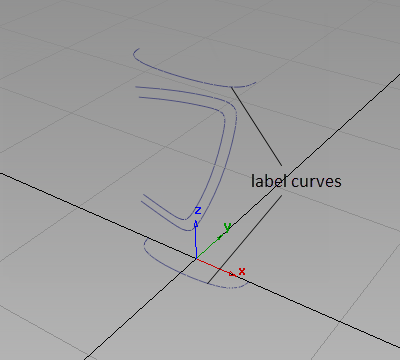
- Make the LabelCurves layer visible.
The layer has two curves for the outline of the label. Use the outer curve to trim away the main body surfaces.

- Project the outer label curve onto the body surface. Choose Surface Edit > Create CurvesOnSurface > Project
 .
. -
You are prompted to select a surface. Click the main bottle surface to select it.
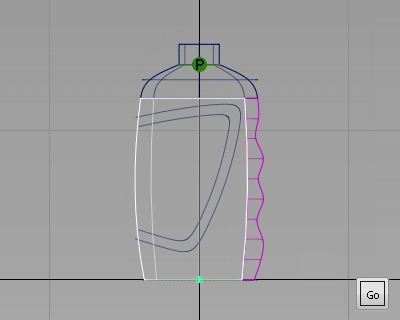
- Click Go to accept the surface.
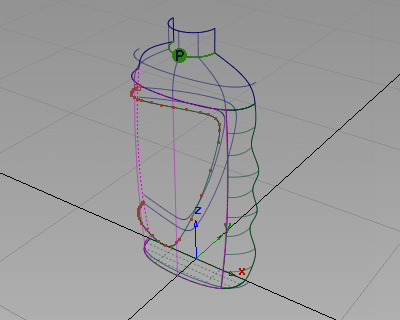
You are then prompted to select the projecting curves.
- Click the outer label curve to select it, and then click Project.
The curve is projected onto the surface.
- Maximize the Perspective view to see the curves-on-surface more clearly.
- Choose Surface Edit > Trim > Trim Surface
 .
. -
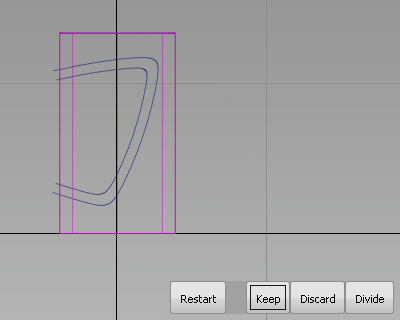
You are prompted to select the surfaces to trim. Click the main bottle surface to select it.
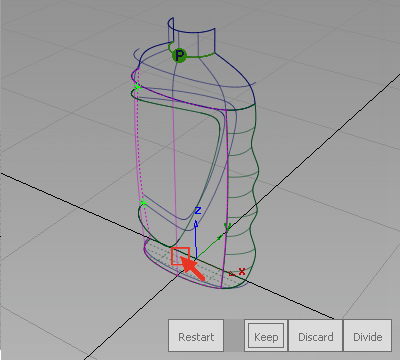
- You are then prompted to select trim regions. Click the part of the surface you want to keep (the part outside the label area).
- Click Keep shown in the bottom right corner of the window.
The surface is trimmed.
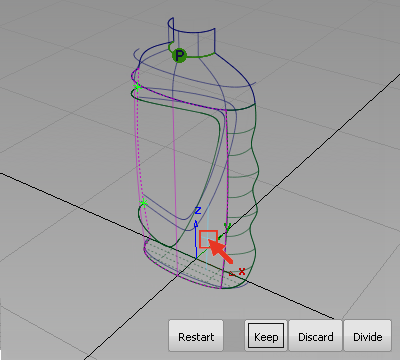
- Use diagnostic shading to verify that the surface has been trimmed correctly.
 Tip:
Tip:If the trimming is not correct, click Revert at the bottom of the screen to go back one step and reselect the trim regions. If you want to correct the trim at a later stage, you can use Surface Edit > Trim > Untrim to restore the surface to its untrimmed state.
Create the label surface
The bottle is to have a paper label. Paper can only bend in one direction at a time if it is to have no folds or wrinkles. Therefore bend the label surface only in one direction. This is called single-curvature.
Create a single-curvature surface by using a Skin surface between two identical curves.
First, organize your model using the layers.
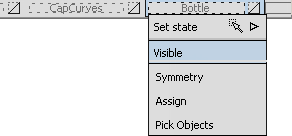
- Make the Bottle layer invisible using the layer drop-down menu.
There are two identically shaped curves for the skin surface; use these curves to create the label.
- Choose Surfaces > > Skin Surfaces > Skin
 . Follow the prompts and select the two label surface curves to create a skin surface.
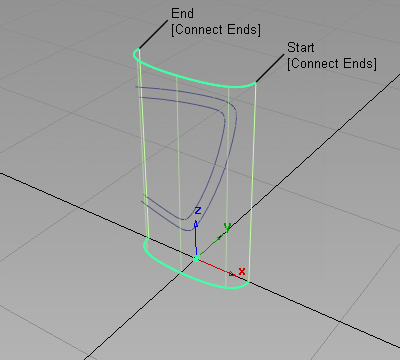
Next, project the label outline curve onto the surface and trim the surface to the shape of the label.
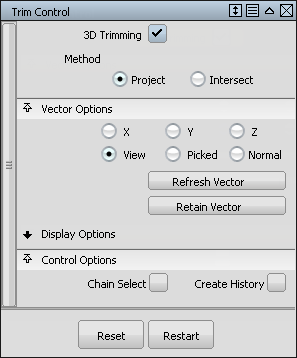
This time execute both operations at once by using the 3D Trimming option in the Trim Surface tool.
- Maximize the Left window.
- With the surface selected, choose Surface Edit > Trim > Trim Surface. Double-click the icon to open the control window.
Select 3D Trimming, then close the control window.
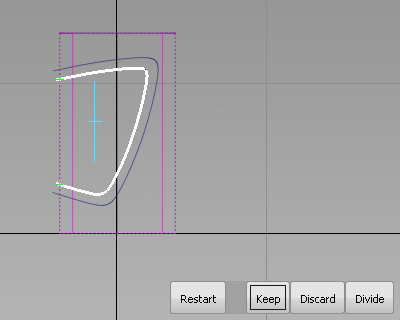
You are prompted to select trimming curves.
- Click the inner label shape curve to select it.

You are then prompted to select trim regions.
- Click the part of the surface you want to keep (the part inside the label area). Then, click Keep shown in the bottom right corner of the window.
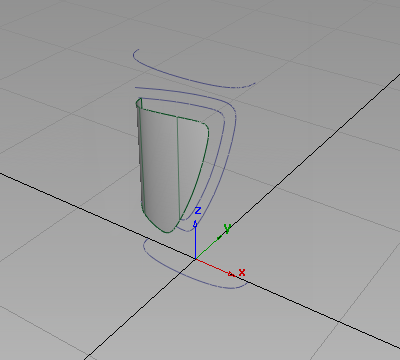
The surface is trimmed.
- Switch to Perspective view and turn on diagnostic shading to verify the trimming.
- Make the Bottle layer visible, and assign the new surface to it.
- Make the LabelCurves layer invisible
Save your work
- Save your work in the wire folder of the Lessons project.
- Name your file myshowergel3.wire.