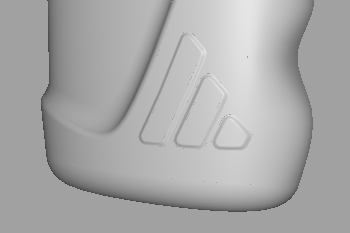
In this section, create an embossed logo at the base of the pack.
Use an offset surface to create the logo surface; trimming to create the logo outline, and a Freeform Blend to join it to the main surface smoothly.
Open the tutorial file (optional)
If you successfully completed part 4, you can proceed directly to the next step: Trim the body surfaces.
If you were not successful in part 4, open the file called showergel_Part4.wire, located in the wire folder of the CourseWare project. This file contains the completed model from part 4.
Trim the body surfaces
Create the transition surface using the Freeform Blend. This tool quickly creates a tangent or curvature blend between two edges, and is useful when the edges are made up of many sections.
Create the embossed logo surface using the Offset tool.
Start by projecting the outer logo curves onto the main surfaces.
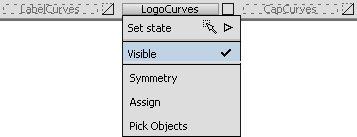
- First, make the LogoCurves layer visible.
- Maximize the Left window to specify the direction of projection.
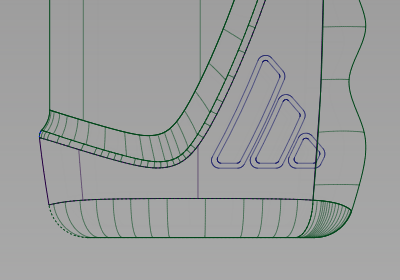
- Choose Surface Edit > Create CurvesOnSurface > Project
 .
. -
You are prompted to select the surfaces. Select the main bottle surface and the finger grip surface.
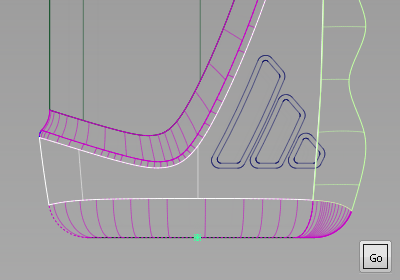
- Click Go. You are prompted to select the curves to project. As there are many curves in the logo detail, drag a selection box over all the curves.
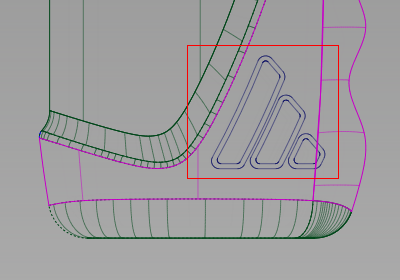
All the curves are highlighted.
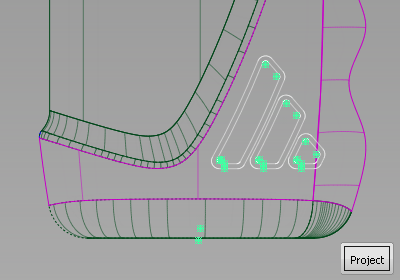
- Click Project to project the curves. Curves-on-surface are created on the two surfaces.
- Maximize the Perspective window to see the curves-on-surface more clearly.
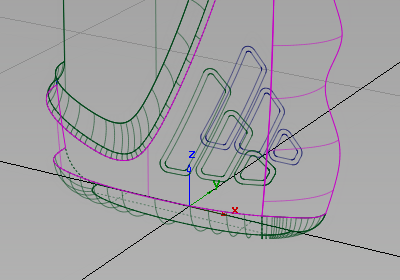
Next trim away the main surfaces.
- Select the Surface Edit > Trim > Trim Surface
 tool. You are prompted to select the surface to trim. Click the main bottle surface first.
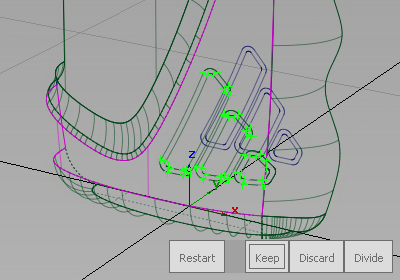
- When prompted to select the trim regions, click the part of the bottle surface to keep, as shown.

Click the Keep button to trim the surface.
The surface is trimmed to the outer curves, the inner curves are ignored.
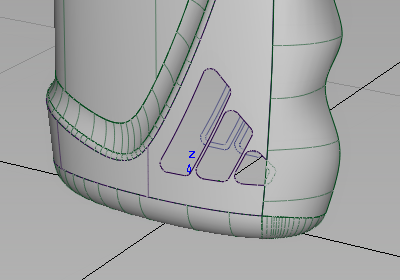
Do the same for the finger grip surface, trimming away the small corner of the logo that crosses into the surface.
- Select the Surface Edit > Trim > Trim Surface
 tool and follow the prompts to trim the finger grip surface.
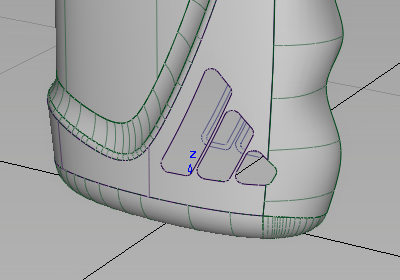
The surfaces have now been trimmed to allow the logo details to be embossed.
Create the offset surfaces
To create an ‘embossed’ effect, offset the main bottle surface by 0.5 mm, outwards from the bottle. Then trim this surface to the inner logo curves.
First create a layer for the new offset surface.
- Choose Layers > New
 to create a layer.
The layer is only used to organize the model temporarily, so there is no need to rename it.
Now, create the offset surface.
- Choose Object Edit > Offset
 and select the main bottle surface.
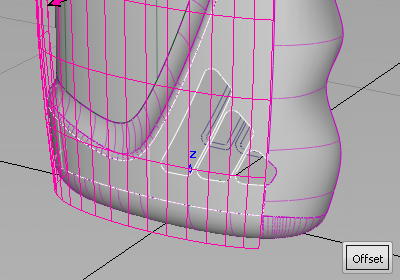
The arrow indicates the direction of the offset. It should point toward the outside of the bottle. If it does not, click it to reverse its direction.
- At the prompt line, type an offset value of 0.5 and press Enter.
Click Offset to create the surface.
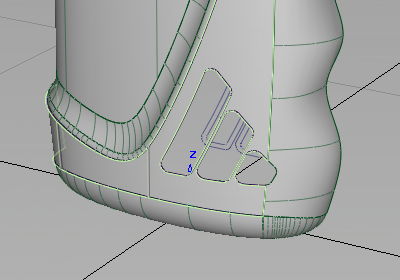
- Assign the surface to the new layer.
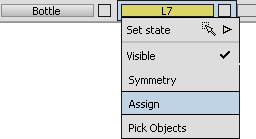
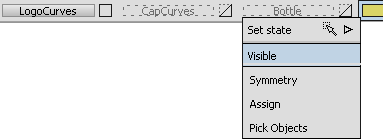
- Make the Bottle layer invisible so only the new surface is showing on the screen.
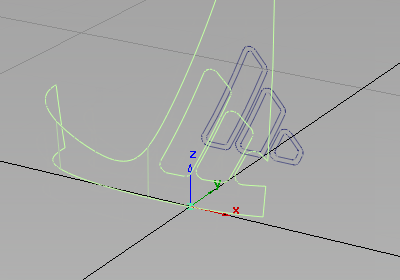
When the surface was offset, the curves-on-surface and trims were offset with it. As you do not want these, untrim the surface and remove the curves-on-surface.
- With the surface still selected, choose Surface Edit > Trim > Untrim
 . Double-click the tool icon to open the option window.
 - Choose the All option and click Go, so the surface becomes fully untrimmed in one operation.
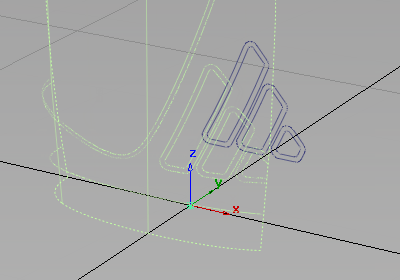
- Choose Pick > Object Types > Curve on Surface
 and drag a pick box over all the curves-on-surface to select them.
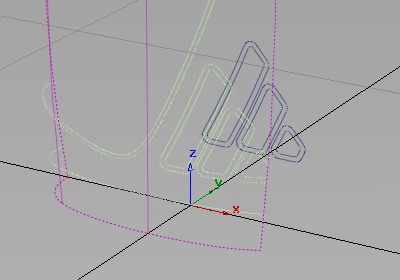
- Press the
 key to delete the curves-on-surface.
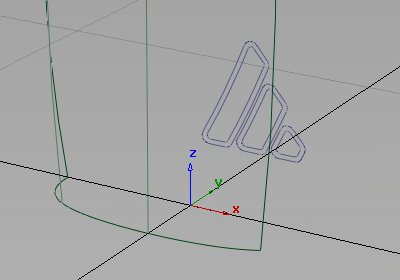
- Maximize the Left view. You can see that the logo curves extend beyond the surface by a small amount. The easiest solution is to extend the surface slightly so the curves fit.
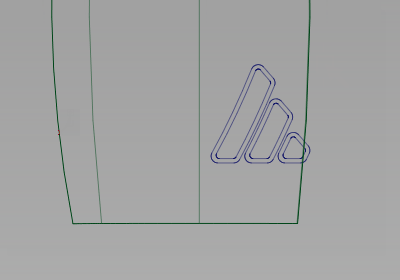
Use the Extend tool interactively, to extend the surface a small amount by eye.
- Choose Object Edit > Extend

 to open the Extend Object options box.
 Change Extend Type to Linear and click Go.
- Click the right edge of the surface.
You are asked if you want to remove the construction history – answer Yes.
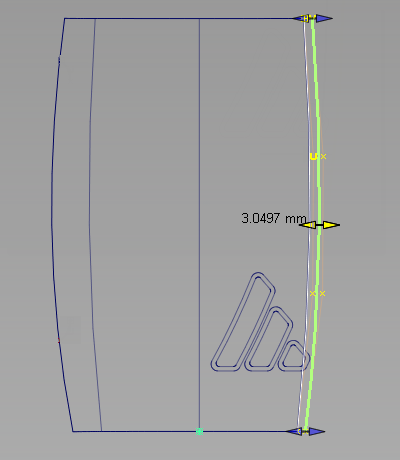
- Carefully drag the middle arrows using the
 to extend the surface just beyond the inner logo curves.
  Tip:
Tip:If you over-extend the surface, type in 0 at the prompt line to return the surface to its original shape.
Trim the Offset Surfaces
Now project the curves onto the offset surface, so it can be trimmed to the inner logo shapes.
- Choose Surface Edit > Create CurvesOnSurface > Project
 .
. -
When prompted to select the surfaces, select the offset surface and click Go.
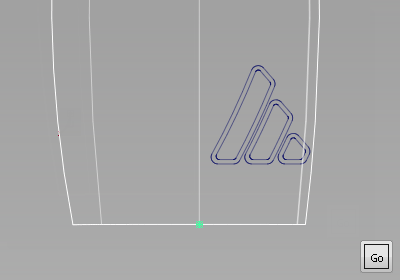
- As prompted, choose the curves to project. Use a drag box to select all the curves.
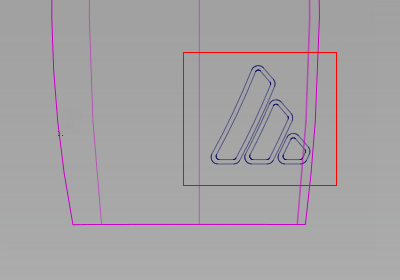
- Click Project to project them onto the surface.
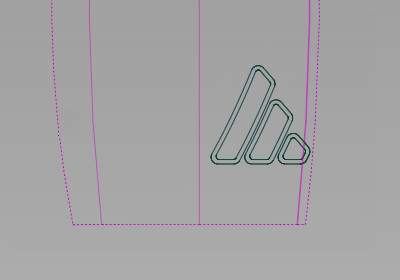
Next trim the offset so that only the three inner shapes remain.
- Select the Surface Edit > Trim > Trim Surface
 tool and click the offset surface.
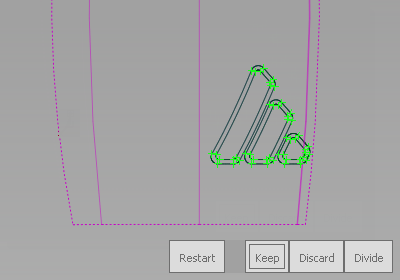
- Select the three inner Regions, and click Keep.
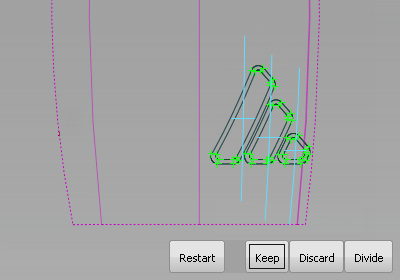
The surface is trimmed into the three parts of the logo.

Now is a good time to tidy up the layers.
- Make the LogoCurves layer invisible.
- Choose Pick > Object
 and select the offset surface.

- On the Bottle layer tab, select Assign.
The surface disappears from the screen because it has been placed on an invisible layer.
- Make the Bottle layer visible and check that the new offset surface is there.
- Remove the temporary layer by choosing Layers > Delete > Unused Layers
 .
.
Create the freeform blend surfaces
To give a smooth ‘embossed’ edge to the logo, use the Freeform Blend tool to blend from the outer to the inner shapes.
- Maximize the Perspective view and use diagnostic shading to check that the gaps have been created for the blend surfaces.
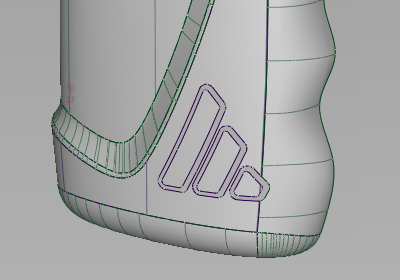
Next create the freeform blend surface. As the logo shapes were made up of many curves, you can use the Chain Select option to select the whole edge.
- Choose Surfaces > Multi-Surface Blend > Freeform blend
 , and double-click the icon to open the option window.
 - Change Side 1 Continuity and Side 2 Continuity to G0 Position.
Select Explicit Control.
Choose the Chain Select option, and leave the option window open on screen.
- You are prompted to pick the input surface curves. Click the edge of the first logo offset surface as shown.
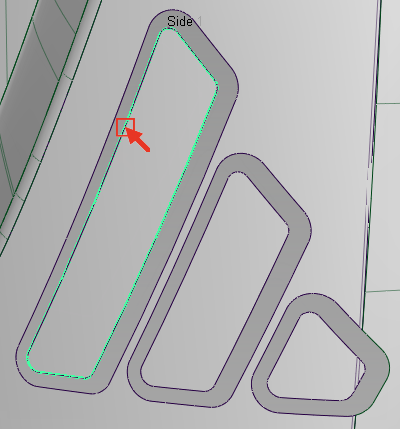
The whole edge is selected and highlighted in green.
- Next, click the edge on the bottle surface.
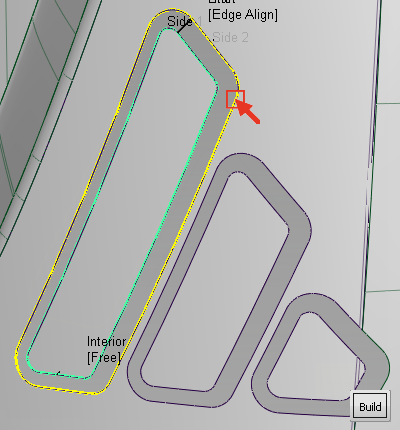
The edge is selected and highlighted in yellow.
- Click Build to build the Freeform Blend.
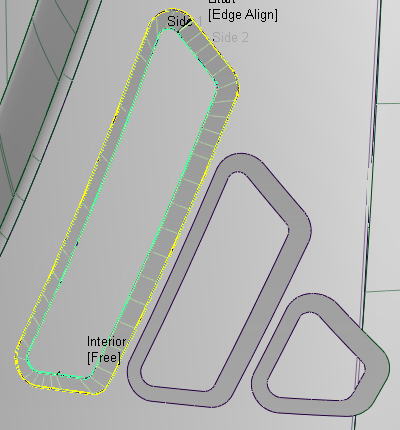
- To continue building the blend surfaces, click Next in the Freeform Blend option window.
- Repeat the process to create the other two blends.
Use diagnostic shading to evaluate the logo embossing.
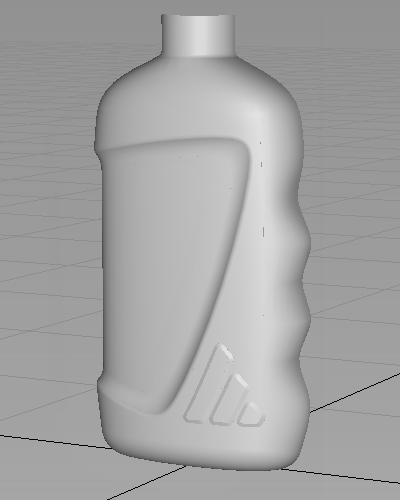
- Finally, make sure all the surfaces are assigned to the Bottle layer.
Save your work
- Save your work in the wire folder of the Lessons project.
- Name your file myshowergel5.wire.