In this part of the tutorial, build the lampshade and a simplified bulb from primitive spheres.
Many designed objects are symmetrical and aligned. It is good practice to build models centered on the origin, so grid snapping and mirror tools can be used.
Model the lampshade separately at the origin, then move it into position on to the upper arm.
Make the base and arm invisible
Provide a clear space to build the map by making the components you have already built invisible.
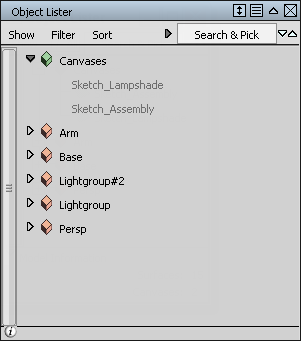
- Choose Windows > Object Lister to open the Object Lister window.
 Tip:
Tip:If you cannot see your objects listed, make sure Show > By Object is selected in the Object Lister.
 -click on the Arm text and choose Visible from the context menu to make the upper arm invisible.
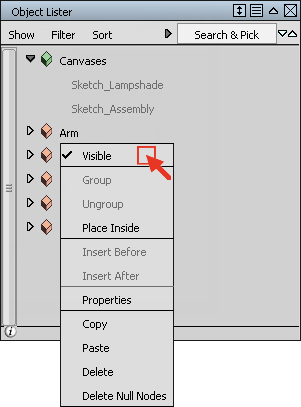
- Make the Base invisible using the same process.
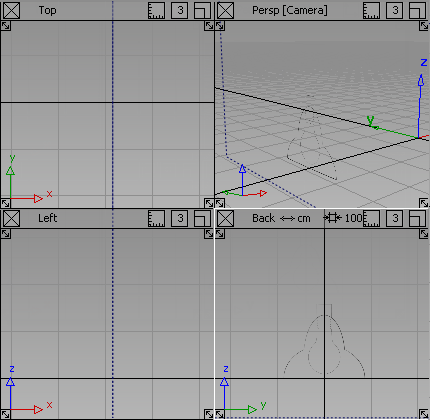
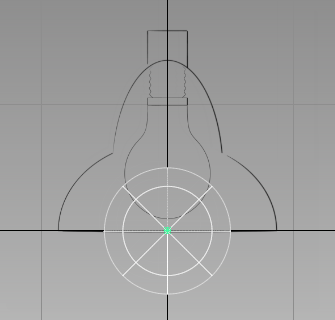
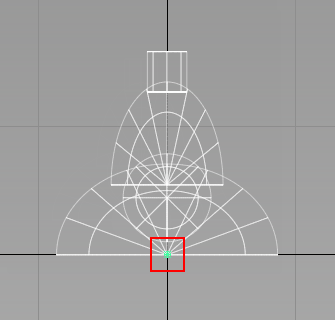
- -click on the Sketch_Lampshade text and choose Visible from the context menu to make the sketch visible.
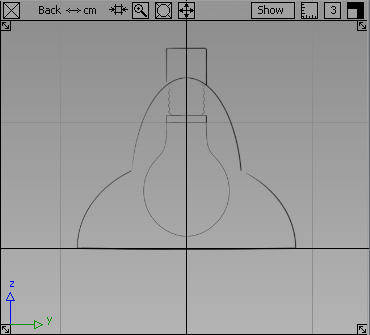
A sketch for the lamp head appears in the Back window, and all geometry is invisible.
- Close the Object Lister.
Create the light bulb
Build a simplified light bulb from a primitive sphere.
- Maximize the Back window.
- Choose the Surfaces > Primitives > Sphere
 tool.
tool. Hold the
 (Windows) or
  (Mac) key down to turn on grid snapping. Click and hold the
  , and move the cursor around. The new sphere jumps to grid points as you near them.
 Position the new sphere on the origin.
- Choose Transform > Move
 .
. The manipulator disappears.
Move the bulb approximately on the center of the sketched bulb using the
. 
- Match the size of the sphere to the sketched bulb. Choose Transform > Scale
 and click and drag with the .
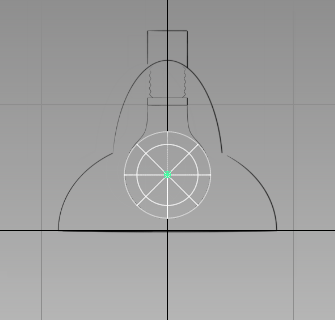
Create the lampshade
Next, create the lampshade. Create the main shape of the lampshade from two half-spheres, one large one, and then a smaller one on top. Then join the shade to the are by adding a cylinder.
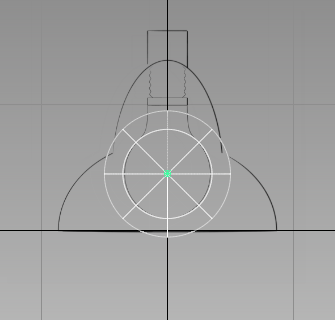
- Choose the Surfaces > Primitives > Sphere tool.
Double-click the sphere icon. The option box opens.
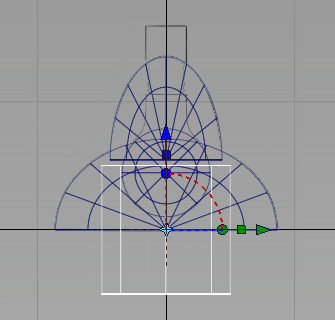
Type 180 for the Sweep and click the Go button.
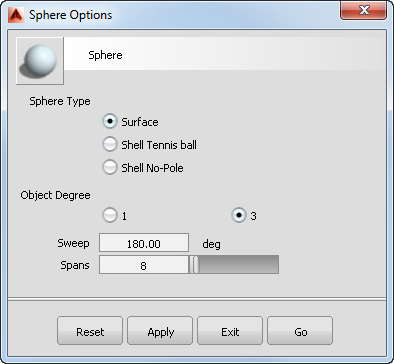
- Place the half sphere by holding the (Windows) or (Mac) key down to turn on grid snapping and clicking near the origin.
- Now rotate the sphere 90 degrees around the X axis.
Choose Transform > Rotate
 .
. Type 90,0,0 on the prompt line and press
 .
. 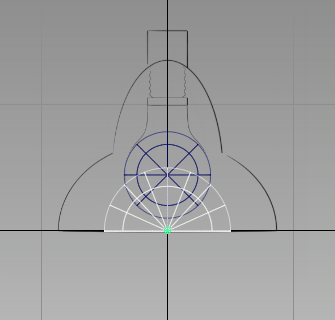
- Scale the half-sphere to match the width of the large outer curves on the sketch.
Choose Transform > Scale
click and drag with the . 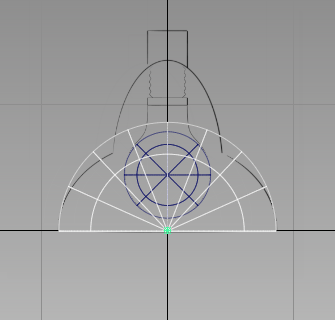
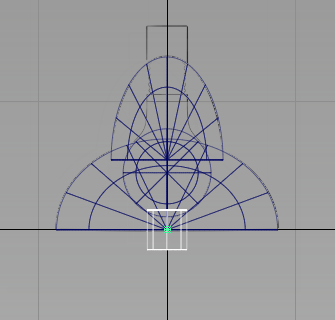
- Adjust the height of the half sphere to match the sketch.
Choose Transform > Non-p Scale
 and drag left using the
  . Note:
Use the middle instead of the right mouse button because the scaling occurs with respect to the local axes of the half sphere, not the world axes. To see the local axes of a selected object, choose Transform > Local > Set Local Axes.
- Create a second half sphere for the top section of the lamp.
Choose Edit > Copy
 and Edit > Paste
 .
. - Scale the selected copy to approximately half its original size.
Choose Transform > Scale
and use the . Remember to click and drag in an area of the screen that does not accidentally select any of the objects. 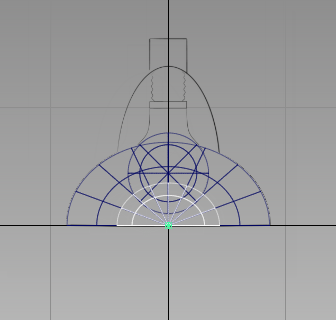
- Move the half sphere into position based on the sketch.
Choose Transform > Move
and use the . 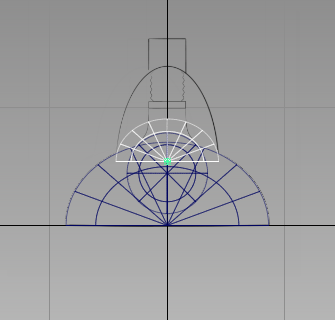
- Adjust the height of the half-sphere.
Choose Transform > Non-p Scale
and use the . 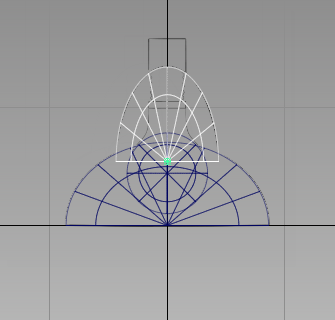
- Display all four views by choosing Layouts > All Windows > All Windows
 .
. 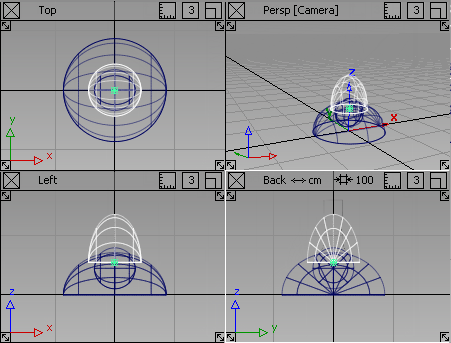
- Maximize the Top view.
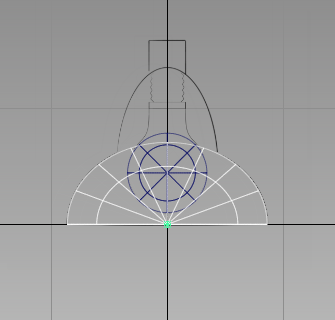
Now connect the lampshade to the arm using a cylinder.
- Choose Surfaces > Primitives > Cylinder
 . Hold down the (Windows) or (Mac) key to turn on grid snapping and place the new cylinder at the origin in the Top view.
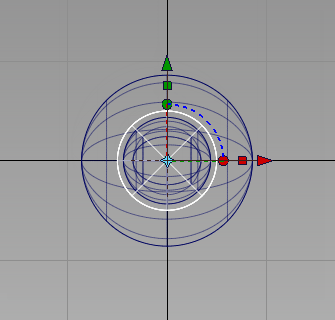
- Choose Layouts > All Windows > All Windows to display all four views. Choosing to place the cylinder using the Top view has placed it in the correct orientation.

- Maximize the Back window.
- Reposition and scale the cylinder. Choose Transform > Scale and using the reduce the cylinder to a size suitable for the end of the lampshade .
- Position the cylinder to match the sketch. Choose Transform > Move and use the .

Group the lampshade
- Choose Windows > Object Lister to open the Object Lister. -click on the Sketch_Lampshade item and choose Visible from the drop-down menu to hide the sketch.
- Choose Pick > Object
 and pick all the objects.
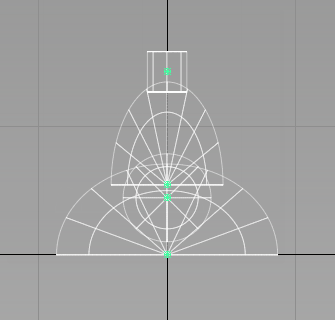
- -click on the selected objects in the Object Lister and choose Group from the drop-down menu (or choose Edit > Group
 ).
). The objects are still selected, but notice that they now have a single pivot point at the origin. The default location for a new pivot point is the origin.
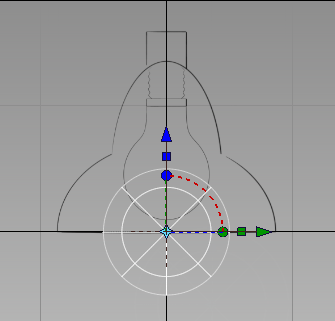
The lampshade is designed to rotate where it connects to the lamp arm. So next, adjust the pivot point to be in the center of the cylinder.
- Choose Transform > Local > Set Pivot
 . Move the pivot upwards to approximately the center of the cylinder using the .
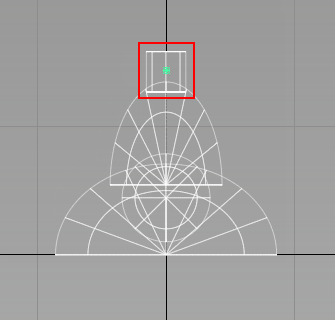
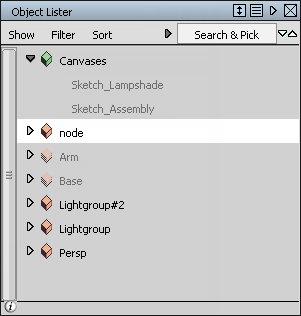
In the Object Lister, the new group is shown as node.
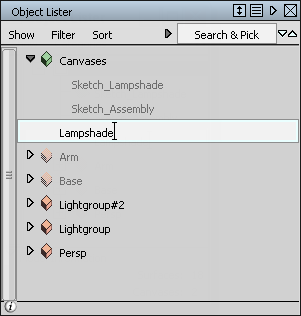
- Double-click node and rename it to Lampshade.
- Make the Base and Arm components visible using the -click context menu in the Object Lister.
- Choose Pick > Nothing
 . All the objects are deselected.
 - Choose Layouts > All Windows > All Windows to display all four views.
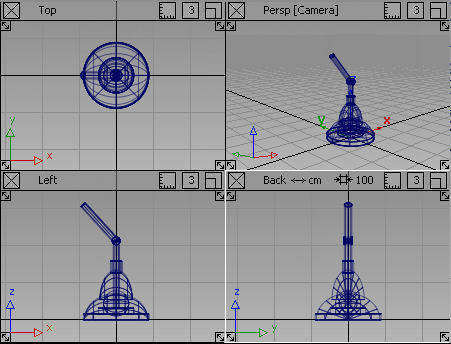
You have now built all the components of the lamp, and it is ready to assemble.
Save your work
Choose File > Save As![]() to save the current scene, and name your file mydesklamp5.
to save the current scene, and name your file mydesklamp5.