Now complete the MP3 Player design by duplicating the control buttons, and moving all the buttons into the correct position on the front casing.
Open the tutorial file (optional)
If you successfully completed part 6, you can proceed directly to the next step, Create four buttons.
If you were not successful in part 6, open the file called MP3Player_Part6.wire, located in the wire folder of the CourseWare project. This file contains the completed model from part 6.
Create four buttons
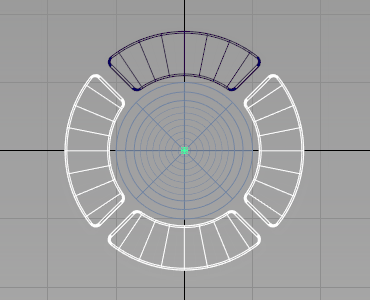
First rotate the half-button into the correct orientation, and then mirror the surfaces to create one full button.
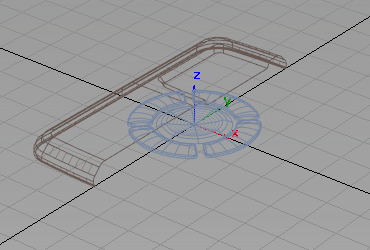
- Maximize the Top window.
- Choose Pick > Object
 and select all the surfaces.
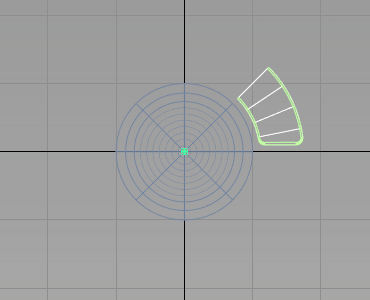
- Choose Edit > Group
 to group them all, with a single pivot point at the origin.
 - Choose Transform > Rotate
 and type 0,0,45 in the prompt line. You are notified that the active has construction history that will be lost w
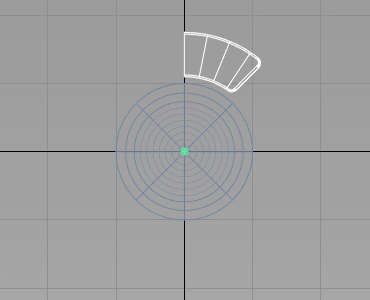
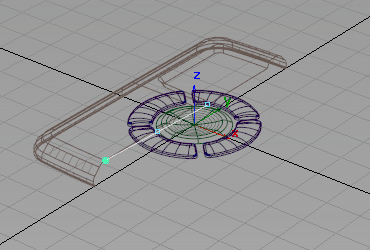
- Choose Edit > Duplicate > Mirror

 and select the YZ plane to Mirror Across.
 - Click Go to create the mirrored geometry.
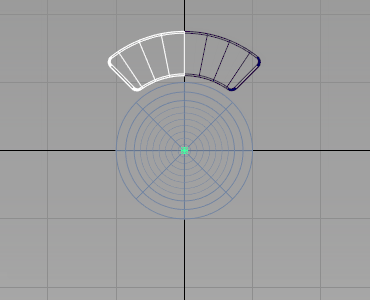
- Choose Pick > Object and select both halves of the button.
- Choose Edit > Group to group them as a single button.
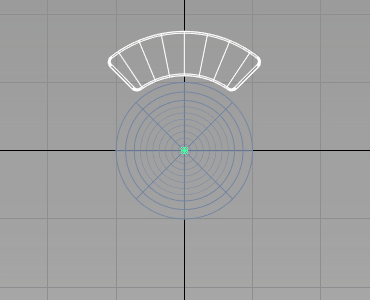
You now have one complete button, in the desired orientation, so now create three additional buttons.
Choose Edit > Duplicate > Object
 .
. First, click the Reset button at the bottom of the option window. Resetting restores all the default settings.
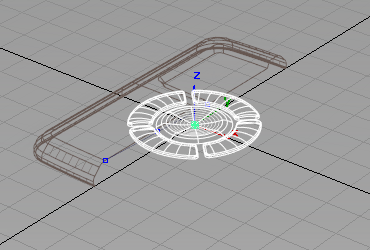
Then set the Number of duplicates to 3, and the Rotation to 90 degrees in the z-axis.
Click Go to create the duplicates.
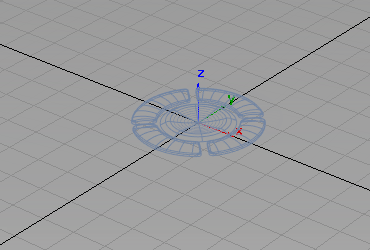
The four buttons are created.
- Make sure that all the buttons are on the Control Buttons layer, and set the layer to inactive.
Position the Buttons
Now move the buttons into their correct location, centered on the lower part of the Front Casing.
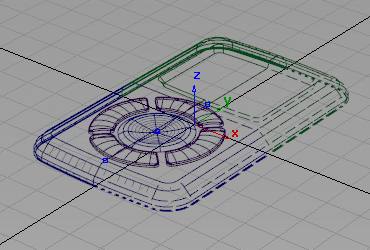
- Maximize the Perspective window.
- Make the Front Casing layer visible.
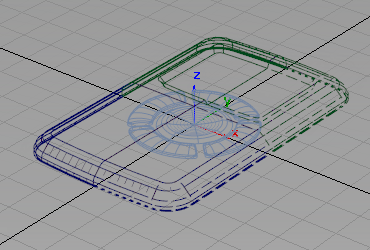
- Turn off the Symmetry on the layer.
- Set the state of the Front Casing layer to Reference, so that it can be snapped to, but not fully pickable.
- Choose Curves > Keypoint Curve Toolbox, then Keypoint Curve Tools > Lines > Line
 and use curve snap (
 and
and  (Windows) or
  and
and  (Mac) keys) to place the curve along the edge of the casing.
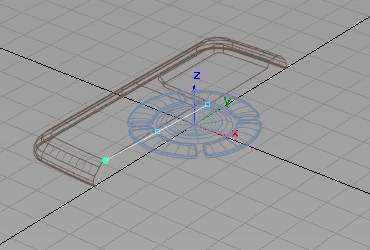
Now use the center keypoint on the new line to position the buttons.
- Make the NaviKey and the Control Buttons layers Pickable.
- Choose Pick > Object and select all the buttons.
- Choose Transform > Move
 . Use the point snap (+Alt (Windows) or (Mac) key) to position the keys on the center Keypoint of the line.
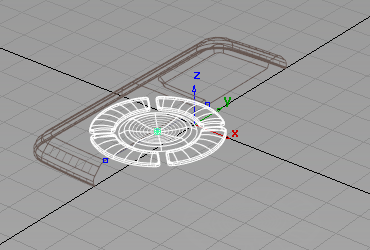
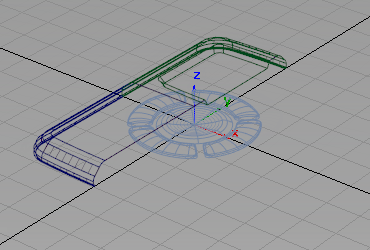
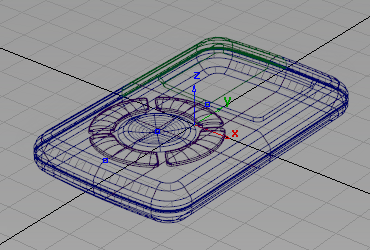
- To convert the Layer Symmetry geometry into real geometry, first set the state of the Front Casing layer back to Pickable.
- Then, turn on the Symmetry for the layer.
- Select the Front Casing layer and use choose Layers > Symmetry > Create Geometry
 .
. The mirrored geometry is no longer shown in dotted lines, and can be modified independently.

- Do the same for the Rear Casing layer to complete the MP3 Player design.
- Use the diagnostic Shading to evaluate the design.
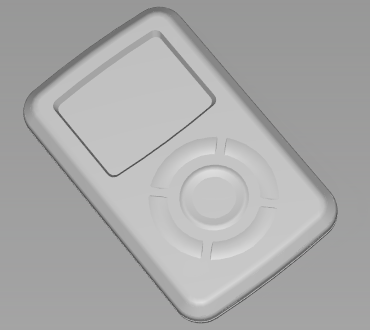
- Use the Show menu in the window title bar to turn off the Model and Grid for a better view.
Save your work
Save your work in the wire folder of the Lessons project. Name your file myMP3Player7.wire.