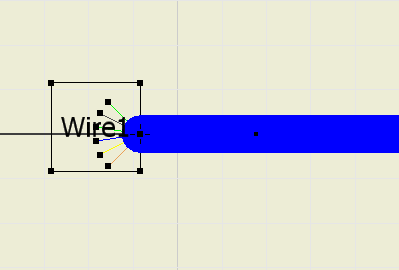
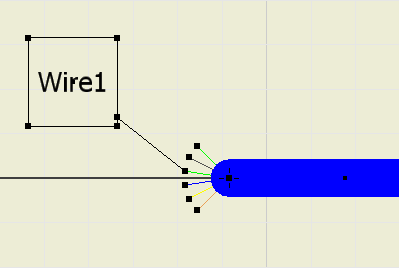
Set the label to show in the nailboard. Then manually rearrange individual labels by dragging.
- Verify that the browser is set to Cable & Harness. If it is not, click Model at the top of the browser and select Cable & Harness.
- In the browser, right-click Harness Assembly 1, and then select Nailboard Settings.
- On the Nailboard Settings dialog box, under Virtual Parts, click the Show Labels check box, and then click OK.

- Click and drag the text box to change its position as shown.
 Note: Label and font size can be adjusted on the label definition in the Cable and Harness Library.
 - For this exercise, change the default label display setting back to hide. Right-click the harness assembly, select Nailboard Settings, on the Display tab, clear the Show Labels check box.