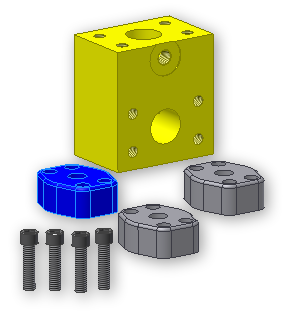
Before assembling the components, we can make a few changes to identify them with this project.
Change Assembly Component Appearance
First, we change the appearance of our union cap components to make them more visible.
- click the first union cap component.
- From the Quick Access toolbar, expand the Appearance drop-down menu, and select Blue.

- Repeat the appearance selection for the other two union cap components.
Rename Assembly Components
Thus far, the components added to the assembly are listed in the model browser. The components are named the same as the file names they reference. We must change the names of the components in our assembly to reflect their purpose. We also want to remove the iPart member identification.
Renaming our components ensures that future name changes to iPart members do not cause our component names to become out of date in the rule. If the names are out of date, the rule can fail to execute properly.
- Navigate to the Model browser.
- For each component listed here, double-click slowly on the name and change it as indicated.
- Replace union_cap [Model Code = 050]:1 with port_a_union.
- Replace union_cap [Model Code = 050]:2 with port_b_union.
- Replace union_cap [Model Code = 050]:3 with port_c_union.
- Replace Screw-01:1 with port_a_union_screw.
- Replace Screw-01:2 with port_b_union_screw.
- Replace Screw-01:3 with port_c_union_screw.