- Press E on the keyboard to activate the Extrude dialog box.
Like the previous tutorial, you must select each of the regions inside the 6 x 6 rectangle. In this case, there are three.
- To make the selection of the first region easier, click Zoom Window
 located on the navigation bar in the graphics window. Then drag a zoom window around the area to magnify. Click the following image to play an animation that shows using Zoom Window and making the proper selections.
 - After you make the selections, click Zoom All
 to fit all geometry within the graphics window.
 As with the previous tutorials, you use an existing sketch dimension as the distance of the extrusion being created.
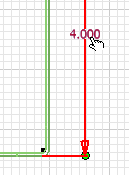
- In the Extents field of the Extrude dialog box, or from the value input box in the in-canvas display, highlight the 1 in value, and then select the 4.00 dimension from the top view displayed in the sketch window.

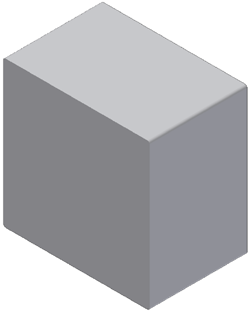
- Click Ok to create a solid extrusion 4 inches deep.
- If necessary, press F6 to position the part in the default home view as shown.
