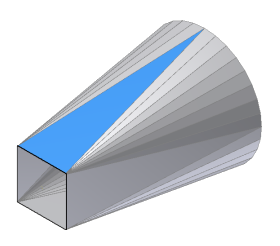
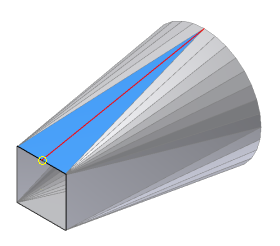
The previous Rip feature exercise directed you to create a sketch point to serve as the rip point. While the creation of sketch points are required for certain rip workflows, there are many instances where sketch points are not necessary. Inventor also accepts work points, midpoints on edges, or endpoints on face vertices as valid rip point selections.
Now, you will delete the rip feature and try creating it once again. But this time, you will use the midpoint on the top edge of the 600mm x 600mm square as the rip point.
- First, make sure that the Sketch2 visibility is turned off as previously directed.
- Next, right-click the Rip node in the Model browser and select Delete from the pop-up context menu. Your model should appear as shown.

- On the ribbon, click
Sheet Metal tab
 Modify panel
 Rip
.
Rip
. - As you did before, select the identical top face to rip.

- Next, move your cursor to the midpoint of the top edge. When the midpoint appears, click to select.

- With the midpoint selected, the Rip feature previews.

- Click OK in the Rip dialog box to create the Rip feature and close the dialog box.
Next, you will create a flat pattern of the ripped Lofted Flange.