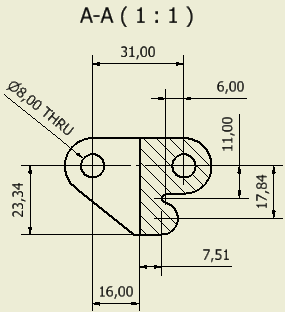
In this exercise, we use the general Dimension command. Autodesk Inventor also provides some unique dimensioning commands that are not covered in this tutorial. As you proceed, you may decide that a dimension (or other annotation) you placed is unsatisfactory. To delete a dimension or annotation that has already been placed, select the Undo command from the Quick Access toolbar. You can also select the dimension and press Del, or right-click and select Delete from the displayed context menu.
Note: The following steps assume that you canceled the Edit dimension when created selection on the Drawing tab of the Application Options dialog box as instructed in the Prerequisites for this tutorial. If you did not, you will see an Edit dialog box displayed after clicking to place each dimension. You can continue this tutorial without changing the default settings by always clicking OK when this dialog box displays. However, we recommend that you change the default.
- On the ribbon, click
Annotate tab
 Dimension panel
 Dimension
 .
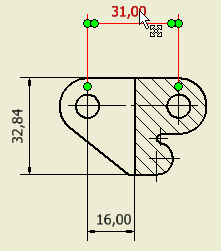
. - Move your cursor over the top-most extent of the vertical center mark on the left-most hole in the section view.
- When the two green-filled circles appear and the vertical line highlights, click to select the vertical line of the center mark as the left extent of your dimension.
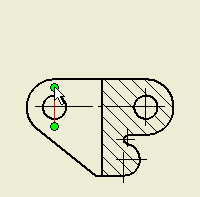
- Move your cursor over the top-most extent of the vertical center mark on the right-most hole in the section view.
- When the two green-filled circles appear and the vertical line highlights, click to select the vertical line of the center mark as the right extent of your dimension.
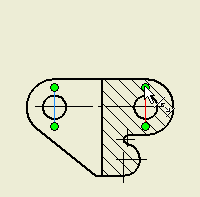
- Notice that as you move your cursor, the dimension extension lines adjust. Click to position your dimension.
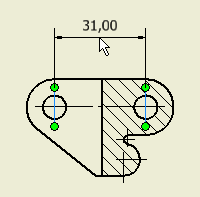
Although you placed a single dimension, the Dimension command is still active.
- Move your cursor over the lower-most extent of the vertical center mark on the left-most hole in the section view.
- When the two green-filled circles appear and the vertical line highlights, click to select the vertical line of the center mark as the left extent of your dimension.
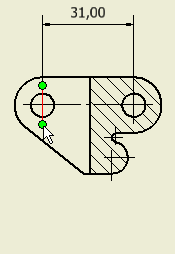
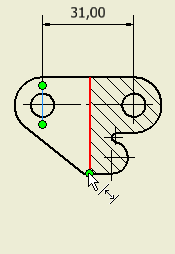
- Move your cursor over the lower-most extent of the vertical line representing the cut material.
- To select the right extent of your dimension, click when the line highlights and the green-filled circle appears.
- Move your cursor to select a position, and then click to place the 16-mm dimension.
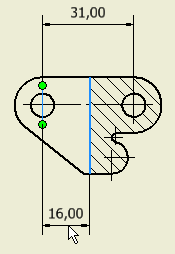
- Continue to place horizontal and vertical dimensions on the section, front, left, and top views. Click the Esc key to terminate the dimension command.
- After placing several dimensions, you may decide that you would like to move a dimension. With no command active, move your cursor over a dimension value that you would like to move. When the dimension highlights, click and drag the dimension value (up/down or left/right) to new location. You can also click and drag any of the green-filled circle edit handles to make other dimension edits.
