- On the ribbon, click
Annotate tab
 Symbols panel
 Centerline
 .
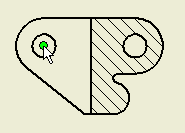
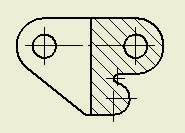
. - Move your cursor over the center of the upper left hole in the section view. When the green-filled circle appears, indicating that you are directly over the center point, click to select the first point of your centerline.Tip: After clicking on the Centerline command, you can optionally click to select the circle first. You can then more easily select the circle center with a second click.
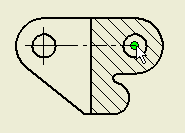
- Move your mouse to the right until you are over the center of the upper-right hole in the section view. When the green-filled circle appears, click to select the endpoint of your centerline.
- Right-click to display the context menu.
- Select Create to complete the placement of the centerline.
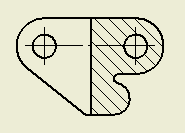
- Repeat steps 2-5 to place a similar centerline between these same two holes in the front view.
- Click
Annotate tab
 Symbols panel
 Center Mark
 .
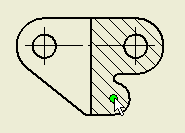
. - Move your cursor over the center of the cylindrical feature in the lower right of the section view. When the green-filled circle appears (to indicate that you are directly over the center point) click to place a center mark.
- Repeat the previous step to place a center mark on the inside cylindrical radius and on these same locations in the front view.
With centerlines and center marks in place, it is time to place dimensions.