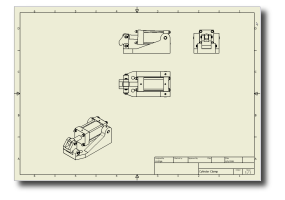
In the next portion of the tutorial, you add a parts list, balloons, and notes to an assembly drawing. Assembly drawing views and dimensions are created and placed using the same steps that you just completed. They are not repeated in the remaining portion of the tutorial.
- Click Open on the Application Menu.
- Select Cylinder Clamp.idw in the Open dialog box, and click Open.
A single sheet drawing opens that has three orthographic views and one isometric view of the cylinder clamp assembly used in the Parts 2 and Assemblies tutorials.

Assembly drawings often contain numbered lists of component parts along with corresponding balloons which identify each part. In the next set of exercises, you place a parts list and balloons with corresponding numbers.