- Right-click the Worm Gear Assy block definition in the Blocks folder, and select Properties.
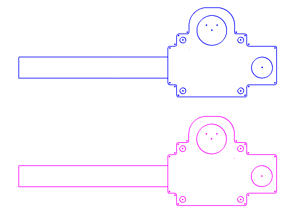
- Select Magenta for Line Color, and click OK. Both Worm Gear Assy instances turn magenta to reflect the new default format.

- Now, override the default format. Right-click the Worm Gear Assy:1 instance, and select Properties.
- Select Blue for Line Color and click OK, then click in the graphics window to clear the selection. The instance is now blue.

- In a similar manner, change the color of the Worm Gear Assy:2 instance to red.

- Open Sketch1.
- On the ribbon, click
Sketch tab
 Format panel
 Sketch Properties
 .
. - On the Sketch Properties toolbar, click the Formatting Toggle
 to switch between the default format associated with the block definition and the user format you applied. The default format displays when the toggle is selected.
 - Delete the Worm Gear Assy:2 instance.
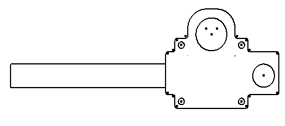
- Reset the geometric properties Line Color for the Worm Gear Assy block definition and Worm Gear Assy:1 instance to Default.

You can also update your block properties to change the Insert Point location, visibility, block name, and description. As with other block edits, any changes are made to the block definition and reflected in all block instances.
- Double-click the Connecting Rod:1 instance.
- Click in the graphics window to ensure that no geometry is selected.
- With no geometry selected, right-click in open space in the graphics window, and select Block Properties.
- Click Select, and redefine the Insert Point. The Insert Point simply defines the attachment point between the cursor and block instance, when the instance is placed into the sketch.

- Change the name to Rod.
- Click OK. The block definition name changes to Rod and the instance name changes to Rod:1.
- Use the Block Properties to change the name back to Connecting Rod.
- Right-click, and select Finish Edit Block.Note: Alternatively, you can double-click the Sketch1 browser node to finish editing the block and return to the sketch.
- Exit the sketch and save your file.
You can apply specific geometric properties to sketch block definitions and instances. The geometric properties active in a sketch block definition are the default properties for the instances. However, as with other sketch geometry, you can override the default format for the sketch block instances. Use this functionality to differentiate between specific instances in your sketch.