Learn how to define dead, wind and live load cases.
- Continue working in your project, or open the project Frame_3D_Model3D.rtd.
Note: The Tutorial files are located in C:\ProgramData\Autodesk\Examples\Tutorials.
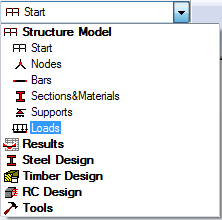
- In the Standard toolbar, expand the Layouts drop-down menu and select Loads as shown below:
The layout is divided in three parts: View, Load Types dialog, and Loads Case table.
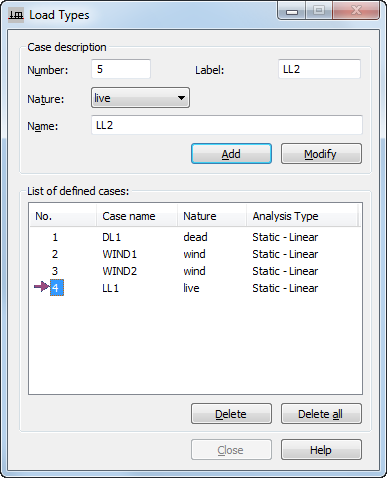
- By default, the Load Types dialog contains the necessary information in order to create a dead load. Click Add to accept the default and define a dead load with the standard name DL1.
The DL1 load is added to the list of defined cases (see image in step 6), and a new row is created in the Loads - Case table.
- Select wind from the Nature list, and then click Add to define a wind load.
The WIND1 load is added to the list of defined cases.
- Repeat step 4 to create a second wind load with the name WIND2.
- Select live from the Nature list, and then click Add to define a live load.
The LL1 load is added to the list of defined cases and all loads are now ready to be applied on the structure.