After setting the drawing options, you can draw the mask.
To draw a garbage mask:
- Access the Garbage Mask menu.
- Select the view where you want to draw the mask from the View box.
Which view you use depends on the context of your key and why you are drawing the mask. For example, if you want to crop the edges of a clip by drawing an opaque mask around the subject and then turning on Outside, try drawing the mask using the Matte view. Or, if you are rotoscoping a subject that has not been shot on a blue or green screen, try either the Front or Result view.
Tip: In Batch or Batch FX or the Modular Keyer, you can use multiple viewports as you draw the garbage mask. For example, you can draw the mask in Matte view, while also displaying Result view. Using multiple viewports, you can immediately see how your mask affects the clip. - Do one of the following:
- Click Add.
- Select Create from the Tools box.
- Press N .
- Do any of the following to draw the garbage mask:
- Click to add vertices.
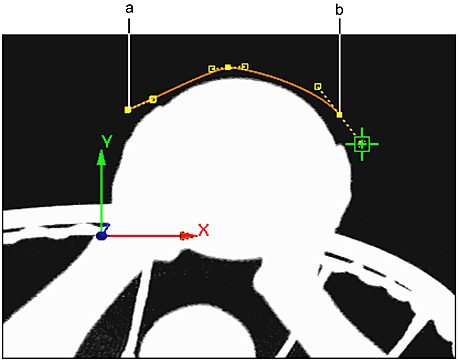
(a) Vertex added by first click (b) Vertex added by third click
- Press Shift to temporarily hide the vertices and tangents as you are drawing the mask.
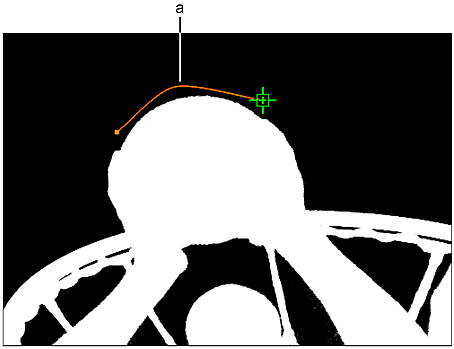
(a) Vertices are temporarily hidden while holding Shift
- Click-drag to control the tangency of any vertex as you are drawing the mask. When you release, you can continue to add vertices.
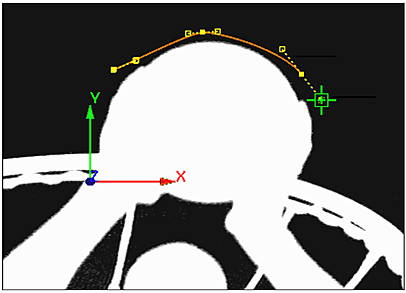
Tangency handles extend as you drag from a vertex
- Shift-drag to add freehand segments to the mask. The vertices and tangents of the mask you are drawing are temporarily hidden. Vertices are added where you drag, and appear when you release Shift. After closing the mask, you can use the Lasso Fit parameter to increase or decrease the number of vertices that define the freehand segments of the mask. See Adjusting the Number of Points in Freehand Segments.
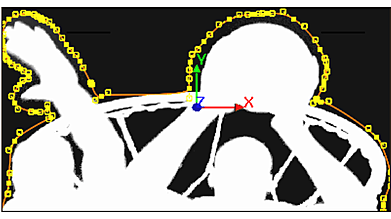
Segments of garbage mask drawn freehand
Note: If you are drawing the mask with Auto Tangents turned off, freehand segments are drawn with broken tangents. See Breaking Tangents. - To close the mask, do one of the following:
- Click Close.
- Click the first vertex.
- Drag to the first vertex.
Tip: You can also close the mask by pressing the keyboard shortcut for the edit mode you want to use next: M for Move, S for Select, or B for Break. The mask closes and you are ready to work in that mode.When the garbage mask is closed, its vertices and tangents can be edited and animated.
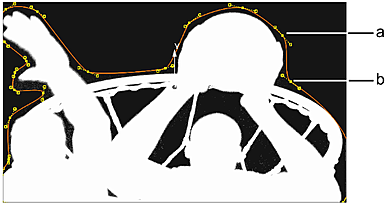
(a) Vertex (b) Tangent
If you want to view the nodes that are added with each new garbage mask, select Schematic from the World View box. You can use the Schematic view to access a menu, create parent-child relationships between masks and axes, delete masks, as well as perform other organizational tasks.