The Autosave feature ensures that the current grade and cut from the scene you are working on are backed up at specified time intervals. Only one grade and one cut per scene can be backed up. To enable the Autosave feature, enter an interval in the Autosave field of the System & Menu tab. See System & Menu Settings.
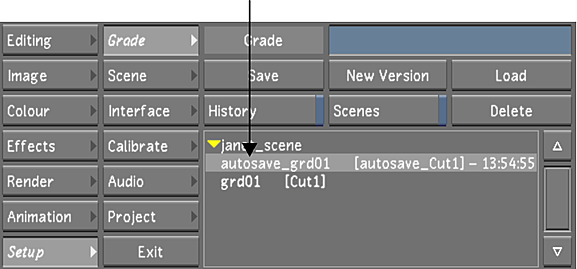
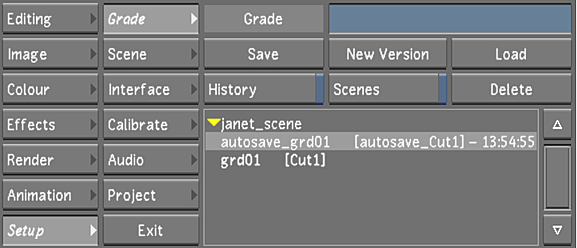
When you are using Autosave, a snapshot of the current grade and cut appears in the Grade list. The word 'autosave_' is added to the beginning of the grade and cut name and a time stamp of the autosave is added to the end.

A snapshot of the grade, cut, and all their associated files is captured in the Library folder.
There are certain scenarios where an Autosave is performed before its scheduled time interval. These scenarios include the following:
- After you generate proxies
- When you create a new grade (after performing a change cut or restoring an autosaved grade or cut)
Autosave is suspended if you perform a change cut. See Applying a Grade to a Cut. If a change cut is performed, you need to load a grade, save a grade, or create a new grade for the Autosave to reactivate.
To restore an autosaved grade and cut:
- In the Main menu, click Setup, and then Grade.

- Press Ctrl+R to make sure the most current autosave information is displayed in the Grade list.
- Select the autosaved grade and cut.
- Click Load. Note: The autosaved version of the cut file appears in the cut name list (e.g., autosave_Cut1).
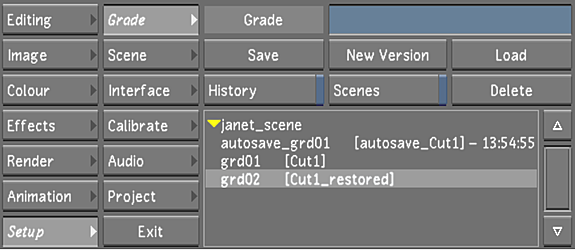
- Click New Version. Note: You cannot click Save because you cannot overwrite a loaded Autosave cut and grade.
A new grade is saved and associated with the restored cut.

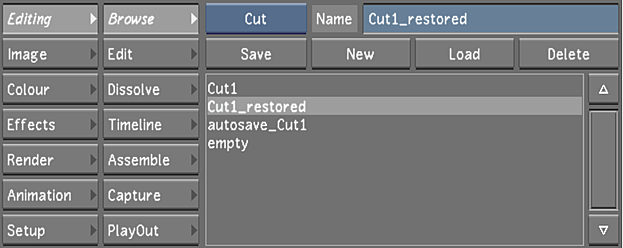
For the cut file, the existing cut file name is used and _restored is added to the end of the name to differentiate the original cut from the one that is restored by using Autosave.
