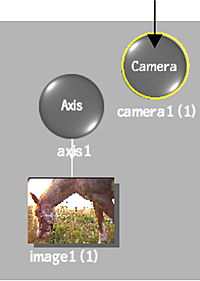
By default, a camera exists in the Action scene (you may need to pan in the schematic to see the camera node). The Z position of this default camera is placed relative to the resolution of your Action scene. You can add multiple cameras in order to change point of view or depth of field from one camera to another. Add and animate multiple cameras when creating compositions. You can also switch from one camera to another at any point.
To add a camera:
- Do one of the following:
- Drag the camera node from the node bin and place it in the schematic.
- Drag the camera node from the node bin to Result view, so you can see its effect on the scene before placing it exactly where you want.
- Double-click the camera node. The node appears next to the last added object. You do not need to be in Schematic view to add a node in this manner.
A new camera is added to the scene. An icon representing the camera is added to the schematic.

- To display the Camera menu, double-click the selected camera in the schematic, or follow the tab population rules for the Object menu. See Populating Menu Tabs of Selected Objects.
The result camera always appears as the first tab on the right side of the Object menu. To allow you to easily access the camera without losing your place in the scene, this special camera tab (appearing in orange) does not follow the tab population rules. If a camera node is selected in the schematic, the special Camera tab does not appear, and the normal tab population rules apply.