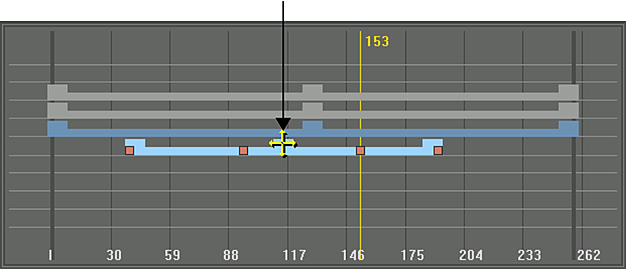
Using the Track Editor, you can adjust a keyframe's timing without adjusting its value. You can also slide the entire animation ahead or back in time, and change the duration of an animation.
To adjust the timing for an entire channel:
- Display the Track Editor.
- In the Channel hierarchy, select the channel you want to modify.
The corresponding track in the Track Editor turns light blue and its keyframes appear.
Tip: Click Range to see all three track handles. - In the Tools box, select Move.
- Move the mouse over the centre light-blue handle. When the four-direction arrow cursor appears, drag to the left or right to slide the entire animation forward or backward in time.
 Note: Adjusting timing for a folder changes the timing for all channels in that folder.
To adjust keyframe timing:
- Display the Track Editor.
- In the Channel hierarchy, select the channel you want to modify.
The corresponding track in the Track Editor turns light blue and its keyframes appear.
- In the Tools box, select Move.
- Drag the keyframe to the left or right to slide the keyframe forward or backward in time. Note: Dragging a keyframe in the Track Editor does not change the channel value.