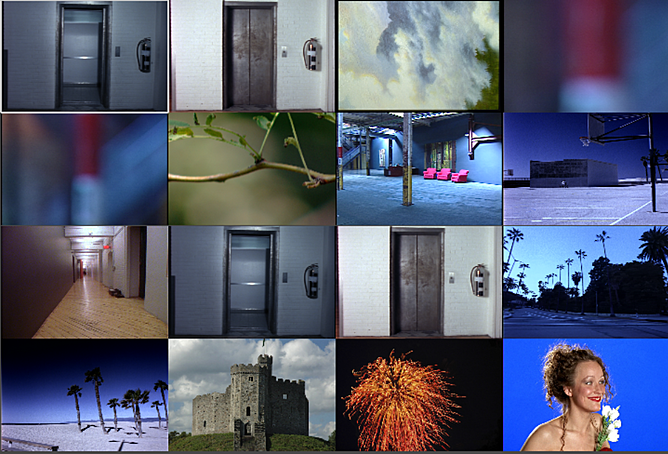
Multi view is useful for viewing your sequence in a Storyboard format while developing continuity between shots. With Multi view, you see the entire image, and you can cycle through viewing 2, 4, 9, or 16 shots.
To view multiple shots simultaneously in the Player:
- (Optional) Select up to 16 shots. See Selecting Shots in the Storyboard.Note: If you do not select any shots, you will see the first shots in the sequence in Multi view.
- Do one of the following:
- Enable the Viewing Options button, and in the Viewer option box, select Multi View.
- With the Viewing Options button enabled, press F3 or click the Viewer option box to cycle through the viewer options until Multi View is displayed.
- If you are in Single view, and the previous mode was Multi view, press F5 to toggle between the two views.
The last used Multi view mode is displayed.
- Press Ctrl+F5 to cycle through the display modes.

The first two shots displayed are the current frames on Playheads A and B. The rest of the shots displayed are the selected shots, displayed sequentially from left to right in the order of selection.
Note: If no shots are selected, after the first two shots, shots starting at the third shot in the cut are displayed sequentially from left to right. - (Optional) Pan the displayed shots by holding and dragging the middle mouse button within the Player, or scale the displayed shots by holding and dragging the middle and right mouse buttons within the Player.
You can make a new selection of shots while you are in Multi view. After you have selected the new shots, press F6 to update the Multi view display with the new shots.