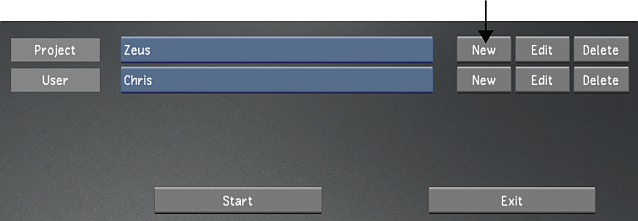
Creating a Lustre project is the first step to prepare Lustre for a new colour grading project. You can use templates to accelerate project setup. See Working with Templates.
Note: You can create multiple projects with the same Project Home. This allows you to work on a project with different settings while sharing the same scenes, cuts, and grades.
To create a new project:
- Do one of the following:
- From the Lustre splash screen, click New in the Project group.
- From the Main menu, click Setup, then Settings, and then click New in the Project group.
 Note: If you have a template named default, then its settings will be loaded automatically.
 - Configure the project. Use Reset to reset all settings, from every menu, to their defaults. See Project Configuration.
- To save the settings of the new project, click Save Project.
- Click Exit Project.
To create a project based on an existing project:
- Do one of the following:
- From the Lustre splash screen, select the baseline project, and then click Edit in the Project group.
- From the Main menu, click Setup, and then Settings. Select the baseline project, and then click Edit in the Project group.

- In the Project Name field, enter a new name for the new project, or you will overwrite the original project's settings with the new settings.
- Configure the project. Use Reset to reset all settings, from every menu, to their defaults. See Project Configuration.
- To save the settings for the project, click Save Project.
- Click Exit Project.
To create a new project using a template:
- Do one of the following:
- From the Lustre splash screen, click New in the Project group.
- From the Main menu, click Setup, then Settings, and then click New in the Project group. Note: If you have a template named “default”, then its settings will be loaded when you click New.

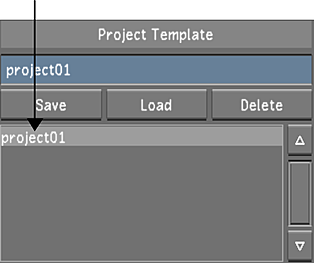
- From the Project Template list, select a template. See Creating a Project Template.

- Click Load.
The template's settings are now loaded.
- Configure the project. Use Reset to reset all settings, from every menu, to their defaults. See Project Configuration.
- To save the settings for the project, click Save Project.
- Click Exit Project.