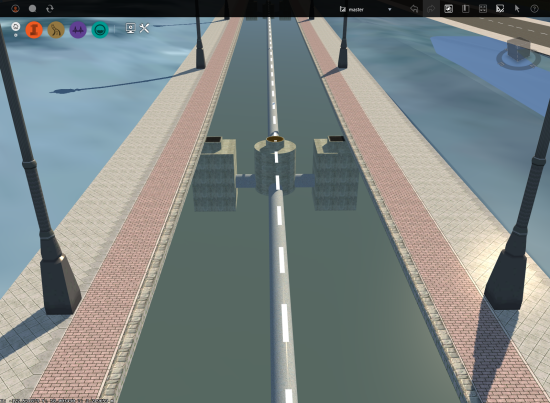
Pavement drainage features lie mainly under the roadway surface. To display them you can navigate beneath the roadway surface or make the roadway surface transparent.
Note: You can also adjust the model's
surface opacity.
To navigate beneath the roadway surface
- Open Application Options and de-select Lock Mouse Navigation Above Ground, under the Navigation tab.
- Zoom in so that your view is beneath the desired road.
For more information, see To navigate the model.
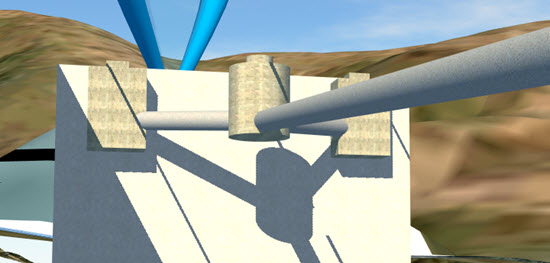
To make the roadway surface transparent
- Click


 to open the Style Palette.
- Select the Material Group tab, and double-click on the desired Material Group style to edit it.
Note: A Material Group is the collection of materials and associated categories that map a material to the different parts of a road style. You can define each component of the material group separately.If you do not know which Material Group to edit:
- Select the desired design road and click
 in the Utility Bar to enter Edit mode.
- Switch the asset card Edit Mode to Style. The name of the road style will display on the asset card. Note the style name and location. In the example below, the road style is Sidewalks with Lamps, located within the Street style catalog.
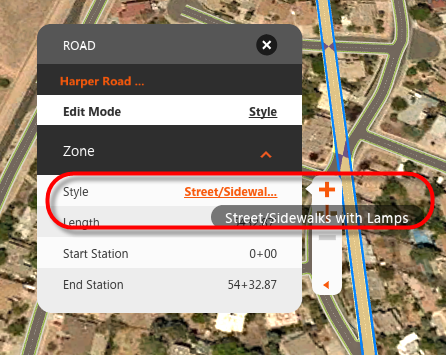
- Open the Style Pallette and select the Road tab.
- Double-click the desired Road Style in the Style Palette to edit it.
- The Material Group name and location is listed in the road style configuration dialog box. Close the road style configuration dialog box after you note the name and location of the Material Group.
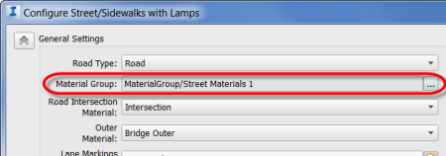
- Select the desired design road and click
- Double-click the Material field for Roadway in the Configure Material Group dialog box.
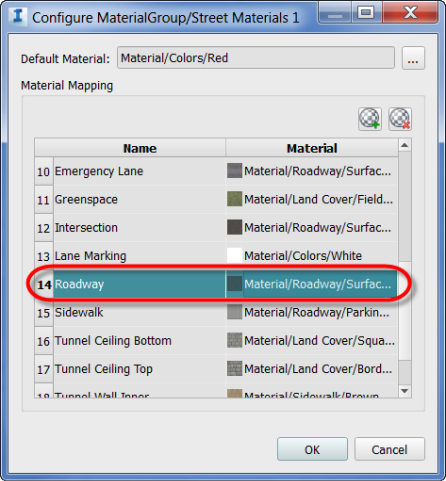
- Double-click <parent> in the Select Material Style / Color dialog box, and double-click the Colors folder.
- Select Transparent and click OK.
- Click OK in the Configure Material Group dialog box.
- Click

 , or press F5 to regenerate the model.