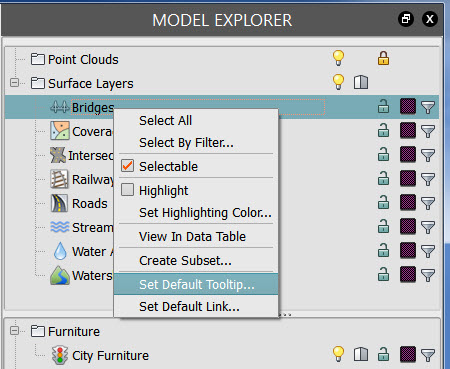
You can create default tooltips for feature classes using the Model Explorer. Asset or subset selection-based tooltips created from the Properties pallette override default feature class tooltips created from the Model Explorer.
- Click
 in
the Utility Bar to display the
Model Explorer.
- In the
Model Explorer, right-click the row for the feature class whose tooltip you are creating.
For example, right-click Roads.
- Click Select All to apply the Tooltip to all objects in the feature class.
- Right-click the feature class row again and Click
Set Default Tooltip to open the
Edit Tooltip window.

- Enter Tooltip content.
- See Create Tooltips for information on formatting Tooltip content.
- Optionally, Click Preview to see what the Tooltip will look like. Click Return to Editor to revise or to finish creating tooltip.
- Click OK.
- Click Update in Properties Palette to replace existing Tooltip content, if any.
Note: If you set
Auto Update in Properties Palette, you do not need to update each time you make a change.