In Autodesk Navisworks, the process of creating and running TimeLiner simulations is as follows:
- Load a model into Autodesk Navisworks in the usual way (see Open Files for more information), and then click Home tab
 Tools panel TimeLiner
 . Note: Although the ability to create simulations is limited to users with access to the full TimeLiner functionality, Navisworks Freedom can play back simulations once they have been set up.
 - Create some tasks, each having a name, start and end date and a task type. You can add tasks manually. Alternatively, click Auto-Add Tasks
 on the Tasks tab, or right-click within the Tasks area, and create an initial set of tasks based on layer, item, or selection set names. TimeLiner defines some default task types for you (Construct, Demolish and Temporary), or you can define your own task types on the Configure Tab. You can also view a read-only graphical representation of your project schedule, and can switch between Planned, Actual, and Planned vs Actual Gantt charts.
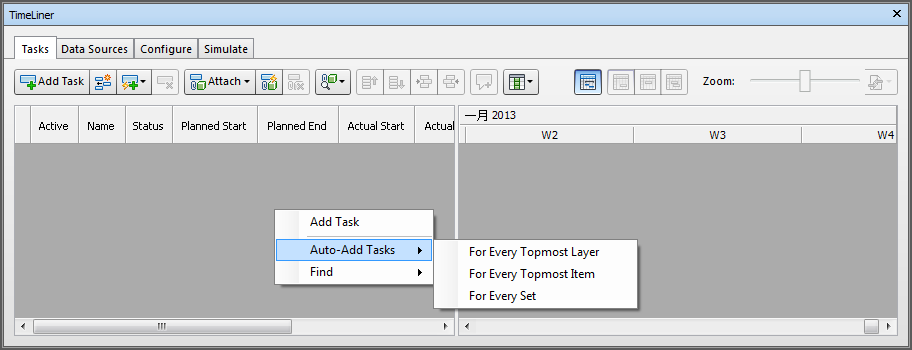
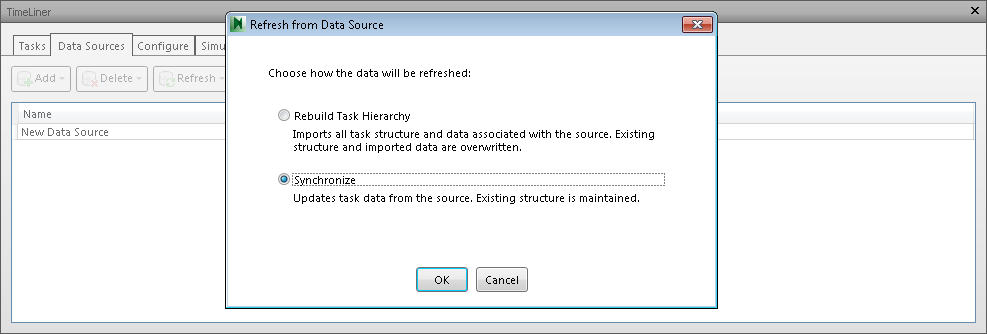
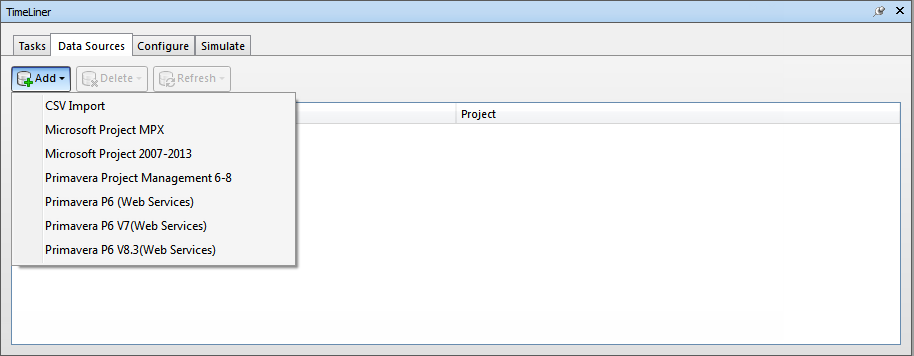
You can use the Data Sources Tab to import tasks from an external source, such as Microsoft Project™. You can choose a field from the external schedule to define the types of the imported tasks, or you can set task types by hand. You can edit task parameters directly in TimeLiner. You can also update the schedule externally and refresh the tasks in TimeLiner to align them with those from the external source. Any changes you make to tasks imported from external project files will be overwritten next time you refresh the corresponding data sources.
- Attach objects in the model to tasks.
If you used the auto-add tasks functionality on the Tasks Tab to create an initial set of tasks based on layer, item or selection set names, then the corresponding layers, items or selection sets will already be attached for you.
If you need to manually Attach Tasks to Geometry, you can click the Attach button
 or use the context menu to attach selections, searches or selection sets.
 Alternatively, you can click Auto-Attach Using Rules
 and Use Rules to Attach Tasks automatically.
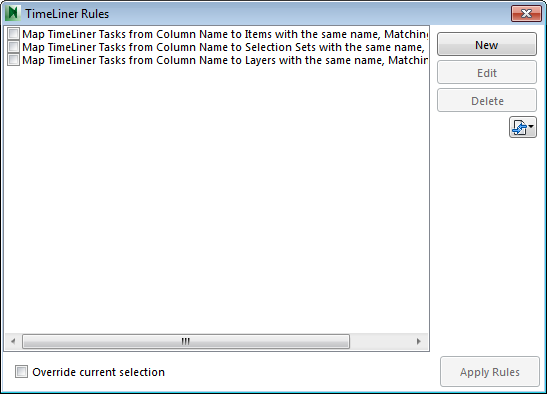
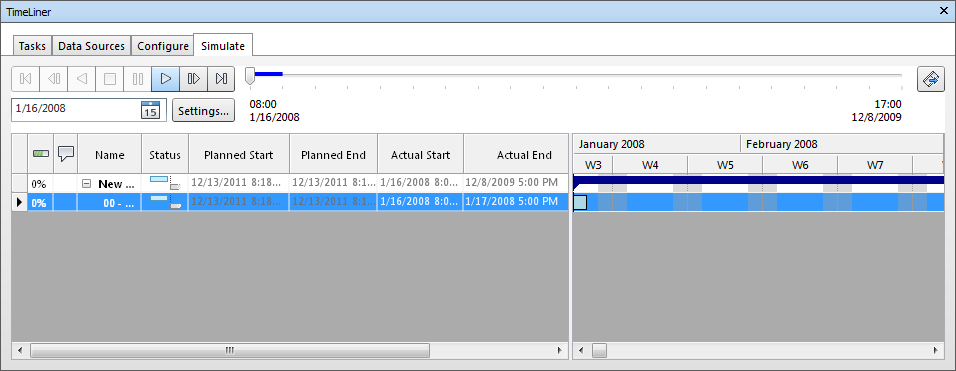
- Simulate your schedule. You can visualize your model at any date in your schedule with the currently active tasks highlighted. Run through the entire schedule using familiar VCR controls. You can Add Animation to TimeLiner Schedules to your construction schedules, and enhance the quality of simulations.
- Adjust the way your simulation plays. You can use the Configure tab to create new task types and edit old ones. The task type defines what happens at the start and end of each task of that type. You can hide attached objects, change their appearance or reset them to the appearance specified in the model.

- Create image and AVI files. Export Images and Animations from TimeLiner the current simulation view as an image, or the entire simulation as an AVI.
- Keep up to date with changes in your project. Save your project as a Autodesk Navisworks NWF file. Open the NWF and Synchronize Tasks with Project Changes.