The Light Editor provides a convenient way for you to manage the lights in your scene. Use the Light Editor in conjunction with the Render Setup editor to easily create light overrides for your render layer.

Click the Lights tab at the top of the Render Setup editor to open the Light Editor. This opens the Light Editor for your scene (or master) layer, and lists all the lights in your scene. For more information about Light Editor, see Create, group and modify lights in your scene with the Light Editor.
 Lights are automatically added to your layer by default. However, to create overrides for the lights in your layer, you must first drag and drop the
Lights tab from the
Scene settings to your layer. This allows you to display the
Light Editor for your layer.

You cannot drag and drop the Lights collection in a render layer into another collection within the same layer.

You can only cut, copy and paste the Lights collection from one render layer to another. You cannot cut, copy and paste individual light overrides or individual light subcollections (see Create overrides for the lights in your layer below for more information regarding light subcollections).
Display the Light Editor for each layer
Double-click the Lights tab in each layer to open the Light Editor for the layer. To return to the Light Editor for the master layer (scene), double-click the Lights tab at the top of the Render Setup editor.
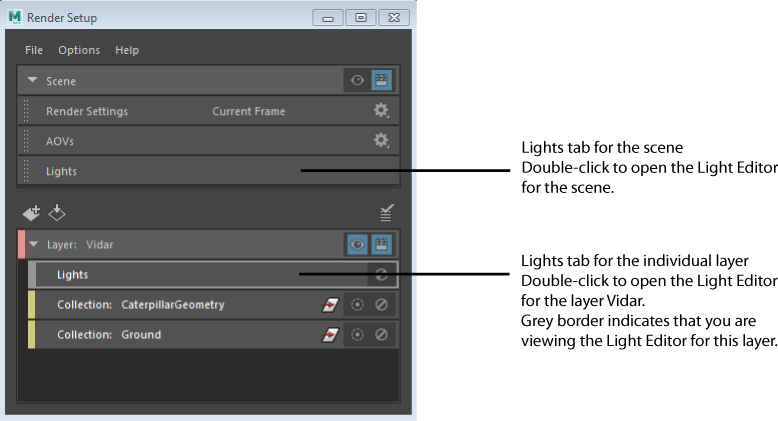
When viewing the Light Editor for a specific layer (including the scene layer), the Lights tab for the corresponding layer appears with a grey border.
The Light Editor also indicates whether it is in global or layer mode. In addition, the layer that the Light Editor belongs to is indicated at the top of the window:
-
If viewing the Light Editor for the scene, the Light Editor title bar indicates Global Mode, and the toolbar indicates Scene.

-
If viewing the Light Editor for an individual layer, the Light Editor title bar indicates Layer Mode, and the Layer display indicates the layer name:

You can display the Light Editor for the scene at any time, regardless of whether you are in a specific layer or in the scene layer. See Display the scene Light Editor while currently in another layer.
However, you can only display the Light Editor for a specific layer if that layer is set to visible. As soon as you double-click the Lights tab for a specific layer, that layer is automatically set to visible.
The converse is also true
if you are already in layer mode: as soon as you switch to another layer by clicking the
 icon, the
Light Editor for the visible layer is displayed.
However,
if you are currently in global mode; that is, you are displaying the
Light Editor for the scene, then you must first switch to layer mode by clicking the Lights tab of a render layer. Now when you switch to another layer by clicking the
 icon, the
Light Editor for the visible layer is displayed.
Create overrides for the lights in your layer
- Middle-mouse drag and drop the Lights tab from the top of the Render Setup editor to your render layer.
- Double-click the Lights tab in your layer to open the Light Editor for the layer.
- Change any value to create an override.
Overridden values are denoted in orange. As soon as an override is created, a collection containing the light you just modified is created in the Render Setup editor, as well as a corresponding override.
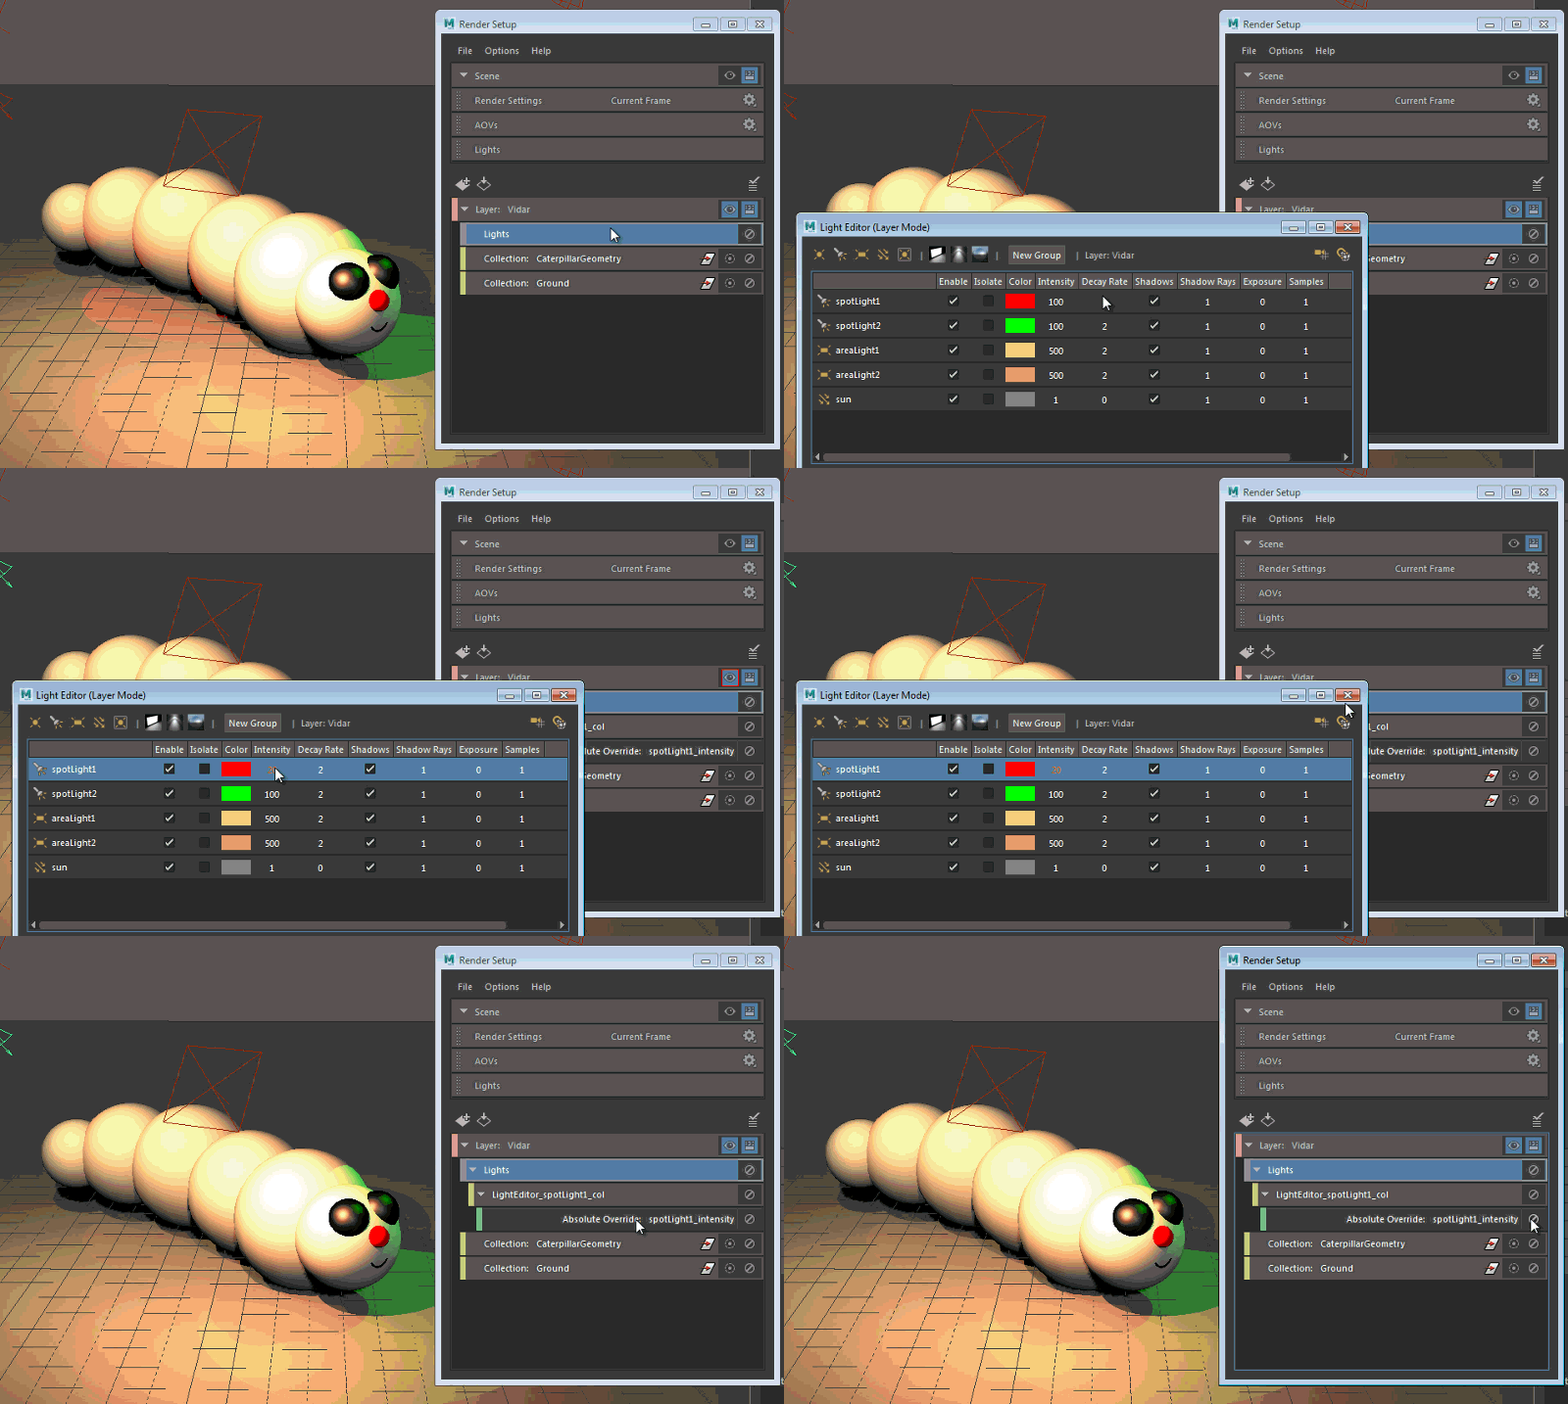 Note: Overrides created using this workflow are absolute overrides. You can also create relative overrides and use them in conjunction with absolute overrides.
Create relative overrides for lights in your layer
Creating relative overrides within the Light Editor is not supported. Follow these steps instead to create relative overrides.
- Right-click your layer and select
Create Collection. Add the lights that you want to override to your collection.
You can do this by selecting the lights from the Light Editor or from the Outliner and clicking Add in the Property Editor.
- Select your collection and select Relative from the Add Override drop-down list.
- Middle-mouse drag and drop the attribute from the light shape node
Attribute Editor to the
Property Editor.
For example, middle-mouse drag and drop Intensity from the spotLightShape1 Attribute Editor to the Property Editor.
Example
-
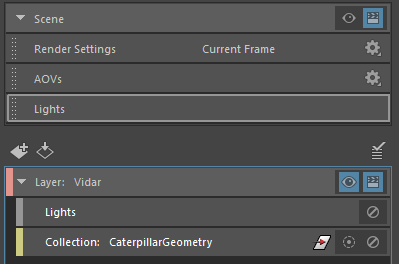
Middle-mouse drag and drop the Lights tab from the top of the Render Setup editor to the layer Vidar to add light overrides to your layer.
-
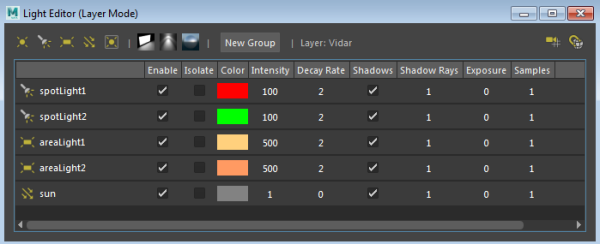
Double-click the Lights tab within the Vidar layer to open its Light Editor. The Vidar layer is automatically set to visible. In addition, the Light Editor indicates Layer Mode, as well as Layer: Vidar to reflect the layer that it represents.
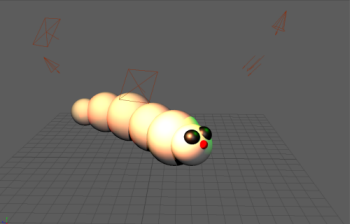
-
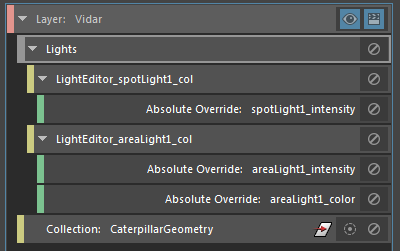
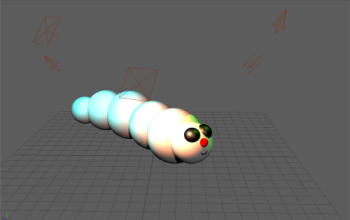
Change the intensity of spotLight1 and areaLight1. The attributes appear in orange in the Light Editor, and the updated attributes are reflected in the scene. Change also the color of areaLight1.

A LightEditor_spotLight1_col collection and LightEditor_areaLight1_col collection, as well as their corresponding overrides, are automatically created in the Render Setup editor.
- Right-click the Vidar layer and select
Create Collection. In the
Property Editor for the collection, enter areaLight* to dynamically include all area lights in the collection.
Rename the collection to AreaLights for easy identification.
- Select the AreaLights collection and select Relative from the Add Override drop-down list.
- Middle-mouse drag and drop the
Intensity attribute from any light shape node to the
Property Editor.
Enter a multiplication factor in the Property Editor; for example 2, to multiply the Intensity of both area lights by two.
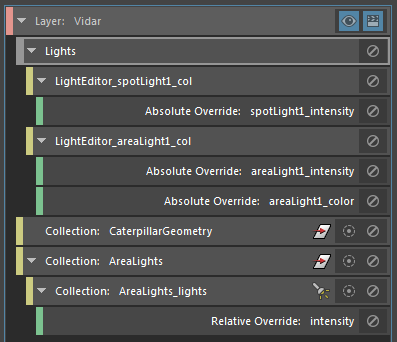
The Light Editor now reflects the Intensity values after both the absolute and relative overrides have been applied.

Display the scene Light Editor while currently in another layer
Click the Lights tab at the top of the Render Setup editor window to display the Light Editor for the scene. You can do this regardless of whether you are in the scene layer or in a specific layer. This allows you to edit global light values while seeing a specific layer in the viewport.
However, if you are in a specific layer (for example, Layer A is set to visible), then the Light Editor displays the attribute values, including any overrides, that are currently set for your visible layer. Attributes that are overridden on this layer are displayed in orange, but they are not editable. You can neither edit them for the visible layer nor for the scene. Attributes that are not overridden on this layer can be edited and are changed for the scene, and remain white in color.
Color of attributes in the Light Editor
Overridden attributes appear in orange, and animated attributes appear in red.
Attributes without any overrides applied appear in white. Locked attributes also appear in white, but cannot be edited.
Disable lights or light overrides

To disable an override, click its
 button.
To disable all lights in your layer, click the
 button on the
Lights tab for the layer.
To disable a particular light, do either of the following:
- Click the
 button on the collection for the particular light, if it exists; or
- Open the Light Editor for the layer, then disable the light. An override that disables the light is created as a result.