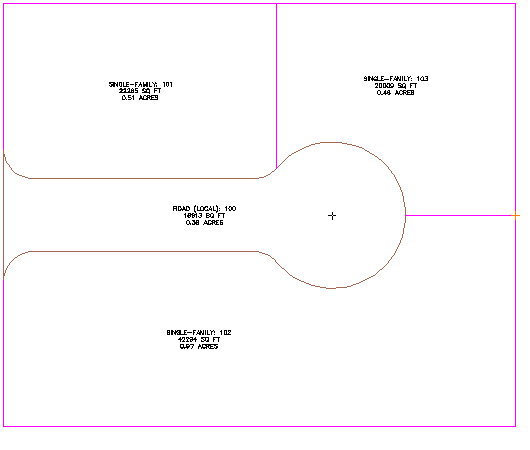
In this exercise, you will successively subdivide a plot with segments that can be placed along any plot line.
This exercise continues from Exercise 1: Creating Plots from AutoCAD Objects.
Create plots using a free-form line
- Open Parcel-1B.dwg, which is available in the tutorials drawings folder.
- Click tab
 panel
panel  drop-down
  Find.
Find. - On the Plot Layout Tools toolbar, click
 Free Form Create.
 - In the Create Plots - Layout dialog box, click OK.
- In the drawing, snap to the endpoint shown in the following image.
Notice that frontage does not need to be specified.

- To specify the plot line direction, move the cursor straight up, and snap to the intersection of the back plot line.

The new plot is created and labeled.
- Repeat Steps 5 and 6 to create another plot line as shown in the following image.

- Press Esc to end the command.
To continue this tutorial, go to Exercise 3: Subdividing a Plot with a Slide Line.