This section describes how to create the second profile toolpath, which applies to the vector representing the plaque's edge. Use this toolpath to cut out the plaque from the sheet of material using a 10 mm end-mill tool.
To create the second toolpath:
- In the Profile Type & Vector Association area of the Profiling panel, select Outside and Selected vectors in the Profile lists.
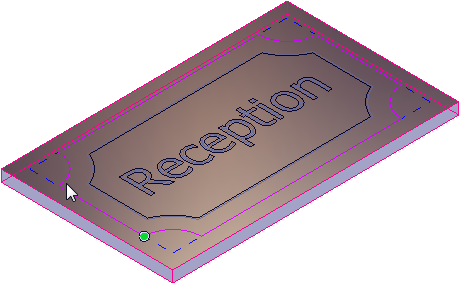
- Select the vector representing the plaque's edge. The vector is displayed in purple:
- Change the 5 mm end-mill tool to a 10 mm end-mill tool:
- In the
Profiling Tool area, click
 to expand the
End Mill 5 mm area.
to expand the
End Mill 5 mm area.
- Click Select. The Tool Database dialog is displayed.
- In the Tools & Groups area, select Tools & Groups > Metric Tools > Wood or Plastic > Roughing and 2D Finishing > End Mill 10 mm. The tool's details are displayed in the Tool / Group Description area.
- Click Select. The dialog closes.
- In the
Profiling Tool area, click
- In the Cutting Depths area, change the Finish depth to 20 to specify that the tool machines through the entire depth of material.
- Enter a Name of Profile 2 for the toolpath.
- Click
Calculate Now.
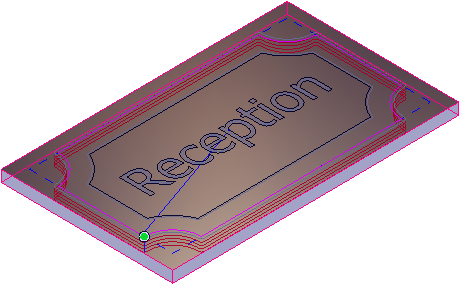
ArtCAM calculates the toolpath and adds a Profile 2 item under the Toolpaths item in the Project Tree:

The toolpath (red) and rapid moves (blue) are displayed:
- Close the panel.
You can now simulate the toolpaths before saving them to a machine-specific file.