To create a weave shape:
- Select the relief layer on which you want to create the weave.
- On the
Relief Creation toolbar, click the
Weave
 button to display the
Tool Settings: Weave Wizard panel.
button to display the
Tool Settings: Weave Wizard panel.
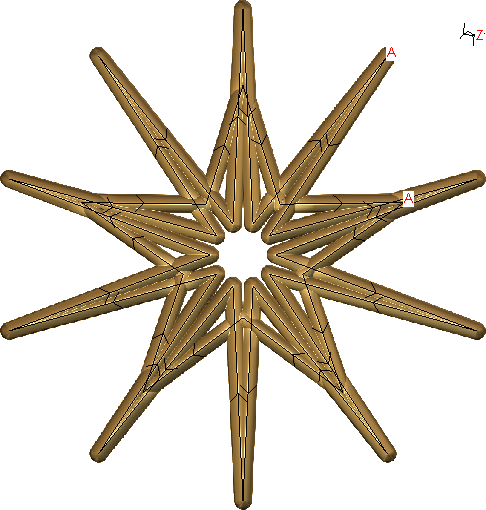
- Select the vector or vectors you want to use as the drive rail then click
Set Drive Rails. An
A is displayed beside the start point of all drive rails, and arrows indicate the direction of the vectors.

- Select the vector you want to use as the cross-section then click
Set Cross Section. A
Z is displayed beside the start point of the cross-section, and arrows indicate the direction of the vectors.
A preview of the relief is displayed in the 3D view.
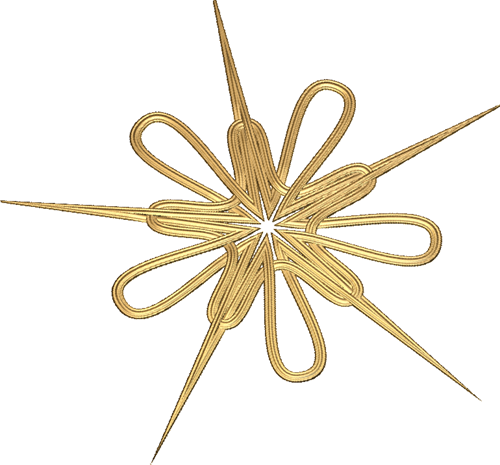
- In the 3D view, select a vector and edit the nodes to change the shape of the weave. As you make changes to the shape of the drive rail and cross-section vectors, the relief preview updates in real time.
For example, you could add some nodes to the cross-section vector and smooth nodes in the drive rail vectors to completely change the appearance of the weave.
Note: You can use the Node Editing keyboard shortcuts to insert nodes, smooth nodes, delete nodes, and so on.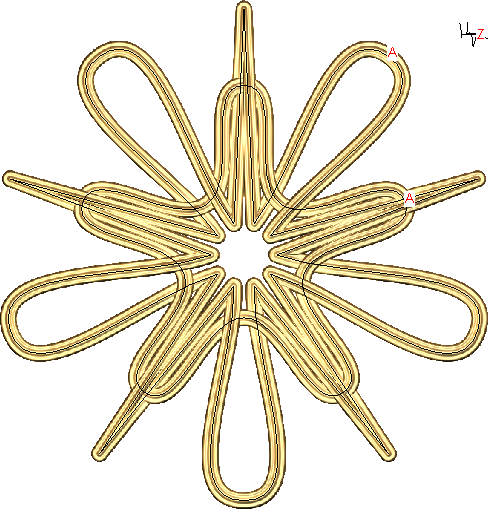
- In the Crossing Options area of the panel, edit the parameters to control the appearance of the relief at vector intersections.
- Select the shape of the corners in the weave from the Corner Shape drop-down list.
- Choose a Relief Combine Mode.
- When you are happy with the shape of the relief, click
Apply to combine the relief with the active layer.
 Note: If you close the panel without clicking Apply, or click Cancel, the relief is reset. However, any changes you made to the vectors are maintained.