Transpose surfaces, and adjust the surrounding, or extend it with new triangles as needed, respecting normal angles
Extrude surfaces on the mesh to adjust the shape of the part in 3 dimensions.
- If not already opened, click
Prepare >
 Repair Part to enter the repair module.
- Select the triangles or surfaces to be extruded.
- From the toolbar, click
 Extrude Surfaces.
Tip: You can also access this command from the Mesh Edit menu or right-click the selection and choose Extrude Surfaces.
Extrude Surfaces.
Tip: You can also access this command from the Mesh Edit menu or right-click the selection and choose Extrude Surfaces.
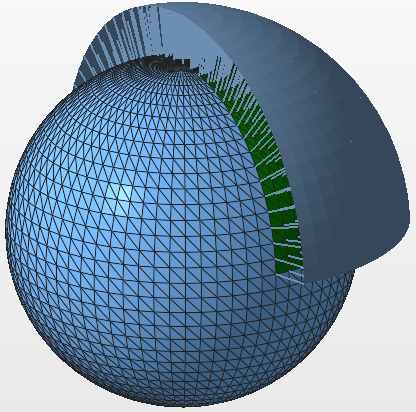
Initially, the surface is extruded a distance of 1 mm normal to the surface. The extruded surface is colored gray.
- In the context view, switch to 3D-Extrude.
- Click and drag the gray colored surface to adjust the extrusion height as necessary, or use the Shift slider.
- Enable one of the following extrusion types:
- Real Extrusion: Creates new triangles to create the extrusion.
- Move Points: Moves the points of the selected triangles, rather than creating new triangles.
- Thickening: Increases the thickness of the selected triangles.
Note: You should run the extended repair script after completing the thickening process to remove self-intersections and flipped triangles.
- Use the Optimization options as needed:
- Smooth considers the extrusion direction of the surrounding triangles. This helps to limit the contrast between the extruded surface and the adjacent surfaces.
- Improved takes the size of the selected triangles into account. The extrusion direction is determined primarily by the larger triangles.
- Click Apply to complete the extrusion.