You can split a toposurface into 2 distinct surfaces and then edit those surfaces independently.
To split a toposurface into more than 2 surfaces, use the Split Surface tool multiple times, further subdividing each piece of the toposurface as needed.

After splitting a surface, you can assign different materials to these surfaces to depict roads, lakes, plazas, or hills.
You can also delete entire portions of the toposurface. For example, you can use the Split Surface tool to remove unwanted portions of a toposurface generated by an imported file, when the imported file fills unsurveyed areas with unwanted artifacts.
To split a toposurface
- Open a site plan or 3D view.
- Click Massing & Site tab
 Modify Site panel
 (Split Surface).
- In the drawing area, select the toposurface to split.
Revit enters sketch mode.
- Click Modify | Split Surface tabDraw panel
 (Pick Lines), or use other sketch tools to split the toposurface.
You cannot pick toposurface lines with the Pick Lines tool. You can pick other valid lines, such as walls.
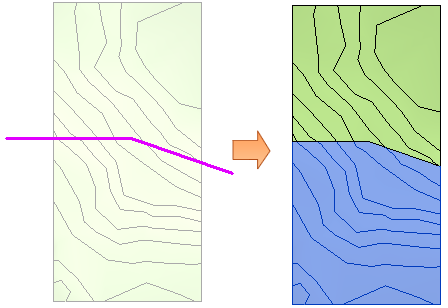
- Sketch a single closed loop, or sketch a single open loop. Both ends of an open loop must intersect the boundary of the surface, and can only intersect the boundary of the surface once at each end of the open loop.
Examples Closed Loop Open Loop 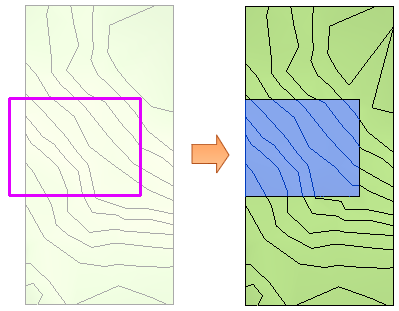
- Click
 (Finish Edit Mode).