Use this procedure to create a horizontal section or elevation of a plan view.
The Hidden Line control available in AutoCAD Architecture 2022 toolset makes it possible to create horizontal sections and elevations of Plan views. With a horizontal section or elevation, you can look “down” on the model. Previously, users could achieve that effect only by manually changing the UCS. Now, a tool enables you to create a horizontal section or elevation. This feature could be useful for creating a detailed display of sill components in tapered walls.
The illustration below displays a horizontal section line for an irregularly shaped building.
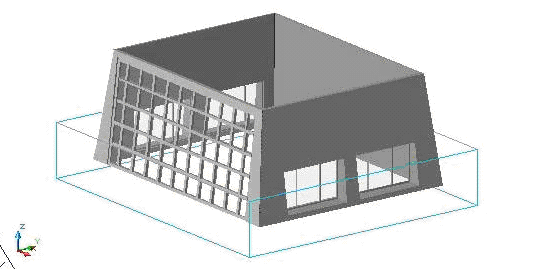
Horizontal elevation line
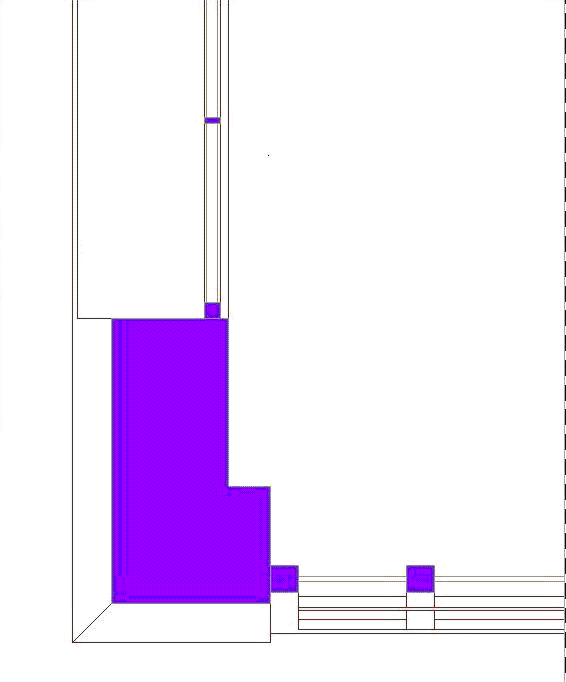
The illustration below displays the view results. Note the sill displays of the tapered walls and the correct representation of the sloped curtain walls.
- Click
 .
.
 Note: Alternatively, on the default tool palette set, click the Design tab, and then click the Horizontal Section tool. If necessary, scroll the palette to display the tool that you need.
 - Specify the first point of the elevation plane.
- Specify the second corner of the elevation plane.
- Specify the elevation of the plane, and press Enter.
- Specify the depth of the elevation, and press Enter.
- Proceed with creating the elevation, as described in Creating a 2D or 3D Elevation.