Create an electromechanical project in Inventor, and then link your AutoCAD Electrical toolset project by connecting to the link file from AutoCAD Electrical toolset.
Linking an Inventor project to an AutoCAD Electrical toolset project requires creating a link file and defining the two projects to link. The process involves two steps:
- In either AutoCAD Electrical toolset or Inventor, create the link file and point to the project for that product.
- In the other product, complete the link by browsing to the previously created link file and pointing to a project in that product.
Link Starting in Inventor
-
Click
 .
.
-
Click
 on the Electromechanical Project Setup dialog box.
-
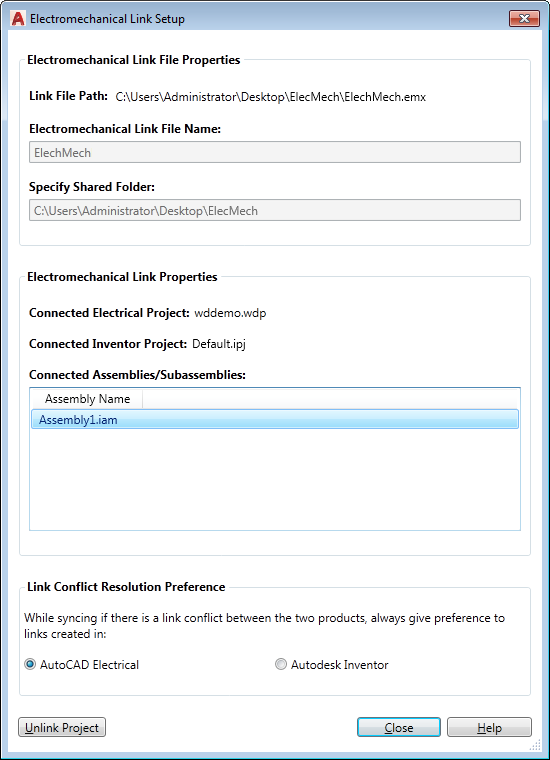
Enter a filename for the .emx link file.
-
Specify a folder that is shared between AutoCAD Electrical toolset and Inventor.
-
Click Create.
-
On the Electromechanical Link Setup dialog box, select your Sync Settings. The default setting is AutoCAD Electrical toolset. The assumption is that AutoCAD Electrical toolset users would be initiating the electromechanical workflows most of the time; hence the default is set to AutoCAD Electrical toolset when a component link is created.

-
Click Close.
In Inventor:
-
Click . Find
- In Project Manager, activate the project you want to link.
- Click . Find

- Click Link.
- Browse to the existing link file created in Inventor.
-
Click Close.
In AutoCAD Electrical toolset: