You can use the Edges tab of the Surface Milling Properties dialog to specify how the tool behaves at the edges of the surface.
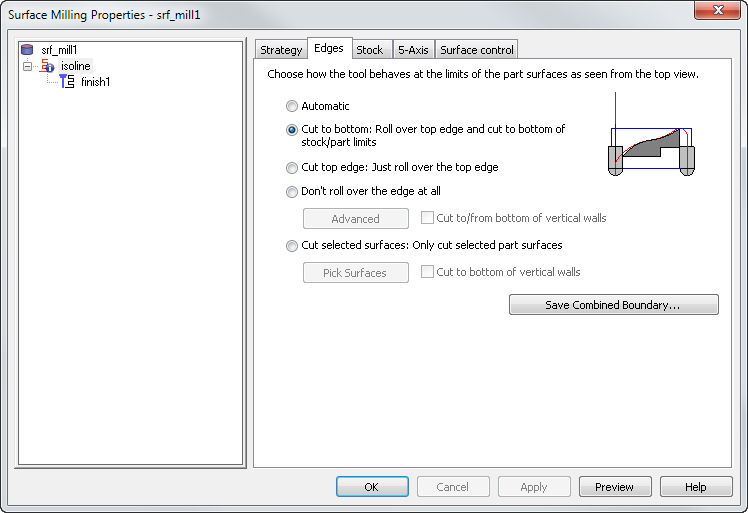
This tab gives you options to set how the toolpaths are generated near surface edges.
Automatic — A set of rules that chooses between Don't roll over the edge at all and Cut to bottom to get the best performance.
Cut to bottom: Roll over top edge and cut to bottom of stock/part limits — This does not set any boundary. In this case, FeatureCAM uses only the boundary specified by the curve options in the Stock tab.
Cut top edge: Just roll over the top edge — Sets a pocket-like curve boundary to the silhouette of the part offset by a tool radius. The tool rolls over the edges by a tool radius. In PowerMill this is known as a silhouette boundary. Edge boundary uses a silhouette boundary of the part, but it uses the top (highest) Z values where the silhouettes are at a vertical surface.
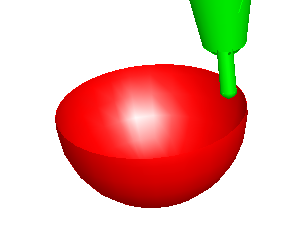
Cut top edge examples
Cut top edge, z-level operation:

Cut top edge, parallel operation:
Don't roll over the edge at all — Sets a pocket-like curve boundary to the silhouette of the part. The tool contacts the surface boundary. In PowerMill this is known as a contact point boundary. This prevents any cutting of sharp corners at the external edges of the part. If the part has a vertical surface at the outside of the part AND has a sharp corner at the top of the vertical surface, it prevents cutting of the vertical surface because it is coincident with the sharp corner at the top.
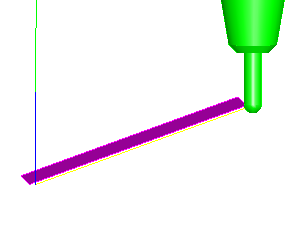
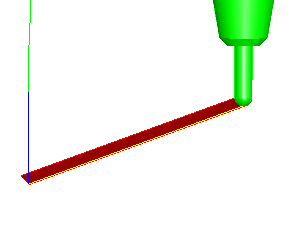
Don't roll over examples
Do not roll over the edge at all, z-level operation:
Do not roll over the edge at all, parallel operation:
You can set advanced options on the part boundary by clicking the Advanced button.
If you have a vertical surface and you want to cut to the bottom, select Cut to/from bottom of vertical walls.
Cut selected surfaces: Only cut selected part surfaces — FeatureCAM only machines the selected surfaces and does not cut any of the neighboring or unselected surfaces. If there are no neighboring surfaces, the tool rolls over the edges by a tool radius.
If you have a vertical surface and you want to cut to the bottom, select Cut to bottom of vertical walls.
Save Combined Boundary — This preview button shows both the part boundary (in blue) and the tool center (in red) curves on your model and enables you to save it for future use if you want to.