Textures can be used to apply a static image to the surface of the part.
- Select the part.
- Click
Modify >
 Texture & Color Mesh.
- From the toolbar, click
 Project Texture.
- In the context area, browse for a file containing the texture to project on the part.
- Click and drag the center blue dot on the imported file to adjust the surface on which the texture is projected.
- Click and drag the other blue dot(s) to adjust the size and orientation of the texture.
Note: Depending on the type of texture being applied, (projector, cylinder, sphere) there may be one or more dots available to adjust the size and orientation.Tip: Hold the Shift key to adjust only the size. Hold the Ctrl key to adjust only the orientation. You can also use the more precise controls for the scale, rotation, and position available on the tabs to adjust the texture.
- Enable the
Repeat Texture check box to repeat the texture on the whole surface of the part.
Note: If you are using the cylinder or sphere projections, drag the Repeat Texture slider to control how often the texture is repeated.
- Enable the Texture Backside check box to apply the texture to both sides of a part surface.
- Enable the Just connected faces check box to apply the texture to only the surfaces currently touching the texture.
- Click Project to apply the texture to the part.
By default, textures are applied as a projection. You can also apply the texture as a cylinder or as a sphere by switching to the respective Cylinder or Sphere tabs in the context area.
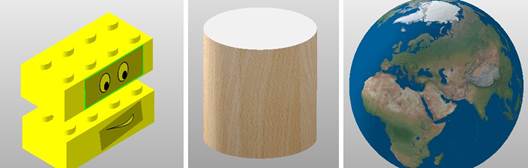
Left: projector, middle: cylinder, right: sphere.
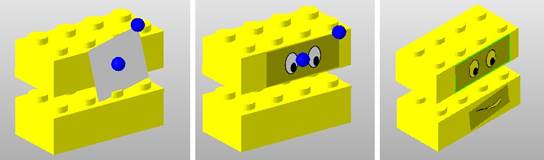
Left: the part with a preview of the texturing plane, middle: a preview of the texture, right: the textured part.
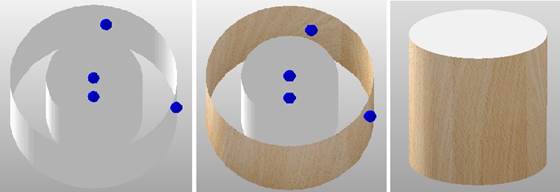
Left: the part with a preview of the texturing plane, middle: a preview of the texture, right: the textured part.
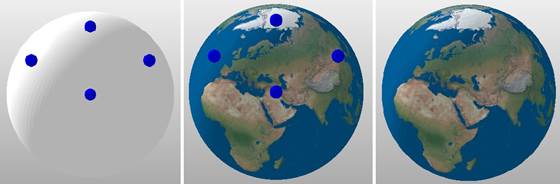
Left: the part with a preview of the texturing plane, middle: a preview